

The pencil case rests lightly across my knees while the late afternoon light moves across the yarn. Each pull of the hook through a loop makes a small, steady sound, and the fabric grows in a simple rectangle beneath my hands. This Zippered Crochet Pencil Case Pattern is the kind of project that gives you something useful without asking you to hurry. It takes several quiet evenings, especially if the zipper feels fiddly at first, but the crochet itself settles into an easy rhythm. You can make one for colored pencils, pens, makeup brushes, or the small collection of hooks that usually wanders around your project bag.
Why Zippered Crochet Pencil Case Pattern Is So Soothing to Crochet
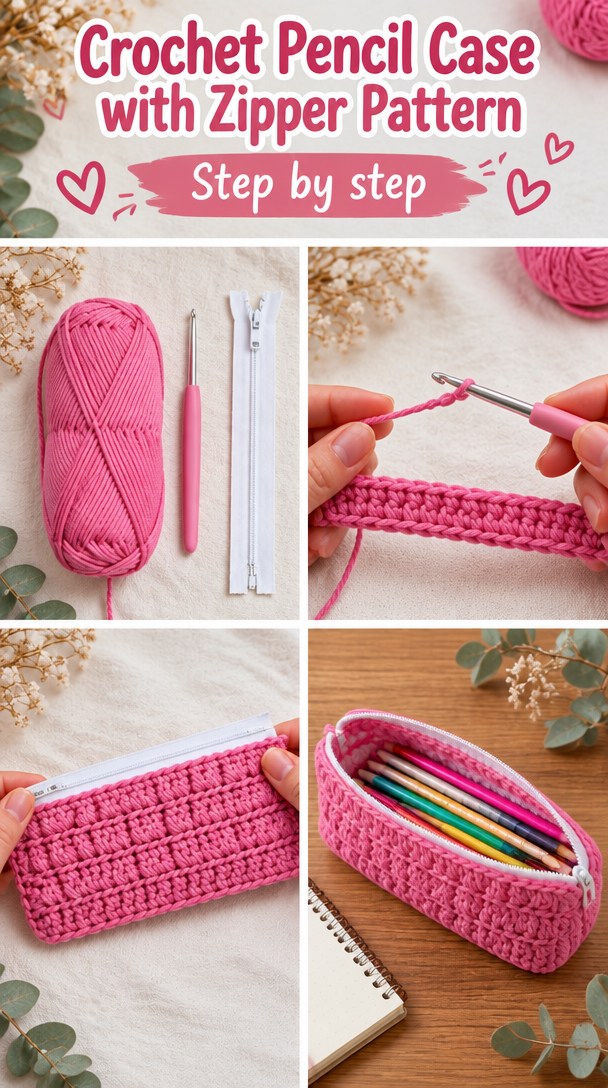
A small flat project has a gentle kind of focus. You can see the rows forming almost immediately, and there is no large blanket spread across the whole room or complicated shaping waiting several inches ahead. The fabric stays close to your hands. I often make this kind of case on the couch with a mug of coffee beside the yarn basket, especially when rain keeps everyone indoors.
The main stitch creates a soft, lightly textured surface without demanding constant counting. After the first few rows, your hands begin to remember the motion: yarn over, draw through, yarn over again, and finish the stitch. Many people find crocheting calming because the repeated movement gives the mind one small place to rest. This project leaves room for a quiet podcast, a familiar television show, or nothing but the sound of the hook.
The first rows may curl a little until the piece gains weight. That is normal. I noticed the fabric settle after the fourth row, when it became heavy enough to lie flat across my palm. By the time you reach the final rows, you have a sturdy little panel that feels satisfying to fold and hold.
There is also a useful pause built into the construction. You crochet two matching rectangles, check their measurements, and then join them around a zipper. The zipper takes patience, but it does not require speed. A few careful stitches at a time will give you a case that feels personal and practical, whether you keep it beside your armchair or tuck it into a school bag.
The Rhythm of This Crochet Project
This pencil case comes together from two simple rectangles worked in half double crochet. A half double crochet, abbreviated hdc, sits between a single crochet and a double crochet in height, so it builds fabric more quickly than single crochet while staying denser than double crochet. That balance suits a pencil case because the finished fabric has enough body to hold its shape.
For clarity, this pattern uses US crochet terms. Readers in the UK often find these projects too, and the same word can mean a different stitch there. Here, a chain is ch, a slip stitch is sl st, a single crochet is sc, a half double crochet is hdc, and a double crochet is dc. You will only need the half double crochet for the main panels, plus a chain at the beginning of each row.
You will work a foundation chain, which is the starting chain that supports the first row. The pattern uses a multiple of 2 stitches, so you can make the case wider by adding chains in pairs. The stitch count stays steady after the foundation chain, which makes this a friendly project for a first zippered item.
Plan on about three to five hours of crochet time, plus another thirty to sixty minutes for attaching the zipper and sewing the sides. The zipper is the fiddly part. The crochet itself usually takes two or three relaxed evenings, depending on your pace and how often you pause.
Pattern at a Glance
Keep this little summary nearby while you gather your supplies.
- Skill level: Easy, with beginner-friendly zipper sewing
- Finished size: 8 inches by 3.5 inches (20 cm by 9 cm)
- Gauge: 14 half double crochet and 10 rows measure 4 inches (10 cm)
- Yarn: Worsted weight (weight 4, medium), about 170 yards per 100 g skein, 85 yards total from 1 skein
- Hook: H-8 (5.0 mm)
- Other supplies: 9-inch zipper, yarn needle, scissors, tape measure, sewing needle, matching sewing thread, optional stitch markers
- Stitch multiple: Any multiple of 2 stitches
- Estimated time: Three to five hours, plus thirty to sixty minutes for finishing
What You Need for This Project
- Worsted weight yarn (weight 4, medium), preferably cotton or a cotton blend, about 85 yards total from 1 skein, approximately 50 g or 1.75 oz
- A yarn type with about 170 yards per 100 g skein, such as worsted cotton from Lily Sugar’n Cream or a smooth acrylic worsted from Lion Brand (easy to find)
- H-8 (5.0 mm) crochet hook, with half a size up or down fine depending on your tension
- 9-inch zipper, preferably close to the yarn color or in a contrasting shade
- Yarn needle with a blunt tip for weaving in ends and sewing the crochet to the zipper
- Small sewing needle and matching sewing thread for securing the zipper
- Scissors
- Tape measure
- Two stitch markers, optional, to mark the first stitch of a row
Cotton gives this case a firm, dependable fabric and handles frequent washing better than many delicate fibers. A cotton blend can feel a little softer, while acrylic keeps the project light and often gives you a broader color range. I used a smooth worsted cotton for my sample because the stitches stayed clear and the fabric did not stretch much while I sewed the zipper.
The gauge is 14 half double crochet and 10 rows for 4 inches (10 cm). A twenty-minute swatch is worth making here because the zipper needs the two panels to match closely. If your fabric feels loose and the stitches measure larger, try the G-6 (4.0 mm) hook; if your fabric feels stiff or measures smaller, try the I-9 (5.5 mm) hook. A hook half a size smaller can make a denser fabric, which helps keep pencils from poking through.
You can safely substitute another worsted weight yarn if the fiber and care needs suit your use. Look for a smooth yarn with about 170 yards per 100 g skein, and make the gauge swatch before beginning. Wool can make a lovely case, but untreated wool may felt with washing, while superwash wool tolerates a washing machine more readily. Keep your chosen fiber in mind before you plan the care routine.
Step by Step
- Difficulty and stitch multiple: This project is easy, with a fiddly but manageable zipper finish. The pattern uses a multiple of 2 stitches, and the finished case uses a foundation chain of 28 stitches. The opening chain does not count as a stitch.
- Make a slip knot and chain 28. A chain, abbreviated ch, forms the foundation chain beneath your first row. Keep these chains relaxed; if they pull tight, use a hook one size larger only for the chain, then return to H-8 (5.0 mm) for the row.
- Row 1: Yarn over and insert the hook into the second chain from the hook. Yarn over, pull up a loop, yarn over again, and draw through all three loops to make one half double crochet, or hdc. Work 1 hdc in each chain across. You will have 27 hdc.
- Chain 1 and turn. This chain is the turning chain, which gives the next row enough height. Work 1 hdc in each stitch across, placing the hook under both top loops of each stitch. Repeat this row until you have 10 rows total, with 27 hdc at the end of every row.
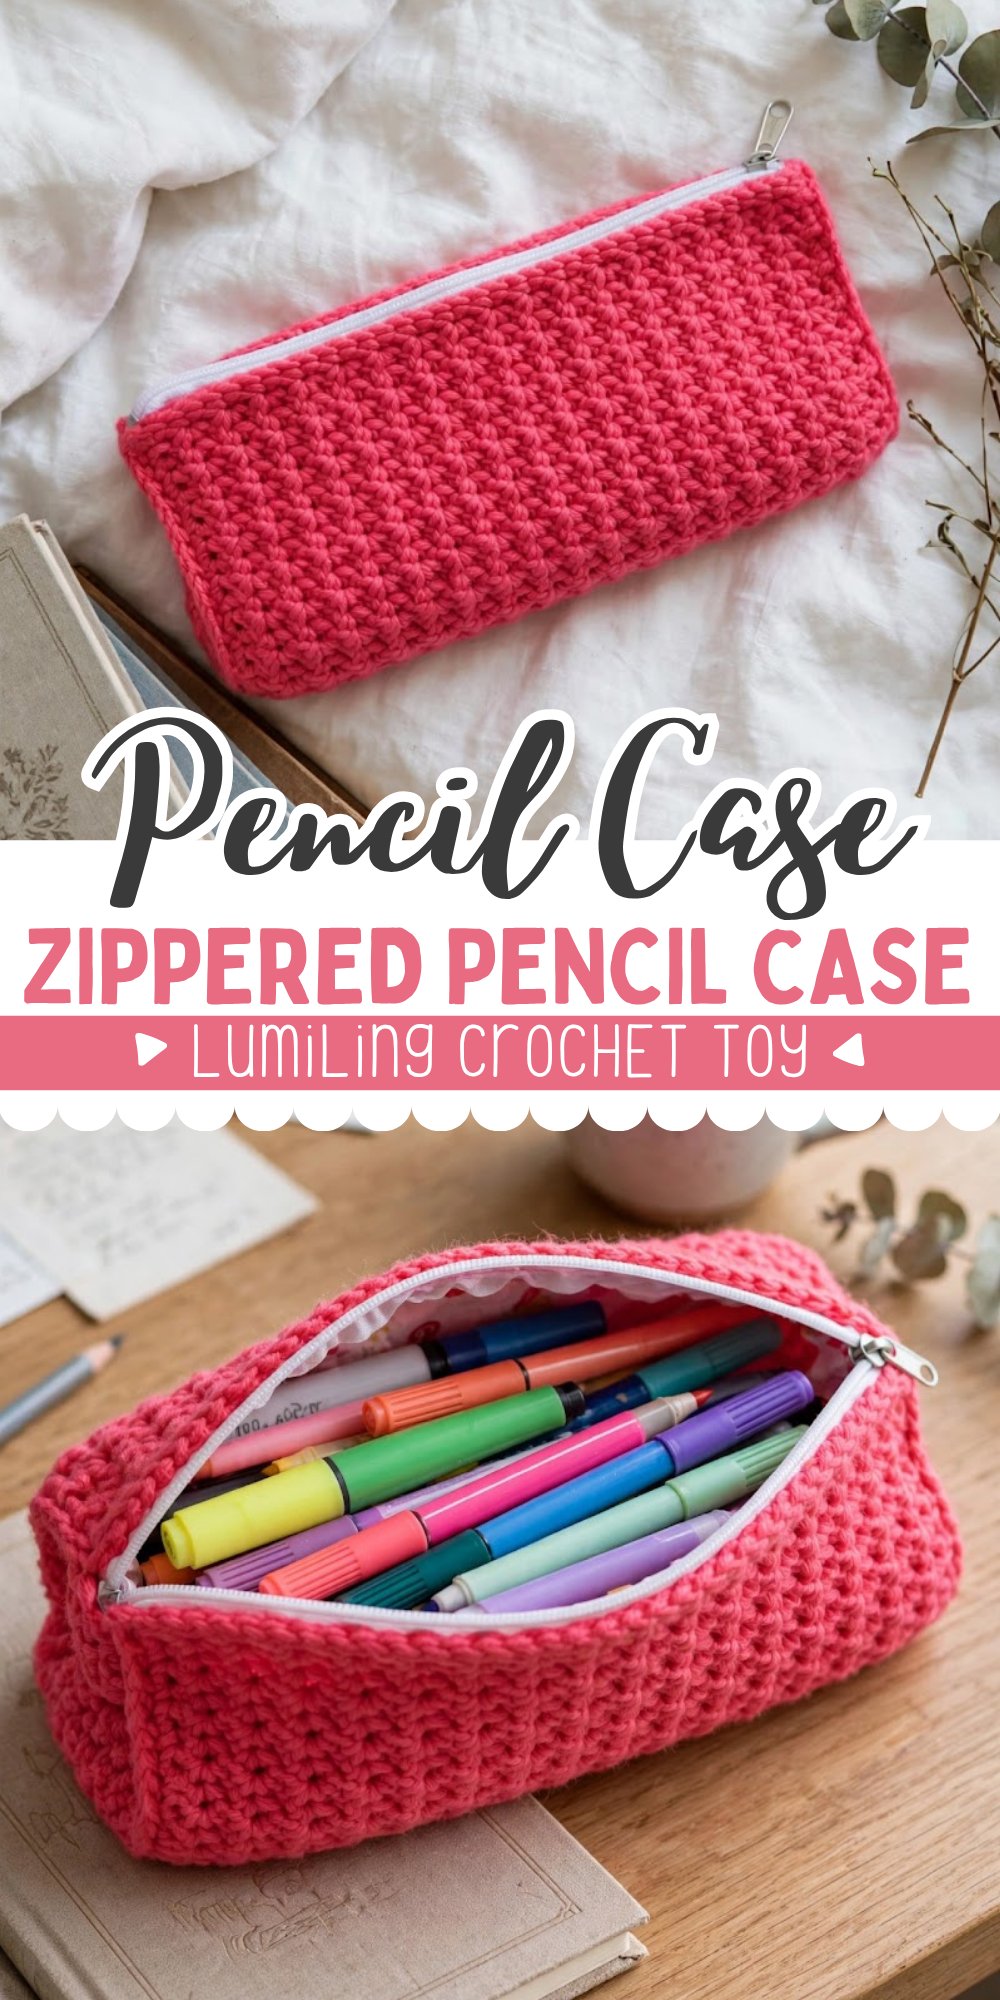
- Pause and check the shape. Each rectangle should measure about 8 inches wide and 3.5 inches tall (20 cm by 9 cm). If your piece looks narrower or wider, measure before making the second panel so you can adjust your hook or tension while the change is still easy.
- Make the second rectangle in the same way: chain 28, work 27 hdc in Row 1, then chain 1 and turn for each following row. Complete 10 rows total. Lay the panels together and compare the edges, since matching panels make the zipper step much smoother.
- Check for a missed stitch before fastening off. Look at the final stitch of the row, which can hide beside the turning chain. If the edge slopes inward, count the stitches and pull back one row at a time by gently removing the hook and tugging the working yarn. Finding the mistake several rows later feels frustrating, but a calm undo is usually faster than sewing a crooked edge.
- Fasten off each rectangle, leaving an 18-inch tail on the final row of each panel. Pull the yarn through the last loop and tighten gently. Use the yarn needle to weave in any short starting tail, but leave the long tails available for sewing if you prefer to use yarn instead of thread.
- Place the zipper face up on your table. Lay one crochet rectangle over it so the top edge lines up with the zipper teeth, keeping the zipper pull at the side. Pin or clip the layers together, then repeat with the second rectangle on the other side of the zipper.
- Sew the zipper to the crochet panels with small, even stitches. A yarn needle and the long yarn tails work well with cotton, though matching sewing thread can make a flatter seam. Work slowly near the zipper pull, moving it out of your way as you sew instead of forcing the needle through a crowded spot.
- Open the zipper halfway before sewing the sides. Place the right sides together, so the outside surfaces face each other, and line up the four edges. The right side, or RS, is the side meant to show; the wrong side, or WS, faces inward.
- Stitch around the two short ends and the long bottom edge using whipstitches or small running stitches. Keep the zipper tape inside the seam allowance and avoid catching the metal or plastic teeth. Knot securely at each corner, then trim the tails.
- Turn the case right side out through the partly open zipper. Use the blunt end of the yarn needle to ease the corners into shape. If the zipper catches, turn the case back inside out and check for a stitch too close to the teeth.
- Weave in all remaining ends by threading each tail through several stitches in different directions before trimming. If your cotton feels a little rumpled, block the panels before sewing by pinning them to the finished measurements and letting them dry completely. Blocking means shaping damp crochet and allowing it to dry in place.
Where This Piece Finds Its Place
The finished case slips easily into a tote, desk drawer, or the basket beside your armchair. I keep one near my notebook for pencils and a short ruler, while another holds stitch markers, tapestry needles, and the small scissors that disappear from my workspace. The zipper keeps everything contained when the case travels from the living room to the porch.
Color changes can make the case feel seasonal without changing the construction. A soft cream and green combination suits a spring desk, while rust, deep blue, or warm gold feels comfortable on a cool fall evening. You can also make two panels from one solid color and sew on a contrasting zipper for a small, clean detail.
This makes a thoughtful handmade gift for a teacher, a student, an artist, or a friend who keeps lists in every room. Fill it with a few colored pencils, a nice pen, or a tiny notebook before wrapping it for a birthday or holiday gift. For a child under three, avoid giving a case with loose decorations, long loose stitches, or small attached parts, since those pieces can create a safety hazard.
If you sell finished items made from my patterns, my policy is simple: you may sell your finished crochet, but please credit the pattern source when you list it.
Caring for Zippered Crochet Pencil Case Pattern
For a cotton case, hand wash it or use a gentle machine cycle with cold or warm water. Place it in a mesh laundry bag before washing, close the zipper, and use a mild detergent. Press out extra water in a towel rather than twisting the fabric, then reshape the case and dry it flat so it keeps its rectangular form. Do not hang it wet, because the weight can stretch the panels and pull at the zipper.
If the panels need a little reshaping later, dampen the case lightly and block it cold. Cotton responds well to gentle steam, but keep steam away from the zipper and test an unseen area first. Acrylic yarn needs extra care around heat because it can melt or become shiny under a hot iron. For acrylic, block cold or use steam from a distance without touching the hook or iron to the fabric.
Store the case folded or lying flat somewhere breathable rather than hanging it by the zipper. If you make one from untreated wool, protect it with cedar or lavender and check it occasionally for moth activity. Superwash wool can tolerate a gentle washing machine cycle, but untreated wool may felt, so read the yarn label before washing.
Keep leftover yarn with its label in a small bag. The label records the dye lot, which helps you find a closer color match if you need to repair a panel later. Even a small yarn tail can be useful when a zipper corner needs reinforcing.
Small Changes That Shift the Whole Piece
You can make this case your own without changing the simple rhythm. A few small choices change the fabric, size, or feeling of the finished piece.
- Try a different yarn weight: A bulky yarn makes a larger, thicker case with more cushion, while sport weight makes a smaller, lighter case. Adjust the foundation chain and row count to reach the size you want, and expect the drape and zipper length to change as well.
- Play with color blocking: Work the first five rows in one shade and the remaining five in another for a quiet two-tone design. Carry the unused color only if the inside will stay neat; otherwise, fasten off and weave in each small tail.
- Swap in single crochet: Single crochet, or sc, makes a denser and firmer fabric than half double crochet. It takes longer to build height, but it can suit a case that needs extra structure. Make a new gauge swatch before changing the stitch.
- Resize by the stitch multiple: Add or remove chains in pairs because the stitch multiple is 2. Keep the number of rows close to the desired height, remembering that the zipper should match the finished width.
- Add a simple border: After joining the panels, work a round of single crochet around the visible edges if the zipper placement leaves a little unevenness. A border can also frame a contrasting color, but keep it low near the zipper so the pull has room to move.
Frequently Asked Questions About Zippered Crochet Pencil Case Pattern
Can I use a different hook size for this pencil case?
Yes, you can use a different hook size if you adjust for gauge. Start with H-8 (5.0 mm), then move down to G-6 (4.0 mm) for firmer, smaller stitches or up to I-9 (5.5 mm) for a looser fabric. Measure your swatch before making both panels, since the zipper works best when the finished width matches the planned measurement.
What yarn can I substitute for the recommended worsted yarn?
You can substitute another smooth worsted weight yarn, labeled weight 4 or medium, with about 170 yards per 100 g skein. Cotton gives a firm washable case, acrylic gives easy care and many color options, and a cotton blend softens the fabric. Avoid very fuzzy yarn because it can hide the stitches and make zipper sewing harder.
What should I do if I find a mistake several rows later?
Pull back calmly one row at a time until you reach the missed stitch. Remove the hook from the working loop, gently pull the yarn, and place the hook back into the live loop once the mistake is corrected. If the error only affects the inside of the case and does not change the edge, you may choose to leave it rather than disturb several good rows.
Is this zippered crochet pencil case suitable for a beginner?
Yes, the crochet portion suits a beginner who knows how to make a chain and half double crochet. The zipper takes more patience than the panels, so use clips or pins and sew slowly. If you have never attached a zipper, practice a few stitches on a scrap first. The first rows may curl, but the fabric should settle as the rectangle grows.
How long does this crochet pencil case take to make?
The crochet usually takes three to five hours, and zipper sewing adds thirty to sixty minutes. Your time will depend on tension, experience, and whether you make a gauge swatch. The project fits nicely into two or three evenings, with the finishing step saved for a time when you feel willing to work carefully.
Does this pattern use US or UK crochet terms?
This pattern uses US crochet terms. That means hdc refers to half double crochet, while dc refers to double crochet. UK terminology uses different names for several stitches, so check the abbreviations before beginning if you normally follow UK patterns. The main stitch here is US half double crochet, worked across each row.
Take the Time You Need
Let the small work be enough for the evening. The yarn does not need to move quickly, and the case does not need to be perfect to become useful. If a stitch goes missing, you can return to it; if the zipper needs a second try, you can open the seam and sew it again. Keep your hands gentle, notice the fabric growing beneath them, and let this practical little project find its own unhurried pace.
—META—
SEO Title: Zippered Crochet Pencil Case Pattern
Meta Description: Make a calm, useful zippered crochet pencil case with simple US stitches, clear counts, gentle tips, and easy care for everyday use.
Slug: zippered-crochet-pencil-case-pattern
Category: Crochet Patterns
Tags: crochet, pencil case, zipper crochet, beginner crochet, handmade gifts
Image Alt Text: Crochet pencil case yarn and hook on a cozy chair
Two crochet pencil case panels beside a zipper and sewing supplies
Pinterest Title: Zippered Crochet Pencil Case
Pinterest Description: Make a simple zippered crochet pencil case with a steady half double crochet rhythm. A practical handmade project for quiet evenings and thoughtful gifts.

Zippered Crochet Pencil Case
- Total Time: 240 minutes
Description
A simple and calming project to crochet a zippered pencil case, perfect for pencils, pens, or makeup brushes.
Materials
- Worsted weight yarn (weight 4, medium), about 85 yards total from 1 skein
- H-8 (5.0 mm) crochet hook
- 9-inch zipper
- Yarn needle with a blunt tip
- Small sewing needle and matching sewing thread
- Scissors
- Tape measure
- Two stitch markers (optional)
Instructions
- Make a slip knot and chain 28.
- Row 1: Yarn over and insert the hook into the second chain from the hook. Yarn over, pull up a loop, yarn over again, and draw through all three loops to make one half double crochet (hdc). Work 1 hdc in each chain across. You will have 27 hdc.
- Chain 1 and turn. Work 1 hdc in each stitch across, placing the hook under both top loops of each stitch. Repeat this row until you have 10 rows total, with 27 hdc at the end of every row.
- Pause and check the shape. Each rectangle should measure about 8 inches wide and 3.5 inches tall.
- Make the second rectangle in the same way: chain 28, work 27 hdc in Row 1, then chain 1 and turn for each following row. Complete 10 rows total.
- Fasten off each rectangle, leaving an 18-inch tail on the final row of each panel.
- Place the zipper face up on your table. Lay one crochet rectangle over it so the top edge lines up with the zipper teeth.
- Sew the zipper to the crochet panels with small, even stitches.
- Open the zipper halfway before sewing the sides.
- Stitch around the two short ends and the long bottom edge using whipstitches or small running stitches.
- Turn the case right side out through the partly open zipper. Use the blunt end of the yarn needle to ease the corners into shape.
- Weave in all remaining ends by threading each tail through several stitches in different directions before trimming.
Notes
Keep in mind the gauge needs to be matched closely for the zipper to work properly. Adjust hook size if necessary.
- Active Time: 180 minutes