This post contains Amazon affiliate links. As an Amazon Associate I earn from qualifying purchases.
Creating a Tree of Life Suncatcher can be a soothing experience, one that wraps you in a gentle cocoon of creativity. As you begin to work with the soft wires and cool beads, you may find that your hands instinctively know how to mold and shape, guiding you along a path of mindful making. Each bead you select can bring a different texture to your creation, shimmering subtly in the light. You can feel the calming rhythm of your craft as you create a piece that not only catches the light but also reminds you of the deeper connections in life.
Why Make This Tree of Life Suncatcher – DIY Wire & Beaded Sun Catcher
Creating the Tree of Life Suncatcher offers more than just a visual feast; it engages your senses and centers your spirit. The act of crafting can be a gentle refuge from the busyness of the day. Connecting with the materials feels grounding, as if the wire and beads are an extension of your own creativity. The intricate shape of the tree symbolizes growth, strength, and the interconnectedness of all living things.
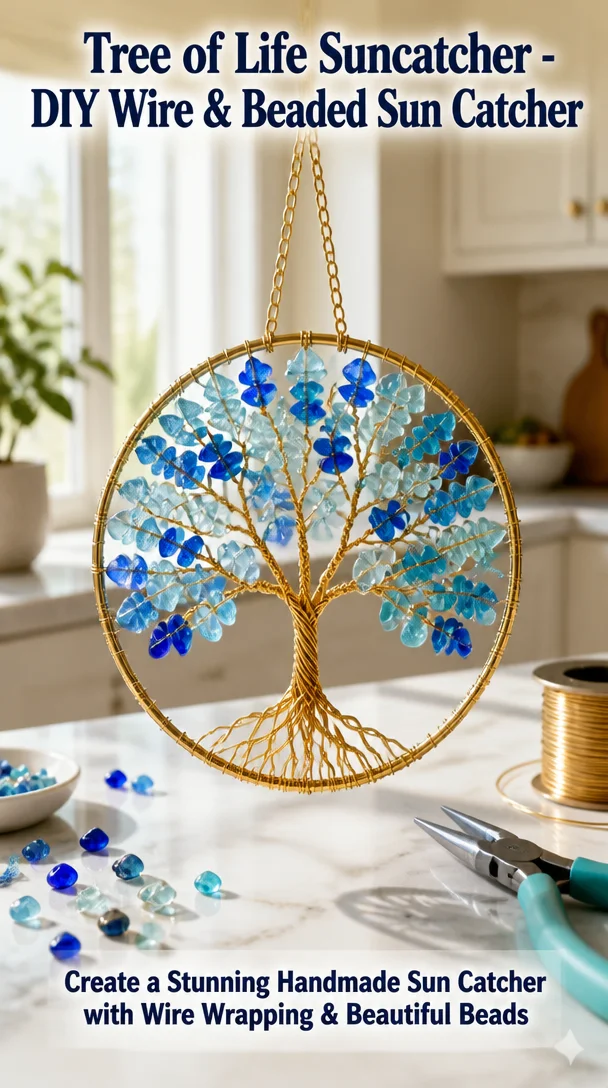
This project encourages you to be present; as you bend the wire and arrange the beads, you enter a calming state. The soft sound of beads slipping along the wire has a soothing rhythm, almost like a whisper guiding you along. Making this suncatcher becomes a mindful practice – a moment carved out just for you. Whether you choose to hang it where the sun can dance through the beads or gift it to someone special, each creation embodies the warmth of your hands and heart.
A Gentle Look at the Process
The flow of making the Tree of Life Suncatcher unfolds gently, inviting you to focus on each small gesture. You will feel the guiding texture of the wire and the coolness of every bead as you assemble your work. The sounds of the materials, the subtle click of wire twisting, and the soft clink of beads create a gentle symphony of sensation around you.
Before you dive into the materials, take a moment to envision the finished piece. Picture how light will filter through the beads, creating a soft spectrum of colors across your space. The visual rhythm of your project manifests as you shape the wire into elegant branches and roots. Each step in this calming practice allows you to express yourself, creating a serene space where creative exploration flourishes.
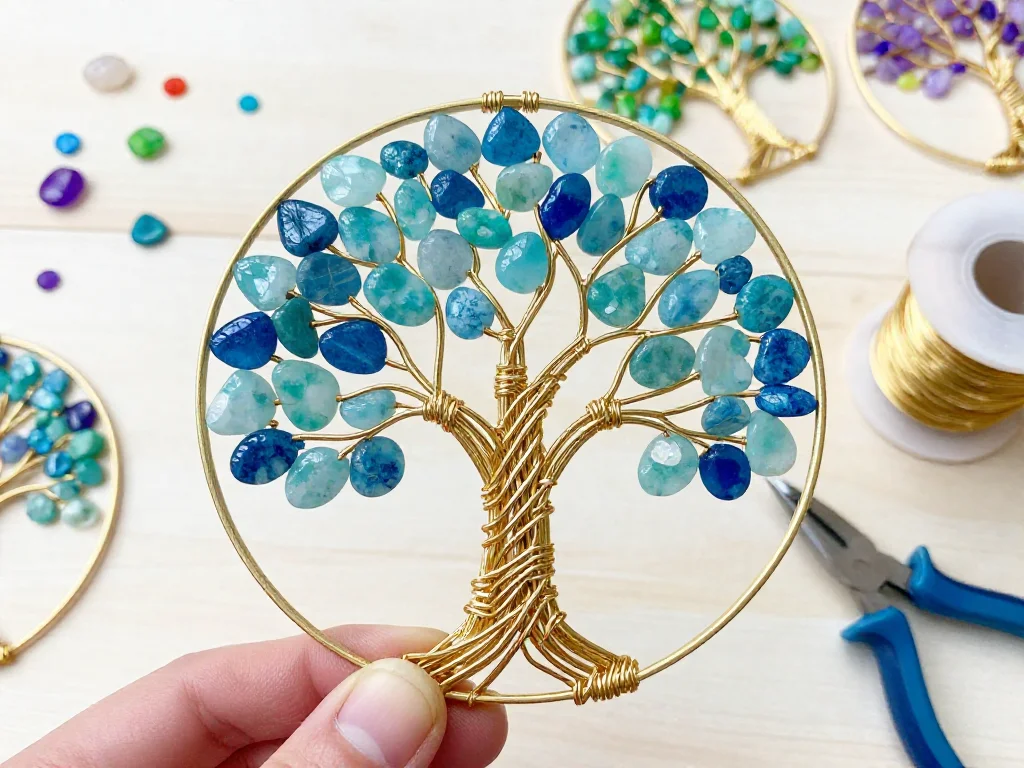
Materials You’ll Need
- Copper or aluminum wire (20-26 gauge is ideal)
- A variety of beads (glass, wooden, or stone for varied textures)
- Wire cutters
- Round-nose pliers
- Flat-nose pliers
- A base or frame (optional, depending on your design choice)
- String or fishing line for hanging (optional)
- Optional charms or crystals for added detail
Take a moment to gather all these materials. Most can easily be found at craft or hobby stores. The diversity of beads means you can choose colors that resonate with you or evoke feelings of peace and joy.
Step-by-Step Directions
-
Begin by cutting a length of wire about 18 inches long. Feel its weight in your hands, noticing the smoothness as you handle it.
-
Create a small loop at one end using round-nose pliers. This will anchor the beads later. Let the wire flow through your fingers as you shape it.
-
Thread on beads in a pattern or randomly, enjoying the variety of colors and shapes. Listen to the satisfying clinks of the beads against each other as you work.

-
Once you have added your desired beads, form the wire into the shape of a tree. Twist and mold the branches, letting your instincts guide you.
-
For a fuller look, consider adding additional loops or smaller branches that extend outwards. This adds dimension and keeps the work playful.
-
Secure the end of the wire by creating another loop. Feel the connection between the start and end, a visual representation of life’s continuous cycle.
-
If you’re using a base or frame, carefully wrap the branches around it. Secure with additional wire if needed, ensuring everything feels snug.
-
Finally, if desired, attach string or fishing line to the top for hanging. Feel the anticipation of seeing your creation catch the light where it will hang.
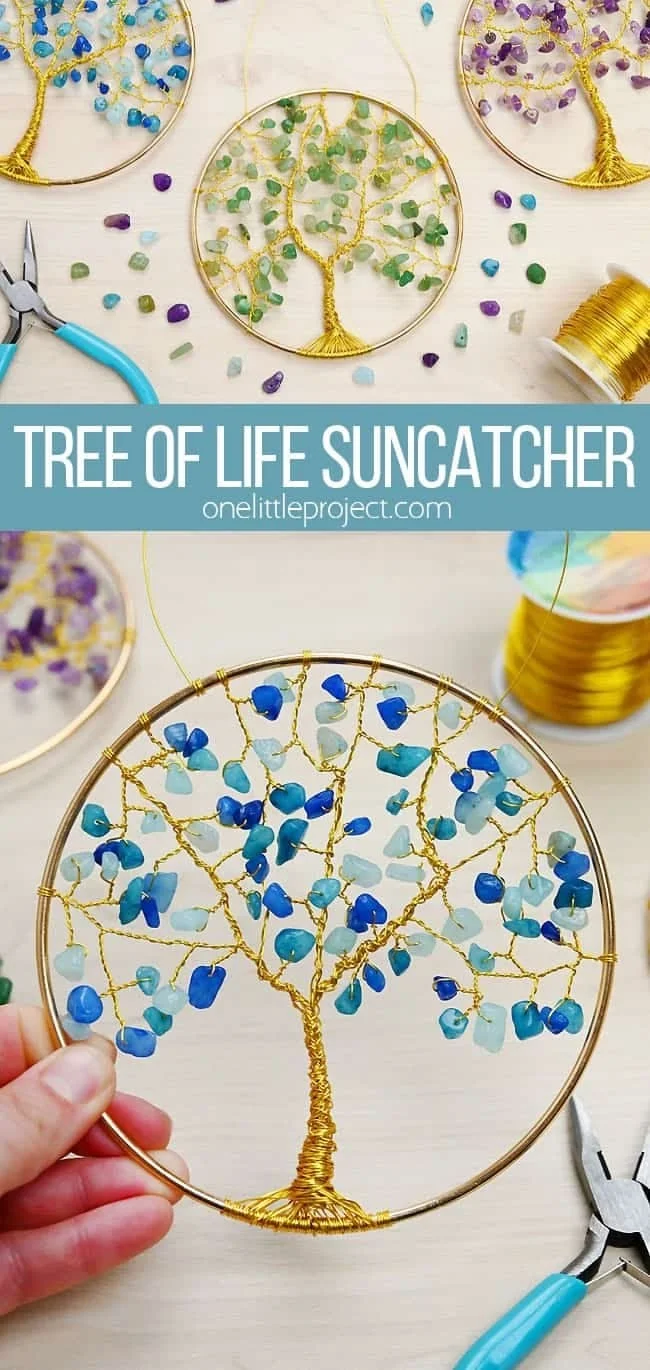
Making the Tree of Life Suncatcher becomes a gentle meditation, a calm affirmation of presence and creativity.
Enjoying the Finished Piece
Once your Tree of Life Suncatcher is complete, it’s time to find the perfect spot for it. Hang it in a window where sunlight can filter through, illuminating the beads and casting delicate colors around the room. Imagine how the light dances across the surface, creating a gentle atmosphere that can make any space feel cozier.
You might choose to place it by a soft chair or reading nook, where it can accompany you during quiet moments. The suncatcher not only enhances the room aesthetically but also serves as a daily reminder of your crafting journey. When you see the light twinkling off the beads, take a deep breath and feel the connection to the act of creation.
Keeping It for Later
Maintaining the beauty of your suncatcher doesn’t require much effort. To keep your creation looking fresh, simply dust it occasionally with a soft cloth. Be mindful of any cleaning products you might use, as they can disrupt the natural textures of your materials. If the beads start to lose their shimmer, gently rinse them in lukewarm water and let them air dry.
If you ever feel the desire to refresh your creation, feel free to remove beads or add new ones. The Tree of Life holds the power of transformation, much like our own journey. Embrace this as a chance to reflect and reinvigorate your piece whenever the inspiration strikes.
Gentle Tips & Variations
- Consider using natural elements like twigs or stones to add a rustic charm to your suncatcher. This invites even more of nature into your space.
- If you’re feeling adventurous, try soldering or weaving wires together for a more elaborate design. Enjoy the process of exploring new textures.
- Experiment with different bead materials like translucent glass, which can create added depth and beauty as light filters through.
- Personalize the tree further by adding small charms or crystals that hold special meaning to you. Each element can tell a story, connecting you to memories.
These ideas are invitations to explore your creativity further. There are no strict rules — only the joy of expressing yourself and creating a piece that feels uniquely yours.
FAQs About Tree of Life Suncatcher – DIY Wire & Beaded Sun Catcher
Do I have to use expensive materials?
Not at all! You can find beautiful beads at various price ranges. Focus on what feels good in your hands and what resonates with you, regardless of cost.
Can I use different shapes for the tree?
Yes! Feel free to let your creativity flow. A gentle arch, a straight line, or even a more abstract tree shape can all convey beauty.
What if I don’t have all the materials?
No worries. You can adapt many items around your home, such as using old jewelry pieces or repurposing items. Let your imagination guide you.
How long will this project take?
The time varies depending on your design and level of detail. Embrace the process – take as long as you need to enjoy crafting each part.
Can I make this with children?
Absolutely! This can be a lovely project to share. Just be mindful of the materials, particularly sharp tools like wire cutters and pliers. Encourage them to explore and create at their own pace.
A Gentle Note Before You Go
As you conclude your time with this soothing project, take a moment to appreciate what you have created. The Tree of Life Suncatcher stands not just as a beautiful artifact in your space but as a testament to a peaceful crafting journey.
Allow the gentle light to remind you of the warmth of your hands creating something meaningful. Each bead reflects a moment of your thoughtfulness, each twist of the wire symbolizing growth and intention. Embrace the calm that comes with your creativity and give yourself permission to return to this peaceful process whenever you need a little light in your life.
Print
Tree of Life Suncatcher
- Total Time: 75 minutes
- Yield: 1 suncatcher
- Diet: NA
Description
Craft a beautiful Tree of Life Suncatcher using wire and beads for a serene and meditative experience.
Ingredients
- Copper or aluminum wire (20-26 gauge)
- A variety of beads (glass, wooden, or stone)
- Wire cutters
- Round-nose pliers
- Flat-nose pliers
- A base or frame (optional)
- String or fishing line for hanging (optional)
- Optional charms or crystals
Instructions
- Begin by cutting a length of wire about 18 inches long.
- Create a small loop at one end using round-nose pliers.
- Thread on beads in a pattern or randomly.
- Once you have added your desired beads, form the wire into the shape of a tree.
- For a fuller look, consider adding additional loops or smaller branches.
- Secure the end of the wire by creating another loop.
- If you’re using a base or frame, wrap the branches around it.
- Finally, attach string or fishing line to the top for hanging.
Notes
Dust occasionally with a soft cloth and wash beads in lukewarm water if needed.
- Prep Time: 15 minutes
- Cook Time: 60 minutes
- Category: Crafts
- Method: Handcrafting
- Cuisine: NA