

Recycled bottles transform into colorful window art that catches the sunlight and brightens the room. A fun project to try this weekend. Picture the warmth of the sun streaming in through your window, casting playful shadows on the floor. The air carries hints of fresh paint and cut plastic, and the gentle clinking of bottles fills your space as you work. Each bottle you hold feels cool and smooth, a simple object now laden with potential for beauty and creativity. This moment invites you to breathe deeply, slow down, and embrace the joy of creating something both lovely and meaningful.
The Heart Behind This DIY
The act of transforming recycled bottles into vibrant window art offers a gentle way to connect with your surroundings. As you work with your hands, you immerse yourself in a calm rhythm, allowing your mind to quiet. There is something wonderfully soothing about taking what is often deemed waste and breathing new life into it. This project encourages you to be present, to notice the colors as they dance in the light, making your space feel alive and bright.
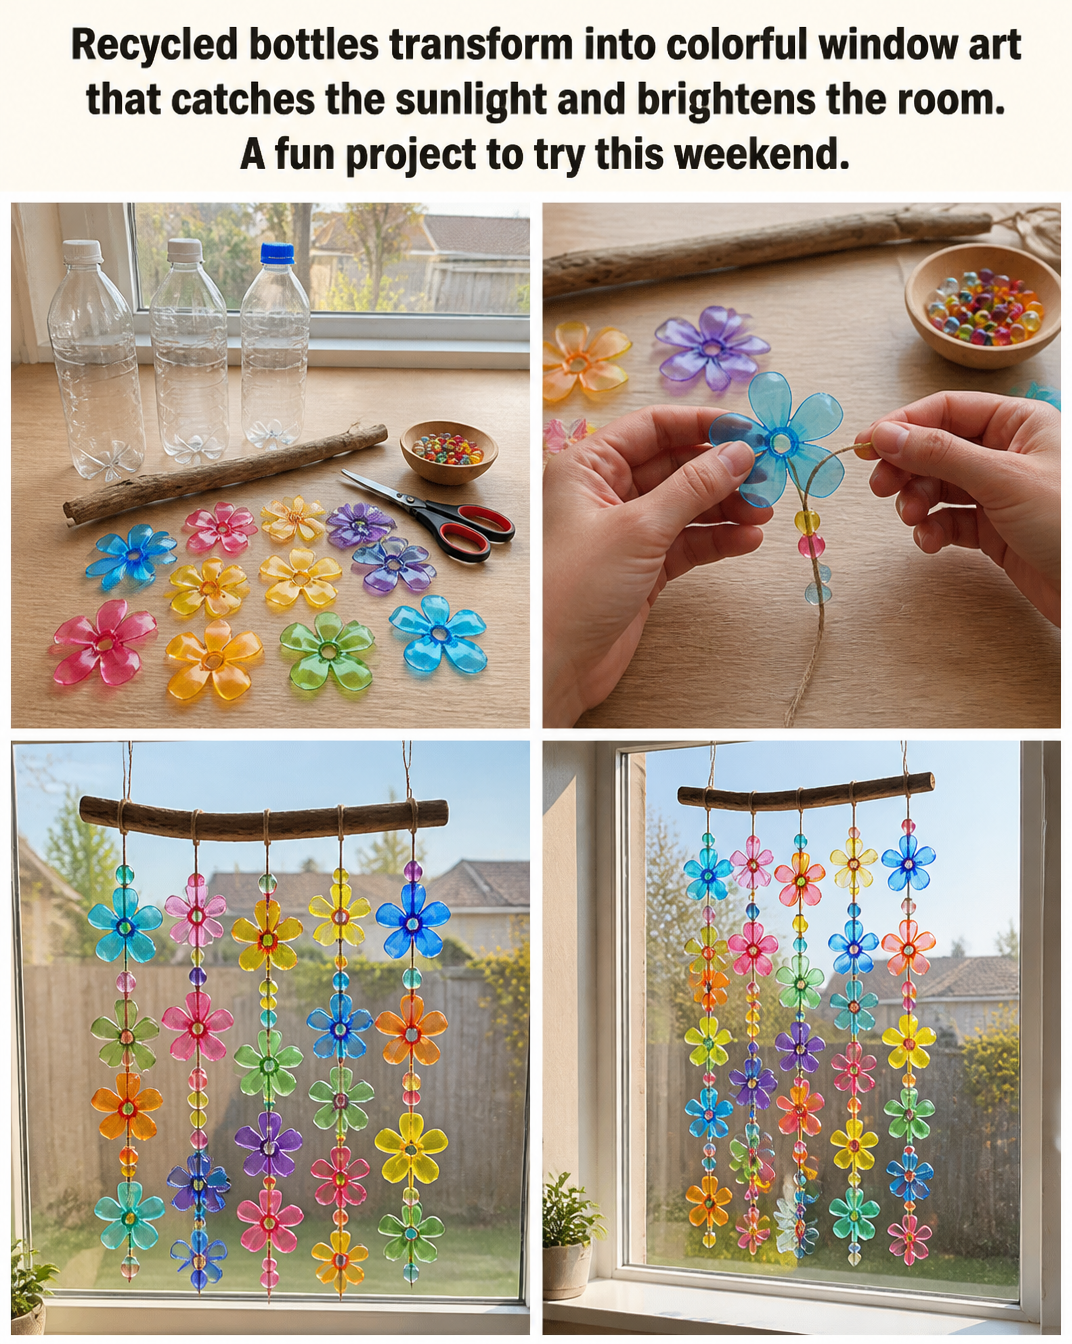
As you cut, paint, and arrange each piece, the repetitive motions ground you in the moment. You become aware of how each stroke of paint feels, the soft texture of your materials, and the way they resonate with your intent. This mindful engagement invites relaxation and eases the mind, creating a cozy atmosphere. It’s a reminder that beauty can spring from simplicity and that creativity thrives in calm, nurturing spaces.
A Gentle Look at the Process
Creating window art from recycled bottles involves several stages, each inviting you to explore different senses. You begin with the soft sounds of scissors slicing through the plastic, feeling the smoothness of the bottle in your hand. As you paint, the rich colors blend, bringing a visual rhythm that reinforces the heartbeat of your project.
Once your art takes shape, you’ll enjoy the satisfying moment when you hang it in the sunlight. There’s a unique pleasure in watching how the light plays through the colors, reflecting and refracting into joyful patterns across your room. This simple project encompasses movement, texture, and visual delight. It becomes a flow that connects you to both the material and the moment.
Materials You’ll Need
- Clean, empty plastic bottles (various sizes work well)
- Acrylic paint (bright colors recommended)
- Paintbrushes (soft and firm bristles)
- Scissors or a craft knife (be careful and use as directed)
- Permanent markers (optional for detailing)
- String or fishing line (for hanging)
- A tray or newspaper (to keep your workspace tidy)
Gathering these materials can be mindful in itself. Notice how wonderful it feels to hold each object in your hands. The paint jars are cool, and the bottles crinkle pleasantly. It’s all part of the cozy atmosphere you are creating.
Step-by-Step Directions
-
Prepare Your Workspace: Clear a surface and cover it with a tray or newspaper. Take a moment to breathe deeply and settle into the space.
-
Clean the Bottles: Remove labels and wash out the bottles thoroughly. Feel the cool water as you rinse away the remnants of their previous life.

-
Cut the Bottles: Using scissors or a craft knife, carefully cut the bottles into desired shapes. This might be the base for your art or fun flower shapes. Enjoy the soft sound of the plastic yielding under your hands.
-
Paint the Pieces: Choose your colors and start painting. Let your brush glide across the plastic, noticing how the paint feels – smooth and silky. Allow each layer to dry before adding more to create depth.
-
Add Details: If you wish, use permanent markers to draw designs or patterns. This is a great opportunity to integrate personal touches. Listen to the quiet scratch of the marker as it glides over the dried paint.
-
Prepare for Hanging: Once your pieces are dry, measure and cut lengths of string or fishing line. Attach them to your artwork securely. Take your time here; this will determine how you display your hard work.
-
Choose Your Window: Hang your art where the light can shine through. Take a moment to stand back and appreciate how the colors look in the sunlight.
-
Enjoy the Results: Step back and let the joy of your creation fill the space. The colors will shift as the light changes throughout the day, a delightful reminder of your cozy creativity.
Enjoying the Finished Piece
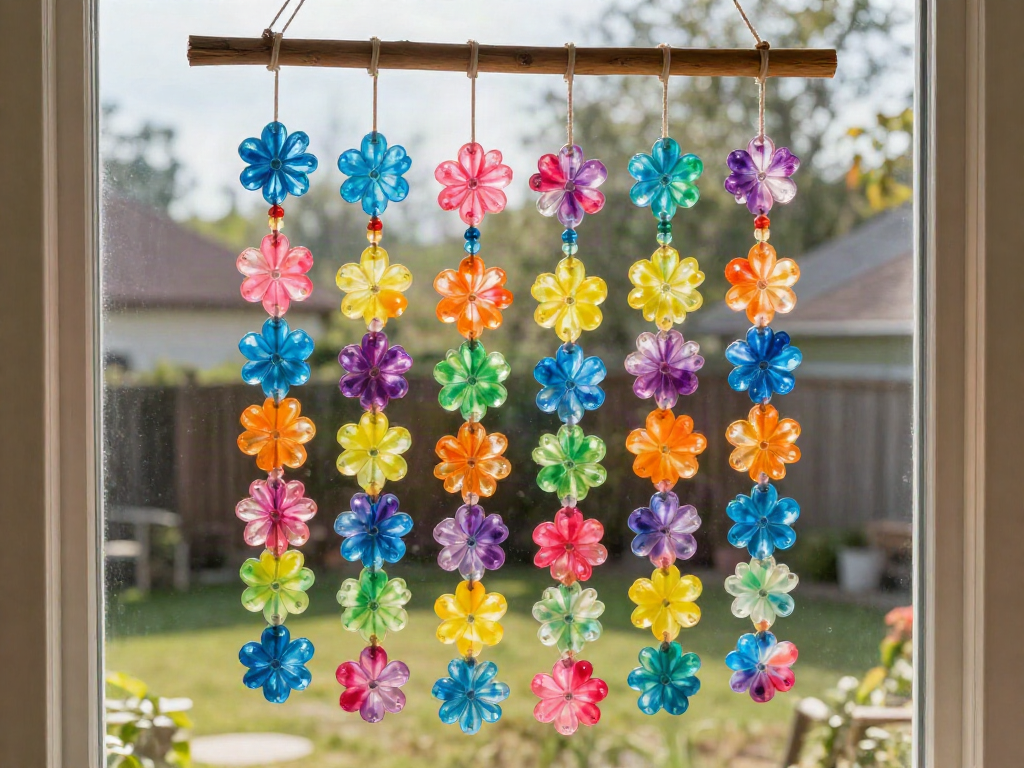
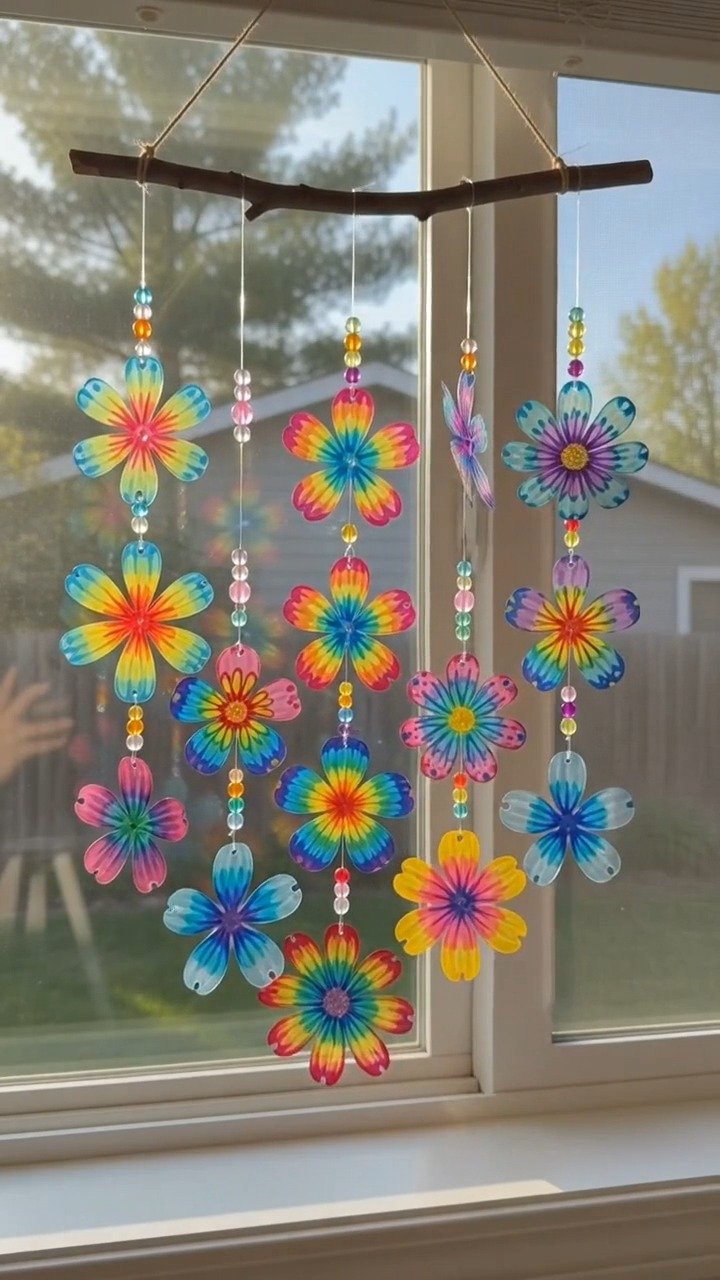
The finished piece of window art transforms your space into a colorful sanctuary. As sunlight flows through the vibrant plastic, soft patterns dance on the walls, bringing warmth and cheer. Each time you glance at your creation, you invite the joy of your crafting into your everyday life.
Hang the artwork in a spot where you often sit or pass by, enabling you to pause and take in its beauty. This simple act of stopping to notice the changing light brings moments of calm throughout your day. Each time you see the colors shift and play, you remember the soothing process of making it. It helps anchor you in the present, reminding you that creativity is a gentle, ongoing dance.
Caring for Your Finished DIY
Your beautiful window art deserves gentle care to keep it looking vibrant. If dust settles on the pieces, a light wipe with a damp cloth can refresh them. It is best to avoid harsh cleaners, as they might dull the colors or scratch the surface of the plastic.
If the art starts to fade, feel free to bring paint back into your life. A few touch-ups can keep things feeling lively. Alternatively, if you tires of a particular design, repurpose the bottle pieces for a new creation. Rather than storing them away, embrace the idea that they can continually evolve in your artistic journey.
Gentle Tips & Variations
-
Explore Color Mixing: Try mixing colors on your palette for subtle shades. This adds depth to your art and gives you new hues to enjoy.
-
Experiment with Shapes: Instead of just cutting straight lines, explore curves or even layered pieces. Your creativity knows no bounds.
-
Add Texture: Use sponges or leaves to create texture in your artwork. It encourages tactile exploration in the painting process.
-
Invite Others to Join: This can be a joyful project to share with friends or family. Enjoying the creative time together brings warmth and connection.
-
Create a Theme: Consider making seasonal art pieces. Bright colors for summer, or muted tones for winter, allowing your work to reflect changing times.
FAQs About Recycled bottles transform into colorful window art that catches the sunlight and brightens the room. A fun project to try this weekend.
What types of bottles work best for this project?
Any clean, clear plastic bottle can work well. Water bottles, soda bottles, and even larger containers like juice bottles are great options. Look for shapes and sizes that inspire you.
Can I use something other than acrylic paint?
Acrylic paint is ideal, but you could experiment with other safe paints as long as they adhere to plastic. Just be sure to test small areas first.
Will the colors fade over time?
Yes, sunlight can fade colors gradually. Enjoy the natural transition but feel free to refresh your artwork with new paint when needed.
Can I create this art inside or outside?
You can make your artwork indoors or outdoors. Just consider where the light is best for displaying the finished piece!
How should I hang my artwork?
You can use adhesive hooks or nails. Just ensure they can support the weight of your pieces and place them securely.
A Gentle Note Before You Go
As you close this chapter of creating recycled bottle window art, remember to cherish the moments you spent bringing color and joy into your space. The process of making this art has its own beauty, an intertwining of thoughtful creation and the intention behind every stroke of paint.
Take this weekend’s calm and cozy spirit with you, perhaps letting it guide you into new creative spaces. Seek the light, let it inspire future projects, and remind yourself that every small effort in making is a step towards nurturing your creative heart. Each finished piece tells a story, not just of the art itself but of the time you spent crafting it with care. Carry that warmth with you as you embrace the beauty of your home and your creative journey.
Print
Recycled Bottle Window Art
- Total Time: 75 minutes
- Yield: Multiple pieces of art
- Diet: N/A
Description
Transform recycled bottles into vibrant window art that brightens up your space.
Ingredients
- Clean, empty plastic bottles (various sizes)
- Acrylic paint (bright colors recommended)
- Paintbrushes (soft and firm bristles)
- Scissors or a craft knife
- Permanent markers (optional for detailing)
- String or fishing line (for hanging)
- A tray or newspaper (to keep your workspace tidy)
Instructions
- Prepare your workspace: Clear a surface and cover it with a tray or newspaper.
- Clean the bottles: Remove labels and wash out the bottles thoroughly.
- Cut the bottles: Carefully cut the bottles into desired shapes.
- Paint the pieces: Choose colors and start painting, allowing layers to dry.
- Add details: Use permanent markers for designs or patterns.
- Prepare for hanging: Measure and cut string or fishing line, and attach it securely.
- Choose your window: Hang your art where the light can shine through.
- Enjoy the results: Step back and appreciate the beauty of your creation.
Notes
If dust settles on the pieces, wipe gently with a damp cloth. Touch up paint as necessary.
- Prep Time: 15 minutes
- Cook Time: 60 minutes
- Category: Crafts
- Method: Handmade
- Cuisine: N/A