

Creating a window suncatcher can evoke a sense of calm and wonder. As you hold a bottle of clear glue in your hands, take a moment to appreciate the smooth, cool texture between your fingers. The liquid glistens softly, almost welcoming the light that dances around it. Imagine how this glue will transform, capturing the vibrant colors you choose and filtering sunlight into your space, leaving trails of warm, glowing hues. This project starts simple, yet it holds the promise of bringing cozy feelings into your home. Clear glue transforms into a bright window suncatcher with colorful details that glow beautifully in the sunlight. Keep this idea for later, as we embark on this gentle journey of making.
The Heart Behind This DIY
This project offers a gentle path to creativity. When we take time to create, we often allow ourselves to slow down and breathe. The act of transforming simple materials into something beautiful connects us to our intentions. It becomes a meditative practice where our hands find rhythm, and our minds can rest.
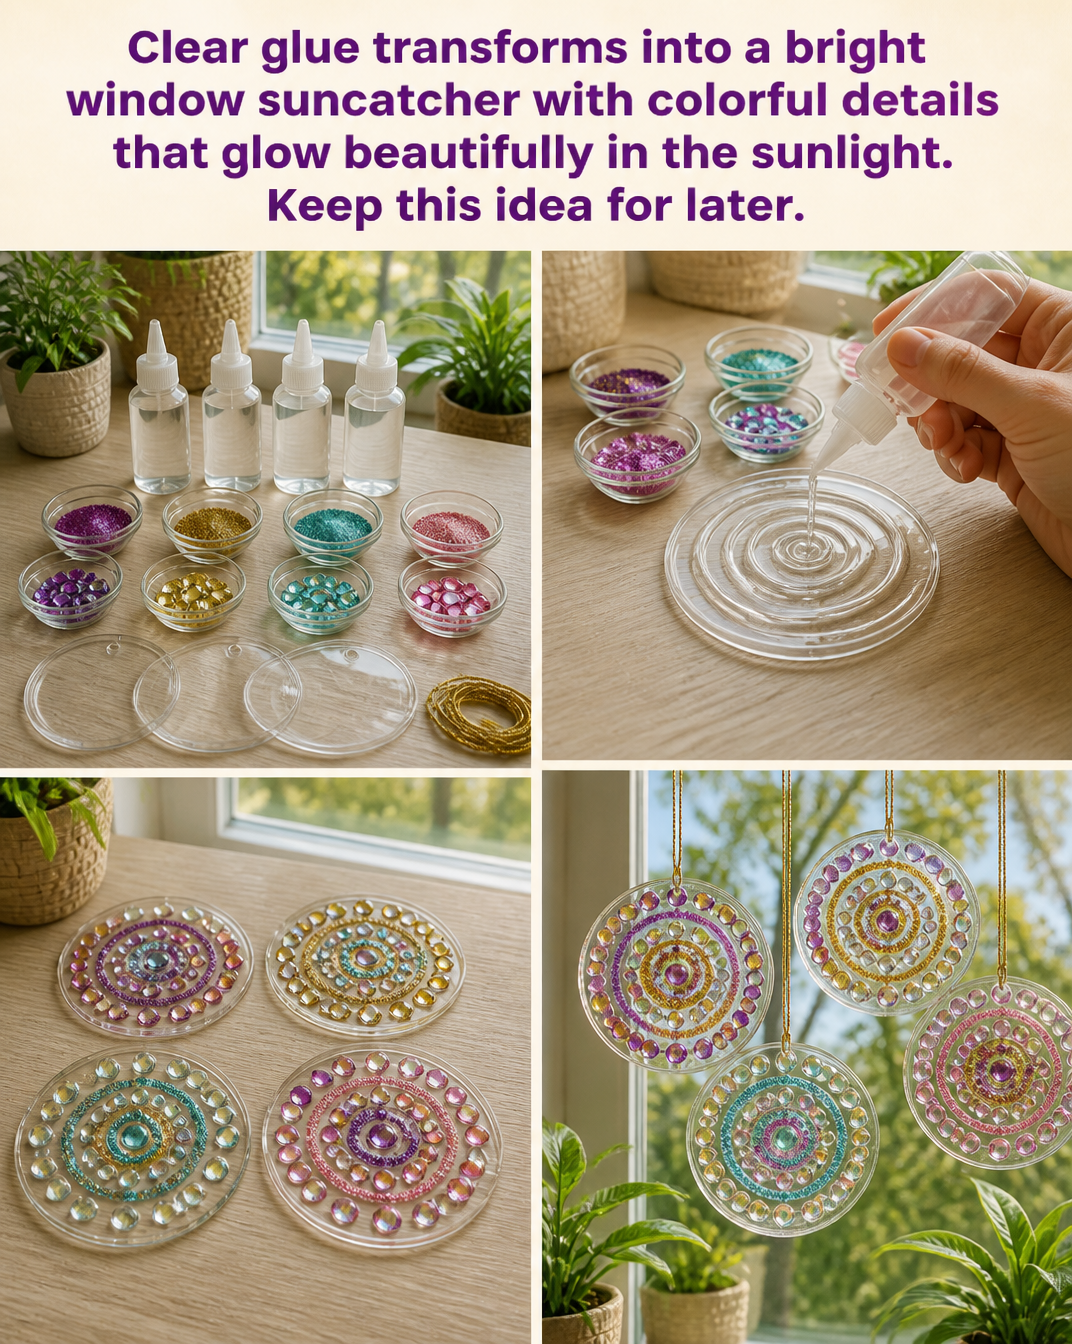
As you engage in this DIY, you may notice how the soft plunk of glue fills the silence around you. The colors you choose will reflect your mood, creating an atmosphere that feels uniquely yours. Each stroke, each layer, builds upon a sense of presence and peace. It’s not just about crafting; it’s a way to cultivate a cozy moment in your day, where worry slips away, and creativity takes center stage.
A Gentle Look at the Process
Envision how this project unfolds. First, you will select your colors, perhaps pressing the cool tubes against your palm, feeling their texture and shape. Then, with every squeeze of glue, the process flows like calm water, spreading across a surface or forming delicate lines.
As you work, the sounds of your surroundings may become clearer — the soft rustle of paper, the gentle trickle of glue, and perhaps the quiet buzz of a nearby window. Creating this window suncatcher encourages a sense of ease; the rhythm of your actions reminds you that there’s no rush. Instead, there is only the pleasure found in each moment as you assemble the piece and prepare it to catch light.
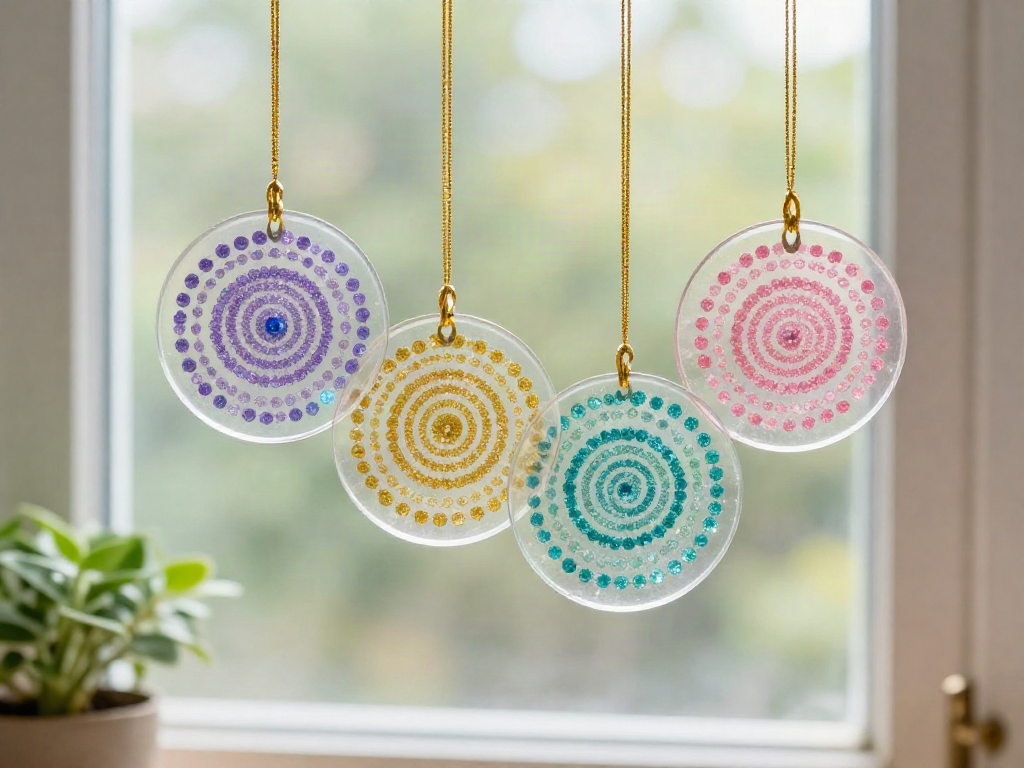
Materials You’ll Need
Gather these simple supplies to start your cozy crafting journey:
- Clear glue (school glue or craft glue works well)
- Colored tissue paper or cellophane sheets (easy to find in stationery shops)
- A clean, flat surface (a table or a tray)
- A paintbrush or sponge brush (optional for spreading glue)
- Scissors (for cutting shapes)
- A piece of cardboard (for a sturdy base)
These materials are straightforward and accessible. You can also substitute colored paper or even scraps of old wrapping paper if you prefer.
Step-by-Step Directions
-
Begin by choosing a sturdy surface to work on. Lay down a protective layer, such as newspaper, for easy cleanup.

-
Cut your colored tissue paper into desired shapes. Feel free to create circles, flowers, or abstract designs. Enjoy the sound of scissors slicing through paper.
-
Once you have a selection of shapes, take the clear glue and pour a small amount onto your working surface. Alternatively, squeeze it from the bottle to create interesting patterns.
-
Using your paintbrush or sponge brush, spread the glue gently onto the cardboard base. This smooth motion can feel reassuring, connecting you to each stroke.
-
Carefully place your cut shapes onto the glued area. Position them thoughtfully, adding more glue as necessary to secure them in place.
-
Once completed, apply another layer of clear glue over the top of your shapes, ensuring they are well covered. This will help your creation shine when the light hits it.
-
Allow your suncatcher to dry completely, which may take a few hours or overnight. The anticipation is part of the joy, as you imagine how it will look when the sun comes through.
-
Once dry, trim any excess cardboard if needed. Find a window location where the suncatcher can hang and catch the light beautifully.
Enjoying the Finished Piece
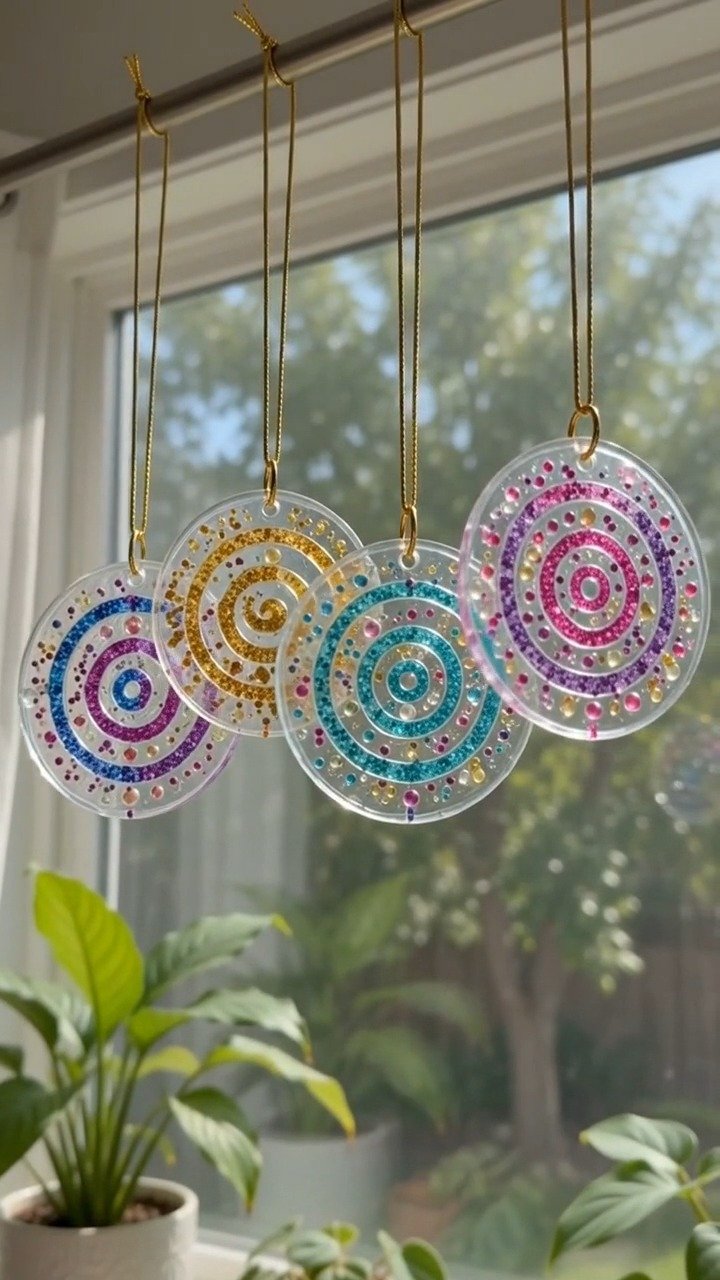
Once your suncatcher is complete, take a moment to admire your work. The colorful details will transform any window into a playful light show, scattering vibrant colors throughout your room. This piece not only serves as decor but also as a reminder of your creative journey.
Hang it where sunlight flows freely, and watch how it interacts with the light throughout the day. As the sun shifts, the changing hues can uplift your spirits. It can also remind you of the quiet time spent making it, allowing peace to settle in your space again.
Keeping It for Later
If you choose to store your suncatcher instead of displaying it immediately, consider keeping it in a cool, dry place, away from direct sunlight. This will ensure the colors remain vibrant and the glue stays intact. You can wrap it in tissue paper or place it in a box to protect it from dust and damage.
If you change your mind later, you can reimagine your suncatcher. Consider adding more colors or shapes to it with or without additional glue, turning it into a seasonal decoration or a gift for someone who appreciates handmade items.
Gentle Tips & Variations
Crafting is about exploring and expressing yourself. Here are a few gentle invitations to consider as you make your suncatcher:
- Try layering different colors of tissue paper for a more dynamic visual effect. The depth of color can create stunning translucencies.
- Experiment with shapes. Instead of traditional cuts, consider tearing the tissue paper for a softer, more organic look.
- Make a series of suncatchers, each reflecting aspects of your personality or different seasons. You can rotate them throughout the year.
- Use glitter or metallic paper to add an extra sparkle for those sunlit moments.
View these ideas not as strict instructions but as gentle nudges toward your creativity.
FAQs About Clear glue transforms into a bright window suncatcher with colorful details that glow beautifully in the sunlight. Keep this idea for later.
Can I use other types of glue for this project?
Clear glue works best due to its transparency when dry. However, you can use craft glue or even Mod Podge as alternatives since they also dry clear.
Will my suncatcher hold up outside?
This project is best suited for indoor use near windows. If exposed to the elements, the colors may fade over time, and the glue could warp with moisture.
What if I don’t have colored tissue paper?
Feel free to use magazine clippings, old wrapping paper, or even colored printer paper. Just remember that the light transmission may vary based on the material.
How can I clean up glue spills?
Once the glue is wet, you can wipe it away with a damp cloth. Remember, a gentle touch keeps all surfaces intact. Once the glue dries, a small amount of warm water with soap can help remove it.
Can I make this a group activity?
Absolutely! This project is a lovely option for gatherings. Friends and family can share colors and shapes, fostering creativity and conversation.
A Gentle Note Before You Go
As your crafting moment comes to a close, take a deep breath. Reflect on this journey of creation. Remember that the process is just as significant as the finished piece. Embrace the soothing textures, sounds, and colors as beautiful reminders of your creative expression.
Let your suncatcher not just be a colorful object but a symbol of intentional reflection and mindfulness in your daily life. Carry this calm with you, and allow it to brighten your home and spirit.
Print
DIY Window Suncatcher
- Total Time: 120 minutes
- Yield: 1 suncatcher
- Diet: N/A
Description
Create a colorful window suncatcher using clear glue and colored tissue paper for a vibrant display of light.
Ingredients
- Clear glue (school glue or craft glue)
- Colored tissue paper or cellophane sheets
- A clean, flat surface (table or tray)
- A paintbrush or sponge brush (optional)
- Scissors
- A piece of cardboard (for a sturdy base)
Instructions
- Begin by choosing a sturdy surface to work on and lay down a protective layer, such as newspaper.
- Cut your colored tissue paper into desired shapes like circles or flowers.
- Once you have a selection of shapes, pour a small amount of clear glue onto your working surface.
- Using your paintbrush or sponge brush, spread the glue gently onto the cardboard base.
- Carefully place your cut shapes onto the glued area, adding more glue as necessary to secure them.
- Once completed, apply another layer of clear glue over the top of your shapes.
- Allow your suncatcher to dry completely, which may take a few hours or overnight.
- Once dry, trim any excess cardboard if needed and find a window location to hang it.
Notes
This project is best for indoor use; colors may fade if exposed to elements. Experiment with shapes and colors for different effects.
- Prep Time: 15 minutes
- Cook Time: 0 minutes
- Category: Crafts
- Method: Crafting
- Cuisine: N/A