This post contains Amazon affiliate links. As an Amazon Associate I earn from qualifying purchases.
As evening falls and soft shadows stretch across your space, the gentle glow of fairy lights begins to flicker to life, casting a warm and inviting hue. Imagine crafting delicate fairy light mushroom decor that not only adds charm to your surroundings but also creates a serene ambiance. Each little mushroom, alight with its own inner glow, whispers of magic and imagination. As your hands work with simple materials, you connect with a creative rhythm that feels both calming and restorative. The act of creating, in this quiet moment, transforms your space while bringing you closer to the essence of cozy creativity.
Why Make This Fairy Light Mushroom Decor (Magical DIY)
Creating fairy light mushroom decor goes beyond just aesthetics; it invites you into a world of calm and creativity. The process allows you to slow down, breathe deeply, and feel present in the moment. As your fingers glide over the materials, you become aware of each soft texture and gentle light. The act of making these charming mushrooms becomes a form of mindfulness, where your mind can focus solely on the rhythm of your hands.
This project encourages you to lean into the experience, letting go of any distractions. With every fold and placement, you nurture a sense of accomplishment that resonates long after the final piece is done. The inviting lights serve not just as decoration, but as a soft reminder of the joys found in simplicity. This ensures that the heart of making becomes just as fulfilling as the finished product.
The Flow of Making Fairy Light Mushroom Decor (Magical DIY)
Before you dive into gathering your materials, let’s take a moment to connect with the rhythm of the process. Imagine the soft sound of your scissors gliding through paper, the gentle rustle of fabric as you shape it into crescents, and the faint click of lights. Each movement counts—the way your hands caress the materials, the soft warmth of glue against your fingers, and the sweet anticipation as the mushrooms come alive with light.
This project flows smoothly as you engage with each element, allowing your mind to settle and your heart to open to possibilities. It becomes less about the end result and more about savoring each moment. Creating becomes a joyful journey, where every little step unfolds like a chapter in a beloved story.
Gathering Your Materials
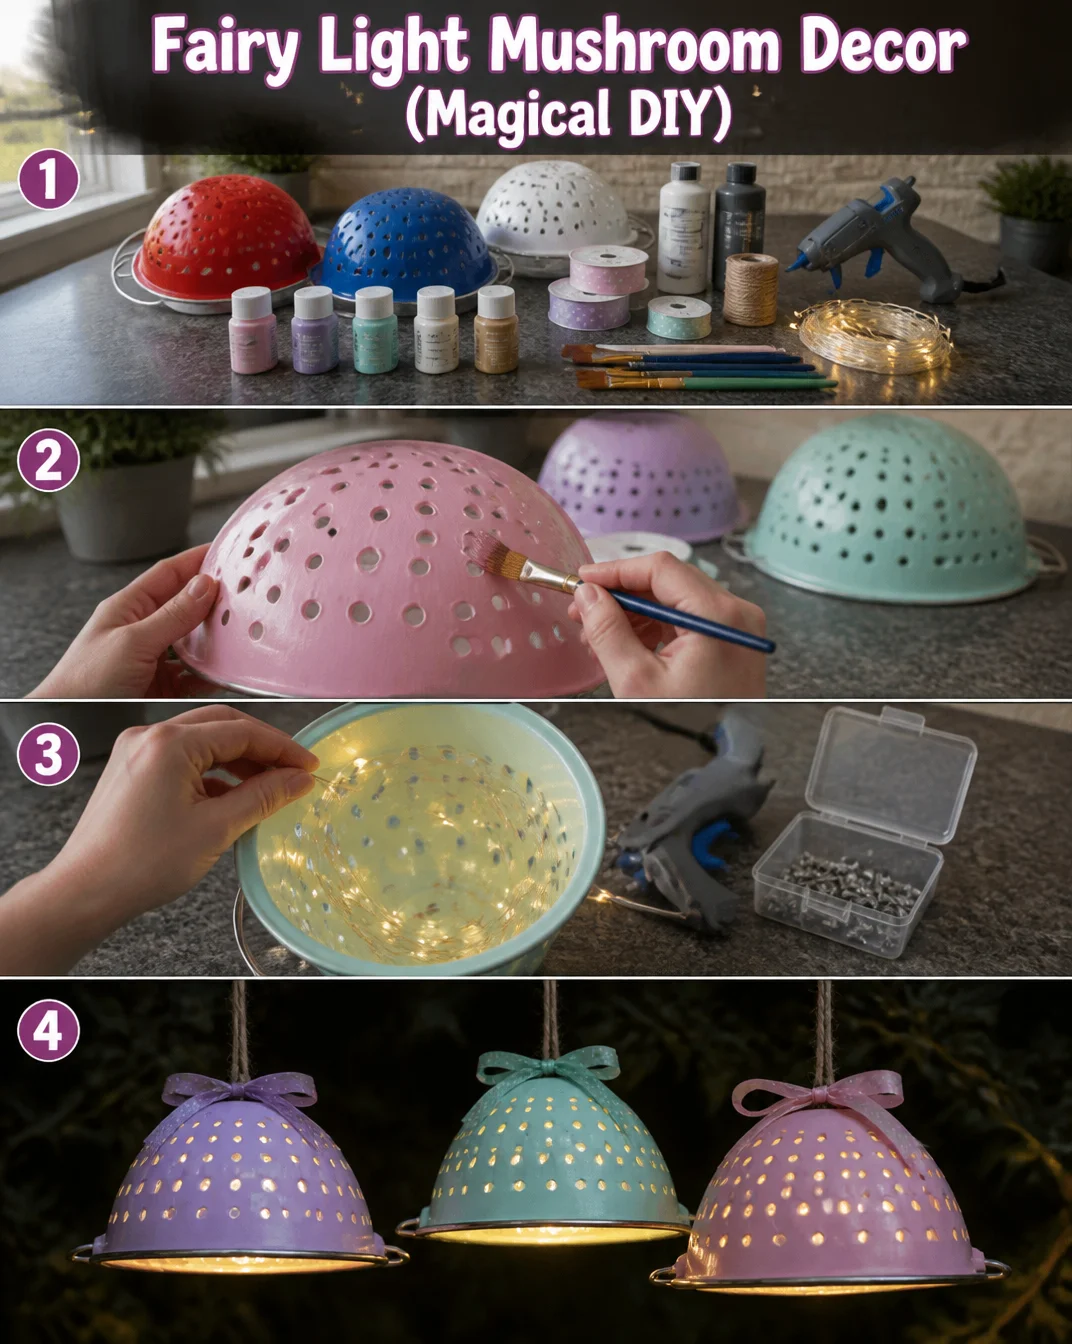
Before you begin, it’s helpful to gather the following supplies. Each item is straightforward to find and brings its own charm to the project. Here’s what you will need:
- Felt sheets in assorted colors (easy to find at most craft stores)
- Small LED fairy lights (battery-operated are great for flexibility)
- Fabric glue or a hot glue gun (be careful with the hot glue)
- Scissors (to cut shapes)
- Wire for structure or support (optional)
- Wooden dowels or sticks (for stems, optional)
- Decorative elements like beads or glitter (for extra flair, optional)
These materials blend together harmoniously, setting the stage for your cozy crafting experience.
Step-by-Step Directions
-
Prepare Your Workspace: Find a comfortable spot where you can spread out your materials. Take a moment to enjoy the calm and organize everything within reach.

-
Cut the Felt: Gently cut the felt sheets into circular or crescent shapes for the mushroom caps. Aim for varying sizes; this will add depth to your final display.
-
Create the Stems: If you are using wooden dowels or sticks, cut them to your desired height. Alternatively, use rolled-up felt or fabric strips for a softer look.
-
Assemble the Mushrooms: Begin by gluing the felt caps onto the tops of your stems. Hold them for a few seconds to ensure a secure bond. Enjoy feeling the warmth of the glue and the sweet smell of felt.
-
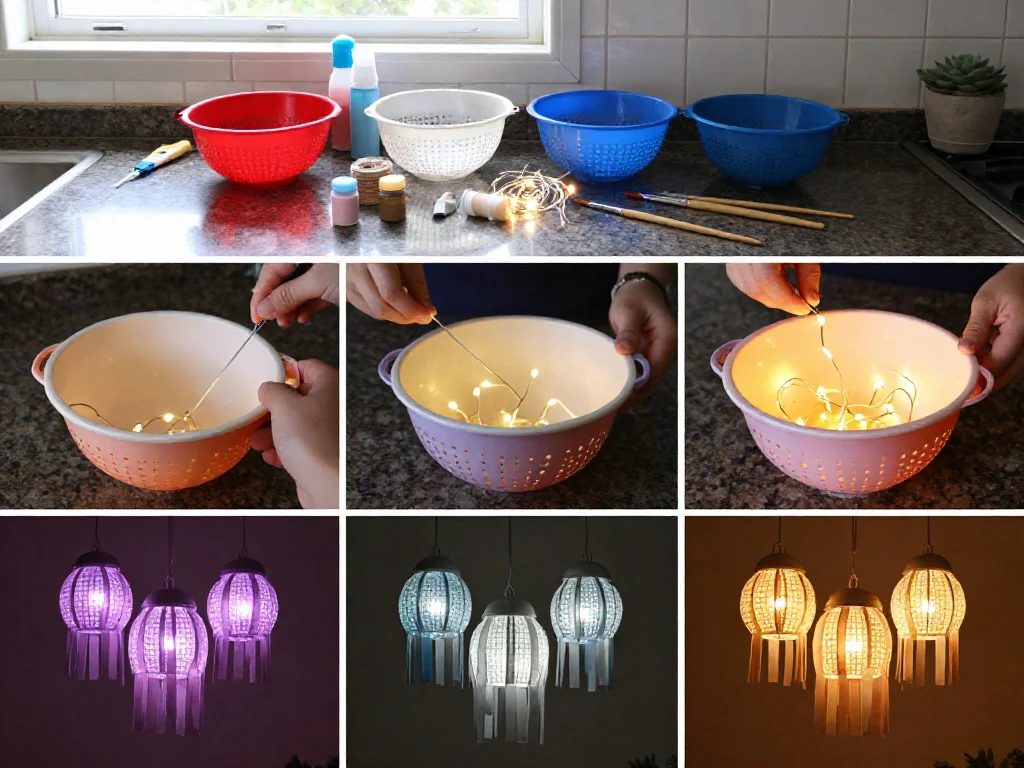
Add Lights: Carefully wrap the fairy lights around the stems. Space the lights evenly and allow them to peek through the felt caps slightly. This creates a magical glow that enhances the mushroom effect.
-
Decorate Further: If you like, embellish your mushrooms with beads or a sprinkle of glitter. This step is an open invitation to express your personality.
-
Arrange Your Display: Once your mushrooms are complete, find a lovely spot in your home to showcase them. Consider a windowsill or a cozy corner of your room.
-
Turn On the Lights: Finally, switch on the fairy lights. Watch how the gentle glow transforms your space, creating an atmosphere of comfort and magic.
Using Fairy Light Mushroom Decor (Magical DIY) in Everyday Life
The magic of your fairy light mushroom decor doesn’t end with its creation. Once complete, these charming pieces can bright up various spaces in your home. Picture them glowing softly on a side table, creating a tranquil reading nook bathed in warm light. They can also serve as enchanting accents in a child’s bedroom, sparking their imagination as they drift off to sleep.
You may choose to place them near houseplants for an added touch of whimsy or use them as part of a centerpiece during gatherings. Each time you catch a glimpse of the soft illumination, you are reminded of the cozy experience you had making them. They not only enhance your environment but also provide a sense of warmth, inviting calmness into your everyday routine.
How to Store or Reuse Fairy Light Mushroom Decor (Magical DIY)
As the seasons change, or when you simply wish to refresh your space, storing your fairy light mushroom decor properly ensures its longevity. To keep them safe, gently disassemble the mushrooms if necessary, especially if they are made from lightweight materials.
Consider storing them in a soft fabric bag or a sturdy box, wrapped in tissue paper to avoid scratches or breaks. This mindful care retains their beauty for future use. You can also repurpose them easily for seasonal displays or festive occasions, transforming them to fit various themes throughout the year.
Small Ways to Make It Your Own
Every crafting journey invites personalization, and this project is no exception. Here are a few gentle ideas to make your fairy light mushroom decor uniquely yours:
-
Experiment with Colors: Don’t hesitate to mix and match felt colors. Try muted tones for a cozy feel, or vibrant hues for a playful touch.
-
Layer Your Caps: Create texture by layering different sizes of felt caps on top of each other. This adds dimensionality to your mushrooms.
-
Try Different Stems: Experiment with using natural branches or twigs for stems instead of dowels. Their rustic charm enhances the earthy feel of your decor.
-
Add Personal Touches: Incorporate small trinkets or charms on your mushrooms, something meaningful that brings you joy whenever you glance at them.
-
Create a Mini Display: Craft several mushrooms in varying sizes to form a mini forest on a tray or in a glass dome. This way, you’ll have a delightful centerpiece that tells a story.
FAQs About Fairy Light Mushroom Decor (Magical DIY)
What materials can I substitute if I can’t find felt?
If felt isn’t available, consider using paper, fabric scraps, or even old clothes for a textured look. Just ensure they can hold their shape while allowing light to shine through.
How long will the battery-operated fairy lights last?
Typically, the battery life depends on the type of fairy lights you use. Many last for days or weeks with regular use. Be mindful to check the batteries periodically.
Can I make these mushrooms bigger or smaller?
Absolutely! Feel free to alter the size of your mushroom caps and stems to create a variety of looks. It’s about enjoying the process and how you imagine them in your space.
How can I clean the mushrooms if they get dusty?
Use a soft cloth to gently wipe off any dust. If they’re particularly delicate, consider using a damp cloth to avoid damaging any glued elements.
Are these fairy light mushrooms safe for kids?
As long as you supervise and ensure that the lights are properly secured, they are generally safe. Just be cautious with the glue gun around little hands and always use kid-friendly materials when crafting with them.
A Gentle Note Before You Go
Creating fairy light mushroom decor opens a doorway into a world of mindfulness and creativity. The process becomes a journey in itself, where each moment is filled with intention and calm. As you finish your project, take a moment to immerse yourself in the softness of the atmosphere around you. Let the glow of the mushrooms remind you of the tranquility found in mindful craftsmanship.
May your cozy hands embrace this gentle practice, filling your space with warmth and light. Every detail you crafted carries a piece of your heart, making your environment not just a backdrop, but a canvas of joy and serenity.
Print
Fairy Light Mushroom Decor
- Total Time: 15 minutes
- Yield: As many mushrooms as desired
- Diet: N/A
Description
Craft magical fairy light mushrooms that illuminate your space with charm and serenity. A calming DIY project that brings creativity and light into your home.
Ingredients
- Felt sheets in assorted colors
- Small LED fairy lights (battery-operated)
- Fabric glue or hot glue gun
- Scissors
- Wire for structure (optional)
- Wooden dowels or sticks (optional)
- Decorative elements like beads or glitter (optional)
Instructions
- Prepare Your Workspace: Find a comfortable spot and organize all materials.
- Cut the Felt: Cut felt sheets into circular or crescent shapes for caps.
- Create the Stems: Cut wooden dowels or use rolled-up felt strips.
- Assemble the Mushrooms: Glue felt caps onto stems and hold for a few seconds.
- Add Lights: Wrap fairy lights around stems, letting them peek through the caps.
- Decorate Further: Embellish with beads or glitter for personal flair.
- Arrange Your Display: Find a lovely spot to showcase your mushrooms.
- Turn On the Lights: Switch on the fairy lights to create a cozy atmosphere.
Notes
Store safely in a soft fabric bag or sturdy box. Customize with different colors or add personal touches.
- Prep Time: 15 minutes
- Cook Time: 0 minutes
- Category: Home Decor
- Method: Crafting
- Cuisine: N/A