This post contains Amazon affiliate links. As an Amazon Associate I earn from qualifying purchases.
The soft light of the late afternoon filters through the window, casting delicate shadows across a gentle arrangement of blooms. There’s something wonderfully peaceful about taking a moment to gather these flowers, admiring their intricate details and colors, before nestling them into a floating flower frame. This simple act of creation envelops you in a sense of calm, inviting you to pause and savor the beauty of each petal, each leaf, as they dance softly in the breeze. It is in these quiet moments of making that you find connection—the connection to nature, to your hands, and to the soothing rhythm of creativity.
The Heart Behind This DIY
Creating a floating flower frame allows you to slow down and nurture a mindful practice that echoes the seasons of life. It is in this gentle act where calmness unfolds. As you prepare the materials and slide the blossoms into place, each step unravels a bit of tension and invites you to embrace your surroundings. The flowers, preserved in their suspended beauty, become a lasting representation of a moment in time, a memory captured in vivid colors.
Engaging in this project cultivates a deeper appreciation for the ephemeral nature of blooms. In our fast-paced world, allowing yourself this respite brings a sense of grounding into your day. As you arrange each flower, you immerse yourself in sensory delights—the cool touch of petals, the faint scent of nature clinging to your hands, and even the soft, rhythmic sounds of your surroundings. These elements create a tranquil atmosphere that encourages reflection and creativity, fostering a peaceful mind.
A Gentle Look at the Process
Before diving into gathering materials, let’s take a moment to appreciate how this process unfolds. As you prepare to create your floating flower frame, the act itself feels orchestrated—a dance of hands moving slowly, thoughtfully with each step. You may begin by selecting your favorite blooms, perhaps their colors catch your eye or memories swirl around their fragrance.
Once you gather your materials, the creation process invites you to form a visual narrative. Each flower you place into the frame feels like a brushstroke on a canvas, and arranging them becomes a meditation in itself. The textures of the petals, the curves of the stems, and the way light refracts through the frame all blend to create a sensory experience that calms the mind.
Materials You’ll Need
- A wooden or plastic frame (easy to find at craft stores)
- Fine mesh fabric or clear acetate (to create a see-through layer)
- Fresh or dried flowers (personal favorites work well)
- Strong adhesive (craft glue or a hot glue gun)
- Scissors (for trimming flowers)
- Wire (optional, for added stability)
- Tweezers (optional, to assist in placing small flowers)
Feel free to explore your surroundings. Fresh flowers can bloom in your garden or local market, while dried flowers carry their own magic. Use substitutes based on what inspires you, allowing room for spontaneity in your choice.
Step-by-Step Directions
-
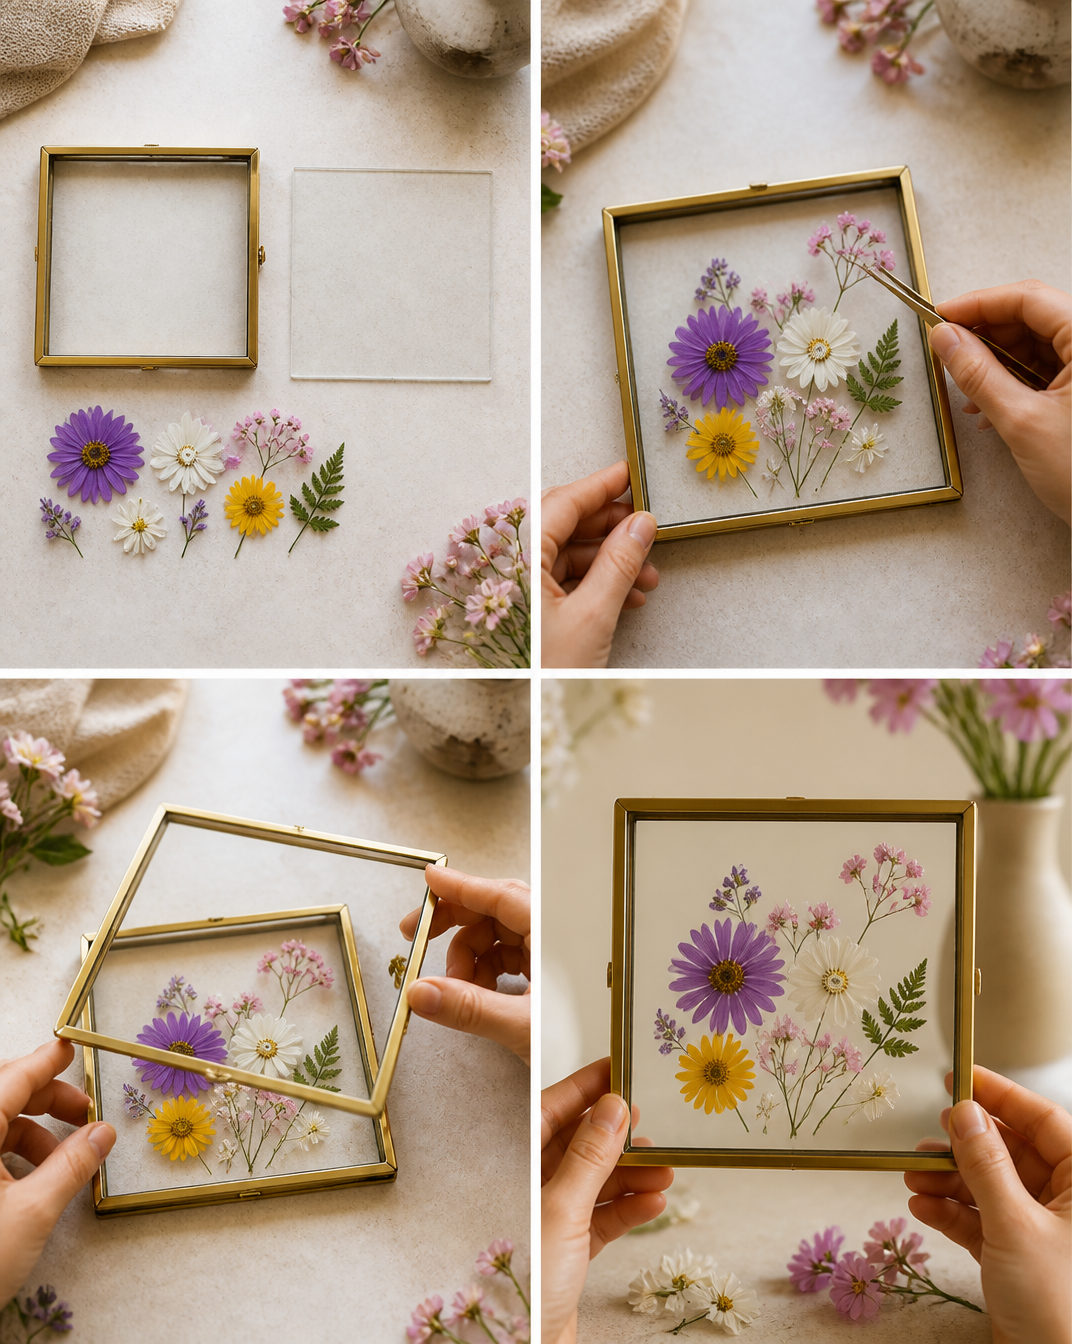
Prepare Your Flowers: Begin by selecting fresh or dried flowers. If using fresh flowers, trim their stems. For dried blossoms, gently remove any excess foliage.
-
Cut the Mesh: Cut your mesh or acetate to fit the back of your frame. Leave an extra inch around the edges to secure it later.

-
Attach the Mesh: Place your mesh or acetate behind the frame glass. Secure it in place with the adhesive, letting it dry according to the package instructions.
-
Arrange Flowers: Use your hands to create a pleasing arrangement of flowers on the mesh or acetate. Enjoy the tactile experience of holding each bloom and feeling its texture.
-
Secure Flowers: With tweezers or your fingers, carefully apply a drop of adhesive to the base of each flower, pressing gently to attach them to the mesh.
-
Final Touches: Once the flowers are secured, allow the adhesive to dry completely. Take a moment to admire your work before sealing the frame.
-
Assemble the Frame: Place the frame back together, ensuring the flowers are secure and visible. Enjoy the contrast of the lively colors against the gentle backdrop of the acetate.
-
Display Your Art: Choose a gentle place for your new floating flower frame where it can absorb natural light, illuminating the blooms in all their glory.
Enjoying the Finished Piece
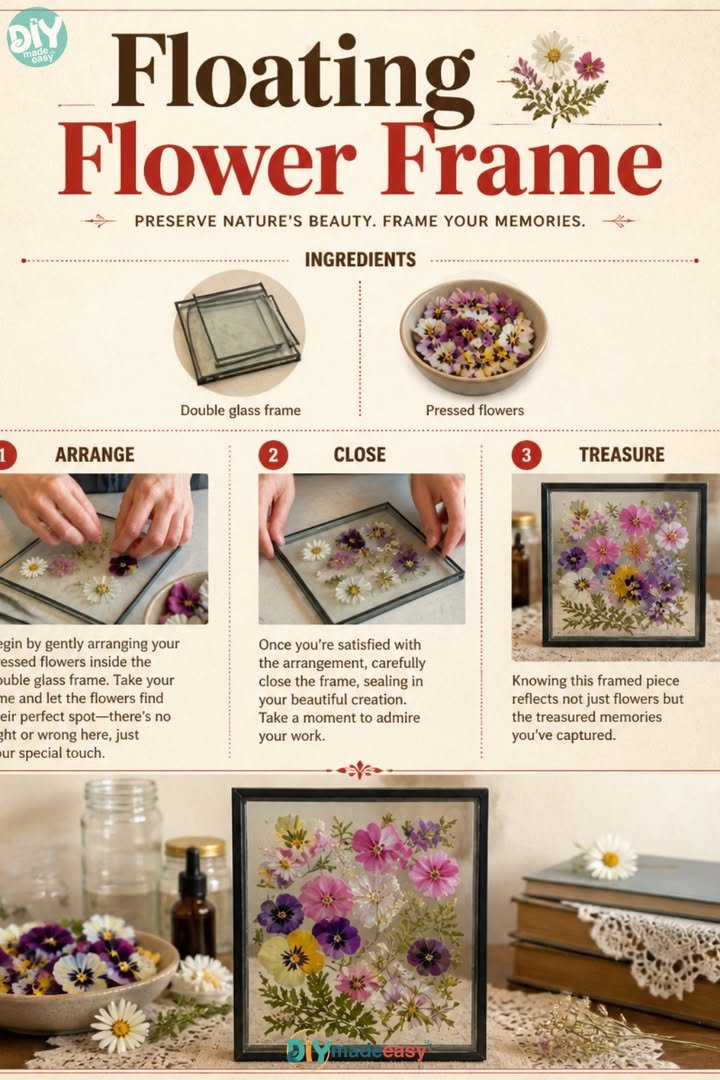
Your floating flower frame is more than just a decorative piece; it becomes a little oasis in your space. Place it on a windowsill where the sunlight dances over it, or hold it against a softly-lit wall to create a lovely focal point. This ode to nature serves as a daily reminder of beauty and tranquility.
In moments of stress or chaos, finding yourself in the presence of your framed blooms can instantly uplift your spirit. Allow your eyes to linger on the colors and shapes, letting the textures transport you back to the moment you created it. Display it in a guided meditation corner, a cozy reading nook, or even a shared table, inviting connection and conversation.
Keeping It for Later
As seasons shift, so can your floating flower frame. If you choose to keep the arrangement for several months, find a cool, dry place to avoid fading. Cover it lightly with a sheer cloth if dust collects. This small attention ensures your creation remains fresh and cherished.
If you desire a new look, consider gently removing the flowers to make space for new arrangements. Your frame can continuously evolve as you gather flowers throughout the seasons, telling a story of change and growth while maintaining a calming presence in your space.
Gentle Tips & Variations
-
Experiment with Layers: Try layering multiple sheets of mesh or acetate to create depth. This adds a fascinating visual aspect and allows for playful arrangements.
-
Incorporate Sentimental Items: Consider weaving in items like pressed leaves or petals from a memorable event, making the piece even more personal.
-
Play with Colors: Use a variety of flowers with contrasting colors to create a lively statement piece, or choose monochromatic tones for a more serene effect.
-
Add Textures: Include dried flowers alongside fresh ones for an interesting textural contrast. The interplay of soft and brittle elements can enhance the overall visual experience.
These gentle invitations encourage you to explore your creativity. Each adaptation adds to the charm of your creation while reflecting your unique story.
FAQs About Floating Flower Frame
Q: Can I use flowers from my garden?
A: Absolutely! Fresh flowers from your garden bring a personal touch and familiar scents that evoke memories. Just ensure they are free from chemicals and treatment.
Q: How long will my flowers last in the frame?
A: This depends on whether you use fresh or dried flowers. Fresh flowers may last a few weeks, while dried flowers can maintain their beauty for months, creating a lasting piece to enjoy.
Q: Do I need any special tools for this project?
A: No special tools are required, but having a pair of tweezers can make the arranging process much easier, especially for smaller flowers.
Q: Can I use artificial flowers instead?
A: Yes, using artificial flowers is a great option if you want a long-lasting, maintenance-free piece. Just ensure they look natural to maintain the project’s charm.
Q: What if I want to change the flowers later?
A: You can gently remove the flowers from the frame if you wish to rearrange or refresh your display. Take your time to ensure the mesh or acetate stays intact.
A Gentle Note Before You Go
As you embrace the calmness of creating your floating flower frame, take a moment to reflect on the experience. Each step serves as a gentle reminder of the beauty in slowing down, finding joy in the small details, and nurturing your creativity. Allow your frame not just to decorate your home, but to celebrate the little moments that bring you peace.
Enjoy the process, the imperfections, and the unique expression that naturally comes forth as you create. As the seasons change, may your frame evolve, welcoming new memories and inspirations to fill your space with warmth. Live gently with each creation, allowing it to echo the love and care you cultivate in your life.
Print
Floating Flower Frame
- Total Time: 20 minutes
- Yield: 1 frame
- Diet: N/A
Description
Create a tranquil and beautiful floating flower frame to capture the essence of nature in your home.
Ingredients
- A wooden or plastic frame
- Fine mesh fabric or clear acetate
- Fresh or dried flowers
- Strong adhesive (craft glue or hot glue gun)
- Scissors
- Wire (optional)
- Tweezers (optional)
Instructions
- Prepare your flowers by selecting fresh or dried varieties and trimming stems as needed.
- Cut your mesh or acetate to fit the back of your frame, leaving an inch around the edges.
- Attach the mesh behind the frame glass and secure with adhesive, letting it dry.
- Arrange flowers on the mesh or acetate, enjoying the tactile experience.
- Secure each flower with adhesive, pressing gently to attach them.
- Final touches: allow the adhesive to dry completely and admire your work.
- Assemble the frame ensuring everything is secure.
- Display your floating flower frame in a place where it can absorb natural light.
Notes
Experiment with different flowers and arrangements to reflect your personal style.
- Prep Time: 20 minutes
- Cook Time: 0 minutes
- Category: Craft
- Method: Crafting
- Cuisine: N/A