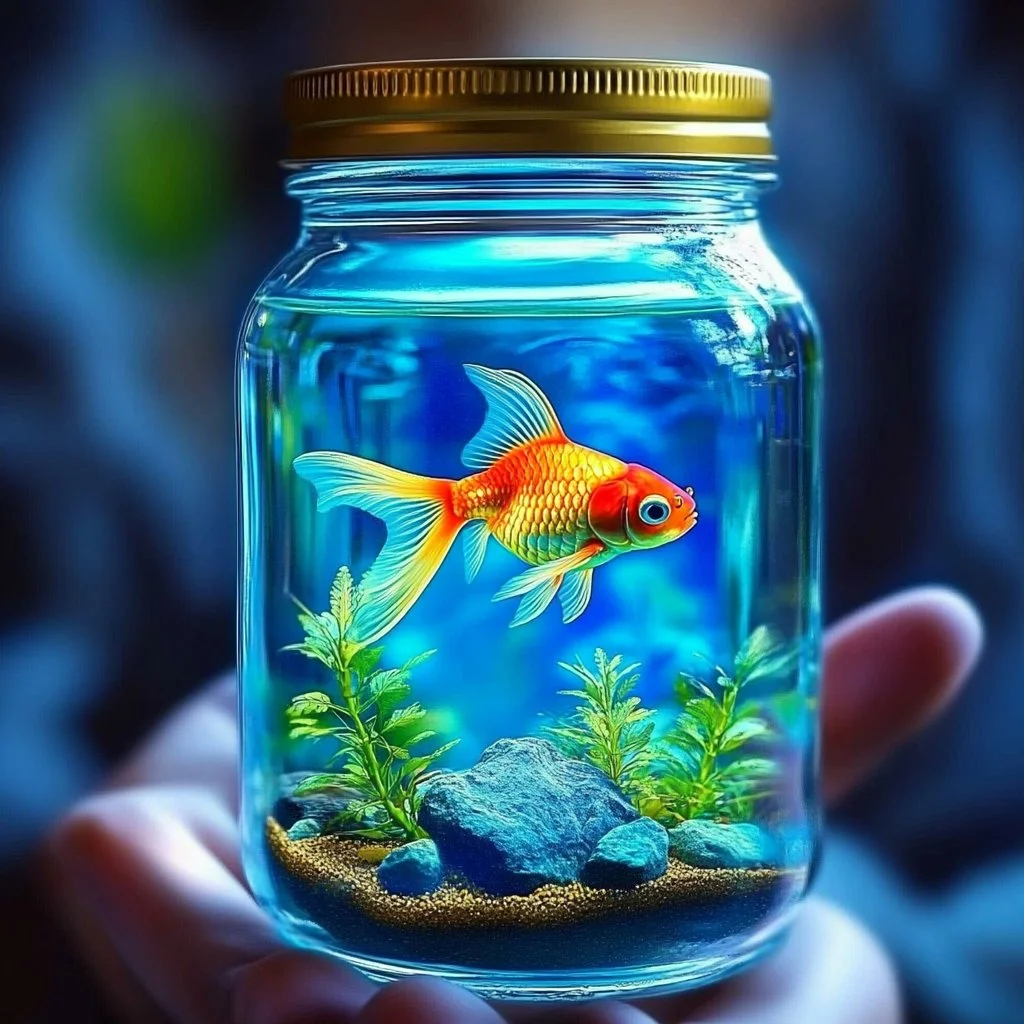
Creating a mason jar aquarium is a delightful and imaginative craft that combines art and nature in a unique way. Whether you’re looking for a fun activity to do with kids, a relaxing project for yourself, or a creative gift idea, this mason jar aquarium ticks all the boxes. With just a few materials and some inspiration, you can transform a simple glass jar into a captivating underwater scene. The soothing presence of greenery and decorative stones adds a touch of tranquility to any space, making it an inviting focal point for your home or office.
This craft allows for endless customization, so each person’s aquarium can reflect their own personality and style. Whether you prefer vibrant colors, serene greens, or quirky ornaments, you can create an aquarium that is truly one of a kind. So roll up your sleeves, gather your supplies, and let your creativity flow while you embark on this enjoyable crafting journey!
Why You’ll Love This Mason Jar Aquarium:
- Easy and Fun: Perfect for all ages; an engaging way to bond with family or friends.
- Creative Freedom: Personalize your design with different decorations, plants, and colors.
- Low Maintenance: Unlike real aquariums, these require minimal upkeep.
- Beauty at Home: Adds a unique decorative touch to any room.
- Great Gift Idea: A handmade gift that is thoughtful and eye-catching.
Materials:
- Mason jar (wide-mouth recommended)
- Small aquarium gravel or pebbles
- Activated charcoal (for filtration)
- Potting soil (for live plants)
- Aquarium plants (artificial or real)
- Mini decorations (like small figurines)
- Water (if needed for real plants)
- Tweezers (for arranging materials)
- Optional: Spray sealant (for finishing)
Full Step-by-Step:
1. Prepare Your Mason Jar:
- Clean the mason jar thoroughly to remove any dust or residues.
- Dry it completely to prevent mold growth.
2. Layer the Base:
- Start by adding a layer of aquarium gravel or pebbles at the bottom. This should be about an inch deep.
- Use a spoon or your fingers to spread it evenly. Listen for the satisfying sound of gravel cascading.
3. Add Activated Charcoal:
- Sprinkle a thin layer of activated charcoal over the gravel to keep the environment fresh.
- This should be approximately 1/4 inch to 1/2 inch thick.
4. Place Potting Soil:
- Gently add a layer of potting soil over the charcoal layer. Aim for about an inch.
- Feel the texture of the soil as you spread it. It should be even and soft.
5. Arrange Your Plants:
- If using real plants, create small holes in the soil and gently insert them, ensuring their roots are covered.
- For artificial plants, use tweezers to position them creatively throughout the jar.
6. Add Decorations:
- Place miniature decorations around the plants. Use your fingers to position them as desired.
- Consider arranging them to create a story within your aquarium.
7. Final Touches:
- If you’re using real plants, slowly add water until the soil is fully saturated but not flooded.
- For aesthetics, consider sealing the jar or leaving it open for easier access to moisture.
8. Display Proudly:
- Find the perfect spot for your new aquarium. Observe how it transforms the space.
Tips & Variations:
- Customization: Try using colored stones for a different look or themed decorations (like a beach or fairy garden).
- Plant Swaps: Mix different types of aquatic plants to change the environment.
- Sealant: Use a spray sealant if you’d like to create a long-lasting display with no need for water.
Frequently Asked Questions:
1. Can I use live plants?
Yes! Choose low-maintenance aquatic plants that thrive in jars with limited sunlight.
2. How do I care for the jar aquarium?
If using real plants, ensure they get indirect sunlight and check water levels regularly.
3. What if I make a mess while arranging?
Keep a dustpan nearby for easy cleanup, or work on newspaper for extra coverage.
4. How do I prevent mold growth?
Ensure proper layering and ventilation. Avoid overwatering if using real plants.
Suggestions:
- Consider adding LED lights inside the jar for a mesmerizing glow at night.
- Create themed aquariums based on seasons or holidays.
- Collaborate with friends to make a series of jar aquariums with different themes.
Final Thoughts
Creating a mason jar aquarium is not just a craft; it’s an exercise in creativity and relaxation. Every jar tells a story, and each aquarium can be a piece of art. We’d love to see your versions of the mason jar aquarium! Feel free to share your creations or leave a comment about your experience. Happy crafting!
Print
Mason Jar Aquarium
- Total Time: 30 minutes
- Yield: 1 aquarium
- Diet: N/A
Description
A delightful craft combining art and nature, perfect for personalizing and home decor.
Ingredients
- Mason jar (wide-mouth recommended)
- Small aquarium gravel or pebbles
- Activated charcoal
- Potting soil
- Aquarium plants (artificial or real)
- Mini decorations (figurines)
- Water (if needed for real plants)
- Tweezers
- Optional: Spray sealant
Instructions
- Prepare Your Mason Jar: Clean the mason jar thoroughly to remove any dust or residues. Dry it completely to prevent mold growth.
- Layer the Base: Add a layer of aquarium gravel or pebbles at the bottom, about an inch deep. Spread it evenly.
- Add Activated Charcoal: Sprinkle a thin layer of activated charcoal over the gravel, about 1/4 inch to 1/2 inch thick.
- Place Potting Soil: Add a layer of potting soil over the charcoal, about an inch thick.
- Arrange Your Plants: Create holes in the soil for real plants or use tweezers for artificial plants.
- Add Decorations: Place mini decorations around the plants to create a story within your aquarium.
- Final Touches: Add water slowly to saturate the soil if using real plants. Seal the jar optionally.
- Display Proudly: Find a spot for your aquarium and enjoy how it transforms your space.
Notes
Try using colored stones or themed decorations for customization. Use low-maintenance aquatic plants if using live ones.
- Prep Time: 30 minutes
- Cook Time: 0 minutes
- Category: Craft
- Method: Crafting
- Cuisine: N/A
Nutrition
- Serving Size: 1 aquarium
- Calories: 0
- Sugar: 0g
- Sodium: 0mg
- Fat: 0g
- Saturated Fat: 0g
- Unsaturated Fat: 0g
- Trans Fat: 0g
- Carbohydrates: 0g
- Fiber: 0g
- Protein: 0g
- Cholesterol: 0mg

