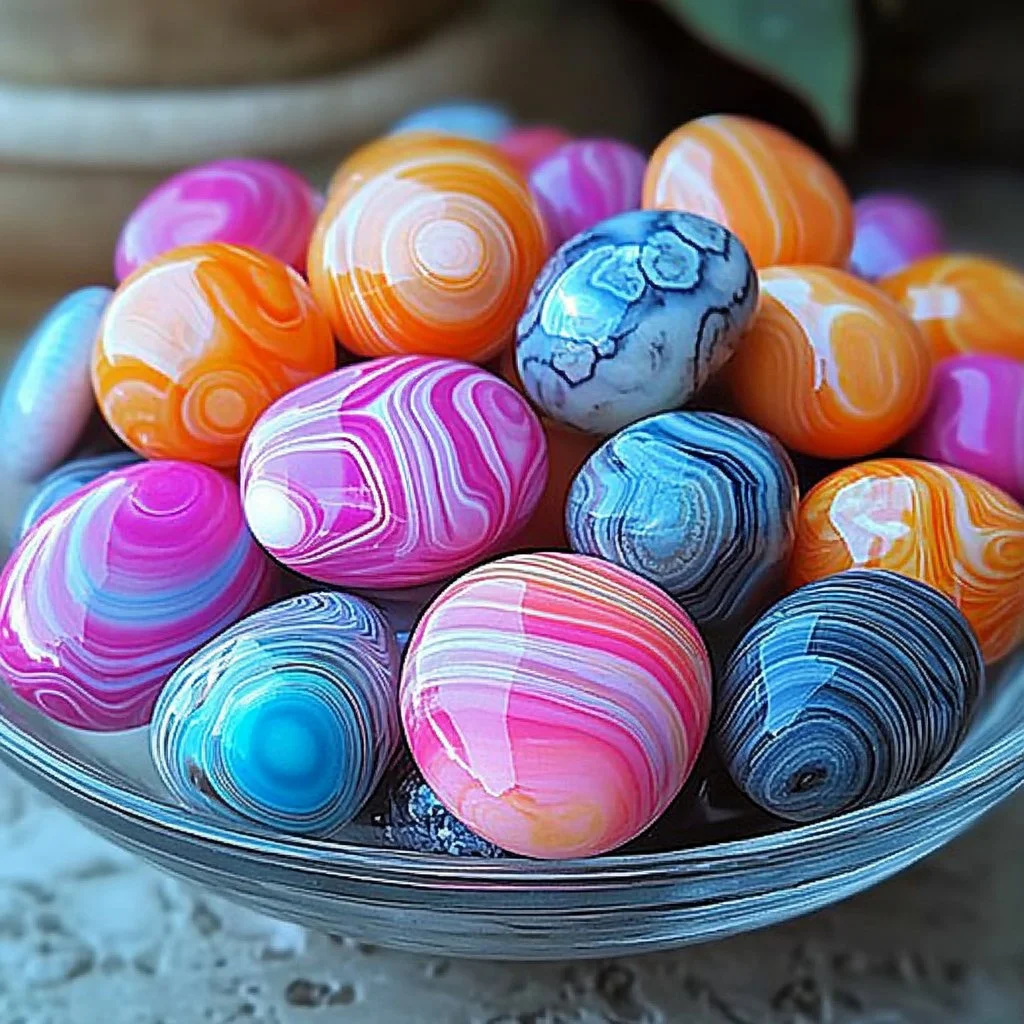
Creating your own DIY Worry Stones is a delightful and therapeutic craft that combines creativity with mindfulness. Originating from ancient traditions, worry stones serve as a tactile stress-relief tool, allowing you to rub and soothe your worries away. This simple project not only gives you a chance to personalize your own stone but also encourages self-reflection and relaxation. Gathering family or friends to create worry stones can further enhance the experience, making it a perfect weekend activity or a unique gift idea. In this guide, you’ll learn everything you need to know to start making your own worry stones right at home. Let’s dive into the benefits, materials, and step-by-step instructions to craft these calming treasures.
Why You’ll Love This DIY Worry Stones:
- Stress Relief: Rubbing the stone helps to relieve anxiety and stress.
- Personalization: Customize each stone with colors, patterns, and textures that resonate with you.
- Creative Expression: Engage your artistic side and explore different designs.
- Mindfulness Practice: A perfect way to incorporate mindfulness into your daily routine.
- Affordable and Accessible: Simple materials make it an easy craft for all ages.
- Great Gift Idea: Handmade gifts carry a personal touch that loved ones appreciate.
Materials:
- Natural stones or smooth pebbles
- Sandpaper (medium and fine grit)
- Acrylic paint or paint markers
- Clear sealer (optional)
- Brushes or sponges (if painting)
- Paper towels or rags for clean-up
Full Step-by-Step:
1. Selecting Your Stones
- Choose smooth, flat stones that fit comfortably in your palm. River rocks or polished pebbles work well.
2. Preparing the Surface
- Use medium grit sandpaper to smooth rough edges and create an inviting feel.
- Switch to fine grit sandpaper to give it a polished finish.
3. Designing Your Worry Stones
- Plan your design! You might want to create simple patterns, bold colors, or intricate designs.
- Use acrylic paint or paint markers to bring your vision to life.
- Tip: Try layering colors for a more dynamic look or blending them for soft effects.
4. Allowing to Dry
- Once painted, let your stones dry completely. This may take a few hours.
- To enhance durability, apply a clear sealer once the paint is dry.
5. Final Touch
- Examine your stones. You can add more designs or even write encouraging words on them.
- Enjoy the finished product, and consider creating a small pouch to keep your worry stones.
Tips & Variations:
- Material Swap: Use air-dry clay instead of stones for an even softer texture.
- Enhance Texture: Add designs using beads, shells, or natural materials for multi-sensory experiences.
- Color Symbolism: Research the meanings of different colors and choose hues that resonate with your intentions.
Frequently Asked Questions:
1. Can I use any type of stone?
Yes! Focus on stones that are smooth and easy to hold, such as river rocks or pebbles.
2. What if I don’t have acrylic paints?
You can use permanent markers, nail polish, or even watercolor paints, but ensure they are sealed for durability.
3. How do I ensure my stones are safe for children?
Always supervise children, and use non-toxic materials. Ensure no sharp edges remain on the stones.
4. Can I make worry stones for others?
Absolutely! Personalize each stone for friends or family by incorporating their favorite colors or symbols.
Suggestions:
- Challenge yourself to create a set of worry stones with a specific theme, such as nature, emotions, or positive affirmations.
- Organize a worry stone crafting session with friends, providing a supportive environment for sharing experiences and stress relief.
- Consider painting stones with inspirational quotes to serve as a daily reminder of positivity.
Final Thoughts
Crafting your own DIY Worry Stones is not just a fun project, but also a meaningful way to incorporate relaxation and mindfulness into your life. Whether for yourself or as gifts, these treasures can serve as gentle reminders to pause and reflect. We’d love to see your creations! Share your versions or leave a comment below about your DIY experience. Happy crafting!
Print
DIY Worry Stones
- Total Time: 150 minutes
- Yield: 4 stones
- Diet: N/A
Description
Learn how to create personalized worry stones for stress relief and mindfulness.
Ingredients
- Natural stones or smooth pebbles
- Sandpaper (medium and fine grit)
- Acrylic paint or paint markers
- Clear sealer (optional)
- Brushes or sponges (if painting)
- Paper towels or rags for clean-up
Instructions
- Select smooth, flat stones that fit comfortably in your palm.
- Use medium grit sandpaper to smooth rough edges, then switch to fine grit sandpaper for a polished finish.
- Plan your design, using acrylic paint or paint markers to create colors and patterns.
- Let your stones dry completely, then apply a clear sealer if desired.
- Examine your stones and add more designs or words. Consider making a pouch for storage.
Notes
Materials can be swapped for different textures, and colors can have specific meanings.
- Prep Time: 30 minutes
- Cook Time: 120 minutes
- Category: Craft
- Method: Crafting
- Cuisine: N/A
Nutrition
- Serving Size: 1 stone
- Calories: 0
- Sugar: 0g
- Sodium: 0mg
- Fat: 0g
- Saturated Fat: 0g
- Unsaturated Fat: 0g
- Trans Fat: 0g
- Carbohydrates: 0g
- Fiber: 0g
- Protein: 0g
- Cholesterol: 0mg

