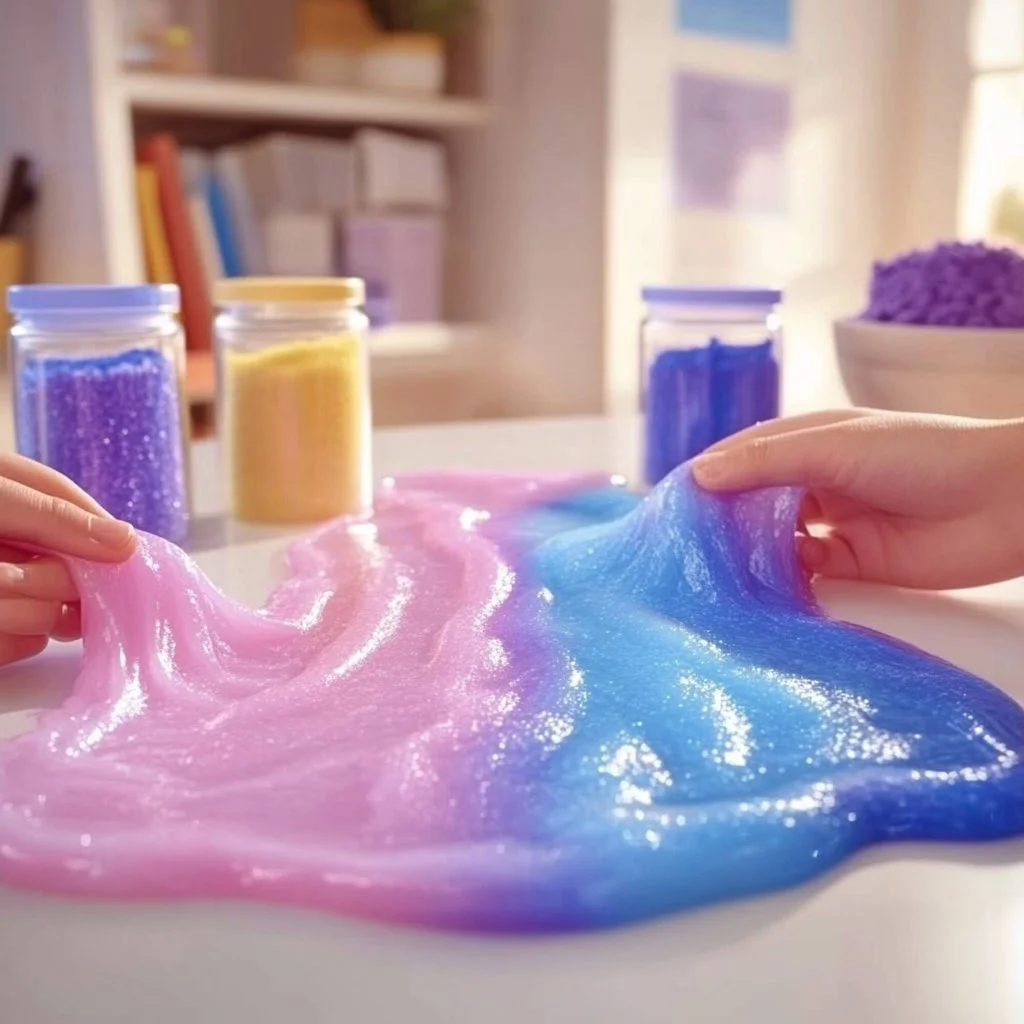
Color-Changing Slime: A Playful Treat for All Ages
Growing up in the heart of Missouri, my childhood was filled with whimsical adventures. One of my fondest memories was spending weekends with my grandmother, who not only introduced me to the joys of cooking but also sparked my imagination with her playful spirit. Each season brought a new craft or recipe, filling our kitchen with laughter, creativity, and the delightful scent of something homemade. Among her treasures was a magical concoction: color-changing slime. It wasn’t just a fun activity; it represented the joy of making something unique with your own hands, a tradition I carry forward today.
Today, I’m excited to share this ooey-gooey Color-Changing Slime recipe that perfectly blends creativity with science, making it ideal for family gatherings or rainy afternoons. With this recipe, you’ll feel like a kid again, watching the colors shift and swirl as you play. Get ready for a sensory experience that will leave everyone enchanted!
Why You’ll Love This Color-Changing Slime
- Kid-approved: Perfect for fun playtime!
- Non-toxic ingredients: Safe for little hands.
- Easy to make: Just a few simple steps.
- Educational: Learn about color mixing and chemical reactions.
- Customizable: Add glitter, scents, or different colors.
Ingredients
- 1 cup white school glue
- 1 cup warm water
- 1 teaspoon baking soda
- 1 tablespoon contact lens solution (make sure it contains boric acid)
- Liquid food coloring (at least two colors)
- Optional: Glitter or essential oils for added fun
Step-by-Step Instructions
1. Mix the Glue and Water
- In a large bowl, combine 1 cup of white school glue and 1 cup of warm water.
- Stir gently until completely blended.
2. Add Baking Soda
- Mix in 1 teaspoon of baking soda. This helps the slime to take shape!
3. Color It Up
- Divide the mixture into separate bowls based on how many colors you want to use.
- Add a few drops of liquid food coloring to each bowl and mix until you achieve your desired shades.
4. Combine and Activate
- For each colored bowl, slowly stir in 1 tablespoon of contact lens solution.
- The mixture will start to clump together and become slime-like. Knead the slime with your hands until it’s no longer sticky.
5. Create the Color-Changing Effect
- To make the color-changing effect work, simply expose the slime to different temperatures (like warm hands vs. room temperature) or use a few drops of different colored slime to blend together!
Tips & Variations
- Glitter Galore: Mix in some glitter for a sparkling slime!
- Scented Slime: Add a few drops of essential oils for a delightful aroma.
- Dye-Free Options: Use natural colors like beet juice or turmeric for a non-toxic option.
- Different Sizes: Feel free to multiply the recipe for larger batches to share!
Storage Instructions
- Store your color-changing slime in an airtight container at room temperature.
- It will last for about a week; if it starts to dry out, add a few drops of water and knead to restore its consistency.
Nutritional Information
- Prep time: 10 minutes
- Total time: 15 minutes
- Calories (per serving): 0 (non-edible)
- Servings: Makes approximately 2 cups of slime
Frequently Asked Questions
1. Is this slime safe for kids?
Yes! The ingredients are non-toxic, but it’s not meant to be ingested.
2. What can I use instead of contact lens solution?
If you don’t have contact lens solution, you can use borax dissolved in water as an alternative.
3. How do I make the slime less sticky?
If your slime is sticky, knead in a little bit more contact lens solution until the texture improves.
4. Can I store it long-term?
While you can store it for about a week, it won’t last forever. Keep it in a cool, dry place for the best results.
Serving Suggestions or Pairings
Pair your color-changing slime with a refreshing glass of lemonade or iced tea. It’s also a fun activity to accompany a creative afternoon of crafting!
Final Thoughts
This Color-Changing Slime recipe is not just a clever craft; it’s a gateway to reconnect with your inner child and share precious moments with your loved ones. I invite you to try it out and get creative! If you make your own version, please share your creations or leave a comment below; I would love to hear your stories! Happy mixing!

