This post contains Amazon affiliate links. As an Amazon Associate I earn from qualifying purchases.
The soft morning light filters through the window, casting a warm glow across your worktable. You spread out vibrant colors of tissue paper, feeling the smooth textures beneath your fingers. As you gather your materials for the DIY Clear Glue Turtle Suncatcher, a sense of calm washes over you. Each piece of paper represents a moment of creativity, a chance to slow down and bring a little bit of the vivid beach into your home. The gentle movement of cutting, gluing, and assembling comes alive, inviting you to focus on the here and now.
Why Make This DIY Clear Glue Turtle Suncatcher: Vibrant Stained Glass Art Kids Can Make for Beach Themed Fun
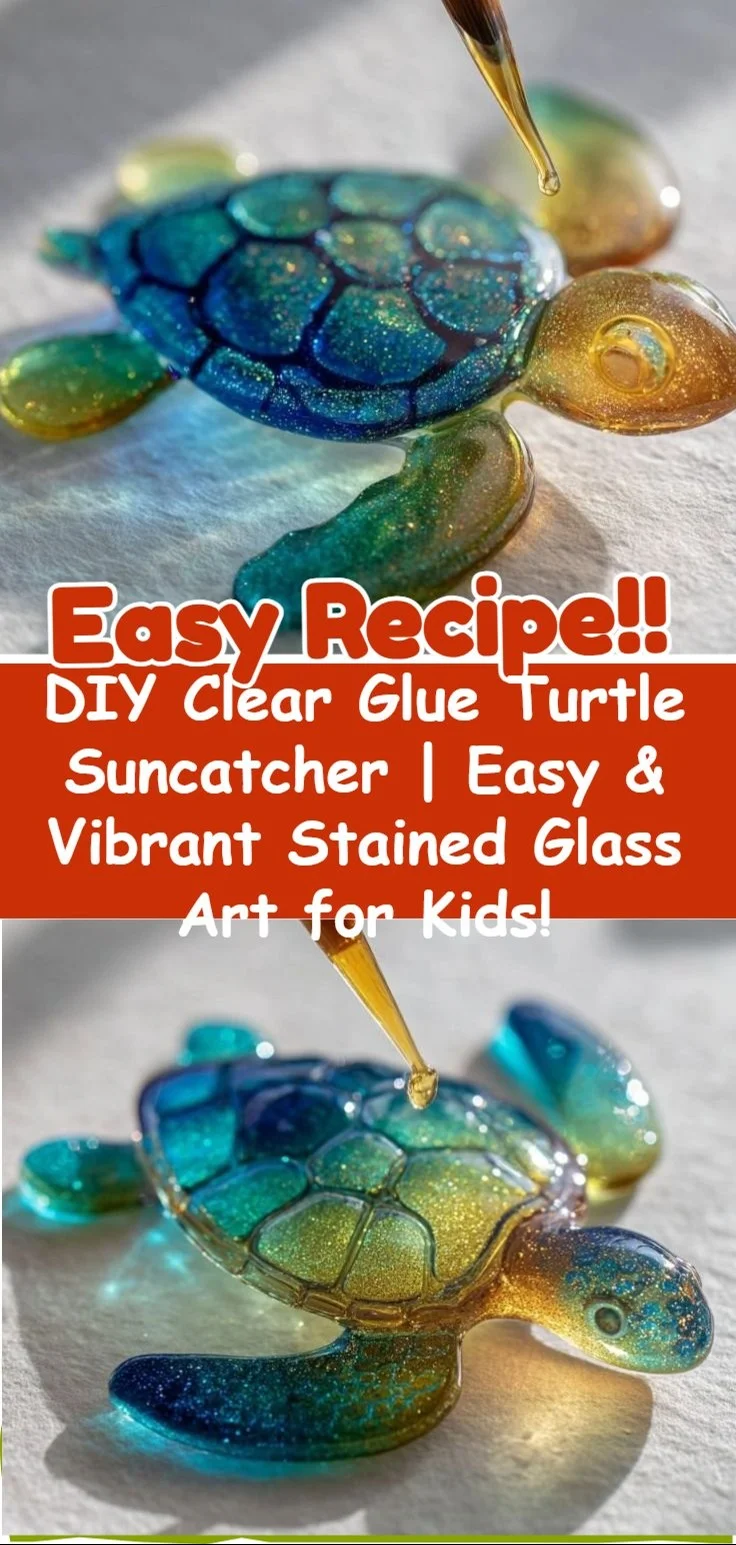
Creating the Clear Glue Turtle Suncatcher provides a delightful experience that connects us to the warmth of the sun and the playful charm of turtles at the beach. The process of making this suncatcher encourages mindfulness, as each step allows you to immerse yourself in the colors and textures around you.
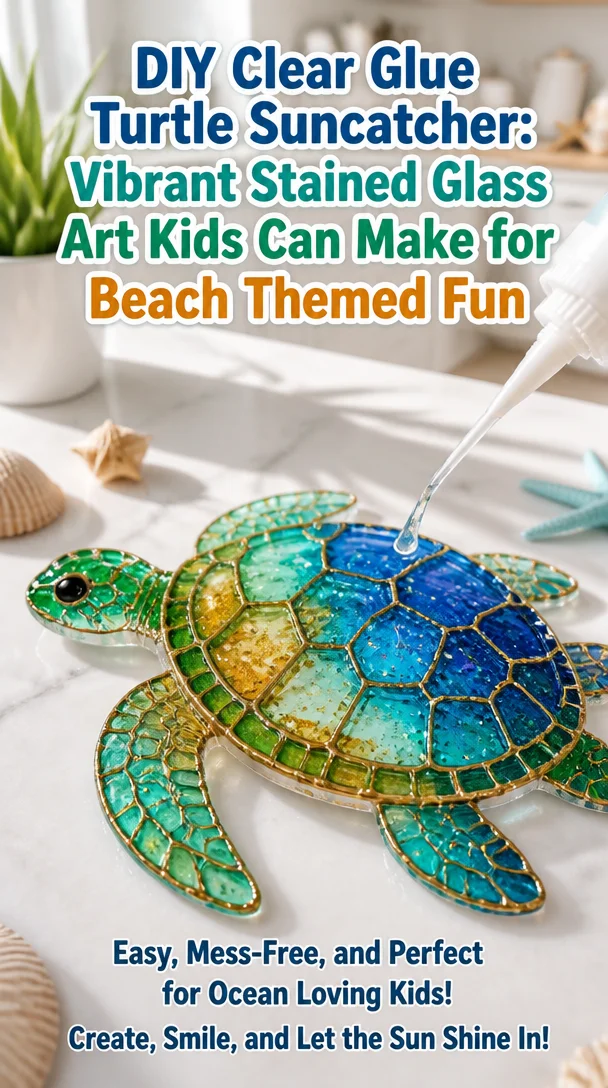
Drawing shapes and enjoying the flow of the materials brings a sense of satisfaction that transcends the finished piece. The vibrant hues of tissue paper mimic the colorful beauty of ocean waters, and the gentle act of gluing awakens our senses. As you watch the light filter through your creation, you can’t help but feel a comforting sense of joy. This project is not just about the final product but a journey that fosters a peaceful state of mind and creativity that flows freely.
A Gentle Look at the Process
Before diving into the specifics, let’s take a moment to envision the creative flow of this project. You’ll experience the satisfying rustle of tissue paper as you cut it into colorful shapes, the gentle stickiness of the glue warming against your hands, and the delight of seeing each piece come together as if they were dancing together under the sun.
You’ll find a gentle rhythm in the steps, allowing your mind to slow and your thoughts to settle. The bright colors and soft textures will draw you in and provide a welcome escape into your creative space. The process, from sketching to seeing the sunlight sparkle through your finished suncatcher, can transform an afternoon into a sanctuary of calm and joy.
Materials You’ll Need
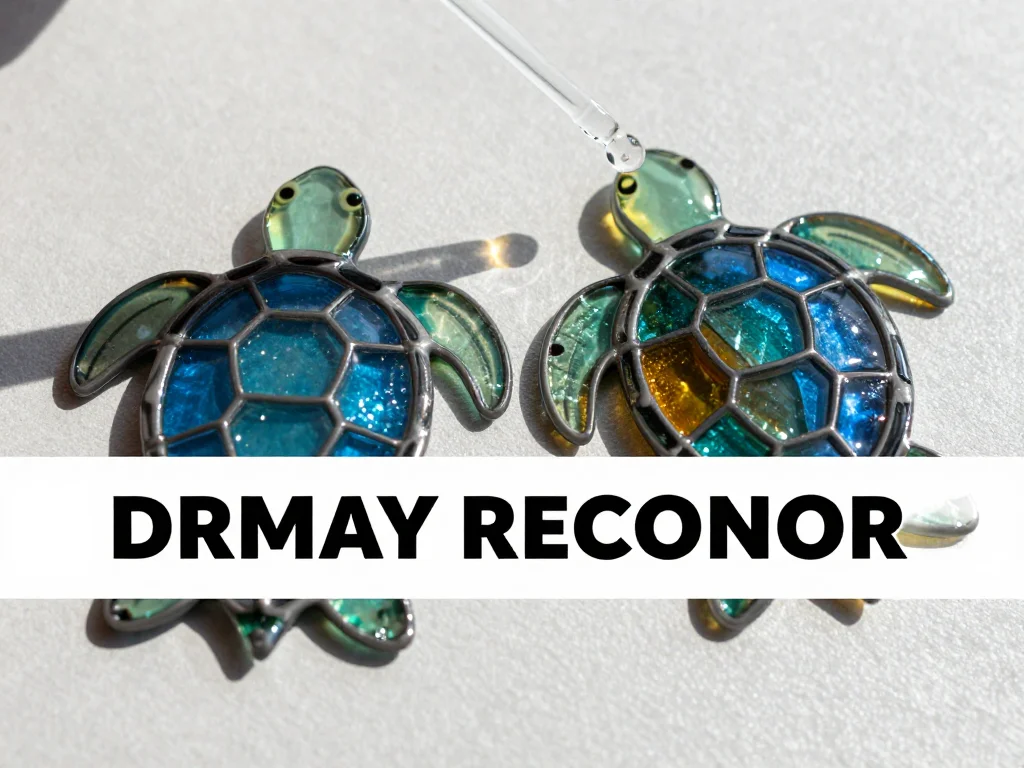
Gather these simple supplies to bring your turtle suncatcher to life:
- Clear glue (school glue works well)
- Wax paper or contact paper (provides a smooth surface)
- Vibrant tissue paper in various colors
- Scissors (for cutting the shapes)
- Black marker (for adding details)
- Turtle template (optional for tracing)
- Paintbrush or sponge (for spreading glue)
- A sunny window for displaying your suncatcher
Each of these materials is readily available, easy to find, and can often be found around the house or in local stores. Feel free to switch out colors or paper types based on what resonates with you.
Step-by-Step Directions
-
Prepare Your Workspace: Set up a clean, flat surface for your suncatcher. Lay down a protective covering like newspaper if you’re concerned about glue spills. Enjoy the feeling of the surface beneath your hands.

-
Cut the Tissue Paper: Take your vibrant tissue paper and cut it into shapes. You can choose turtle shapes or think outside the box with seaweed, starfish, or waves. Consider the textures and colors as you cut.
-
Create a Base: Lay your wax paper or contact paper down flat. This will be the foundation for your suncatcher. The smooth surface will feel lovely beneath your fingertips.
-
Apply Glue: Use a paintbrush or sponge to spread a thin layer of glue over the area where you want to place your paper shapes. The glue will glide on softly, inviting you to continue.
-
Place the Tissue Paper: Start placing your cut shapes onto the glue. Mix and match colors, and enjoy how they overlap, creating new shades and patterns. This is where your creativity shines.
-
Seal with More Glue: Once all your shapes are in place, gently brush another layer of glue over the top to seal everything in. Watch as the glue catches the light and makes the colors pop.
-
Let it Dry: Allow your suncatcher to dry completely. The anticipation builds as you wait, savoring the moment until it is ready to be displayed.
-
Cut Out the Shape: Once dried, carefully cut around the shapes of your turtle or other designs, maintaining the smooth edges. As you cut, admire the shapes taking form.
-
Hang Your Suncatcher: Use tape or string to hang your suncatcher in a sunny window. Watch as the light dances through, casting colorful shadows on the walls around you.
Enjoying the Finished Piece
Once you’ve hung up your turtle suncatcher, take a moment to simply stand back and admire your creation. The vibrant colors will filter the sunlight, creating a cheerful atmosphere. You might notice how the light transforms in different times of the day, always bringing something new to your space.
This piece can become a focal point in your home, a reminder of sunny days and creative moments shared with loved ones. Whether you hang it in a child’s room, kitchen, or living space, it brings a soothing reflection of beachy days and playful creativity.
Keeping It for Later
When it comes to storing your turtle suncatcher, think about giving it a safe space where it won’t get damaged. You might gently clean it with a soft, dry cloth if it collects dust. When not on display, consider placing it between sheets of wax paper to protect it.
If you ever feel the pull to create again, think of this project as a reusable template. Use the idea or shape as a springboard for new designs or share the joy with friends and family. This piece could inspire future creations, each a reflection of the moments spent making.
Gentle Tips & Variations
Feeling creative? Here are a few gentle invitations to enhance your turtle suncatcher experience:
-
Experiment with Layers: Consider adding multiple layers of tissue shapes. This creates a depth that enhances the light’s playfulness, making your design more dynamic.
-
Add Natural Elements: Try incorporating real dried seaweed or shells, which can be gently glued onto your suncatcher. They add an organic touch and a direct connection to nature.
-
Use Other Shapes: Expand beyond turtles. Create an entire marine scene with different sea creatures or ocean waves. Let your imagination explore the depths of the sea.
-
Play with Glues: Switch out the clear glue for glitter glue to add a shimmer effect. It will sparkle in the sun, creating a magical feel.
-
Incorporate a Learning Moment: Discuss sea life while making with kids, encouraging curiosity about marine ecosystems and creatures. Learning can be a beautiful part of the creative journey.
FAQs About DIY Clear Glue Turtle Suncatcher: Vibrant Stained Glass Art Kids Can Make for Beach Themed Fun
Can I use regular paper instead of tissue paper?
Yes, if preferred, regular paper can work, but it might not allow the light to shine through as beautifully as tissue paper. Consider this if you want that stained glass effect.
How long should I let my suncatcher dry?
It typically takes about 1-2 hours for the suncatcher to dry fully, depending on the humidity and temperature in your space. Enjoy this time as a moment of pause in your day.
What if I don’t have wax paper?
Contact paper is a great alternative. You can cut it to size just like wax paper and follow the same steps. Even a smooth cardboard surface can work in a pinch.
Can I make this project outdoors?
Absolutely! Working outside can enhance the creative experience, especially if you enjoy the sounds of nature around you. Just be mindful of the wind as it may want to carry away your paper.
Is it safe for little children to work with this project?
This project is safe and enjoyable for young children, but always supervise them with scissors and glue. Encourage them to explore the colors and shapes as they make.
A Quiet Closing Thought
As you take a moment to reflect on your turtle suncatcher, remember that the joy lies not only in the final creation but in the process itself. Embrace the textures, colors, and gentle movements that brought this piece to life. Allow its vibrant presence to serve as a daily reminder of the calm that creativity can bring.
In a world that often pushes us to hurry, let this project guide you back to slower, meaningful moments shared with loved ones, reminding us of the beauty that comes when we pause to create.
Print
DIY Clear Glue Turtle Suncatcher
- Total Time: 135 minutes
- Yield: 1 suncatcher
Description
A vibrant DIY project to create a clear glue turtle suncatcher that mimics stained glass art, perfect for beach-themed decor.
Ingredients
- Clear glue (school glue works well)
- Wax paper or contact paper
- Vibrant tissue paper in various colors
- Scissors
- Black marker
- Turtle template (optional for tracing)
- Paintbrush or sponge
- A sunny window for display
Instructions
- Prepare your workspace with a clean surface and a protective covering.
- Cut the vibrant tissue paper into shapes, like turtles or ocean scenery.
- Create a base using wax paper or contact paper.
- Apply glue with a paintbrush or sponge over the area for your paper shapes.
- Place the cut tissue shapes onto the glue, mixing and matching colors.
- Seal with another layer of glue over the shapes.
- Let it dry completely for about 1-2 hours.
- Cut around the shapes once dried.
- Hang your suncatcher using tape or string in a sunny window.
Notes
Feel free to explore different colors and shapes. This project enhances creativity and can be a joyful experience to share with kids.
- Prep Time: 15 minutes
- Cook Time: 120 minutes
- Category: Craft
- Method: Crafting