

As your hands knead the cool, pliable clay, a sense of calm washes over you. The soft texture yields gently beneath your fingertips, inviting you into a moment of stillness. The world outside fades, leaving only the rhythm of your breath and the delicate squish and roll of the clay. You start to envision simple bowls, each unique, shaped by your hands. In this quiet sanctuary of creation, making DIY clay bowls becomes more than just an activity; it transforms into a soothing ritual that grounds you.
Why Make This DIY Clay Bowls
Creating DIY clay bowls carries a serene magic. The act of shaping clay offers a meditative pause in our busy lives. As you work the material, you focus on the texture, the warmth, and the sensation of molding something tangible. It’s a gentle reminder to slow down, to be present, to allow creativity to flow freely.
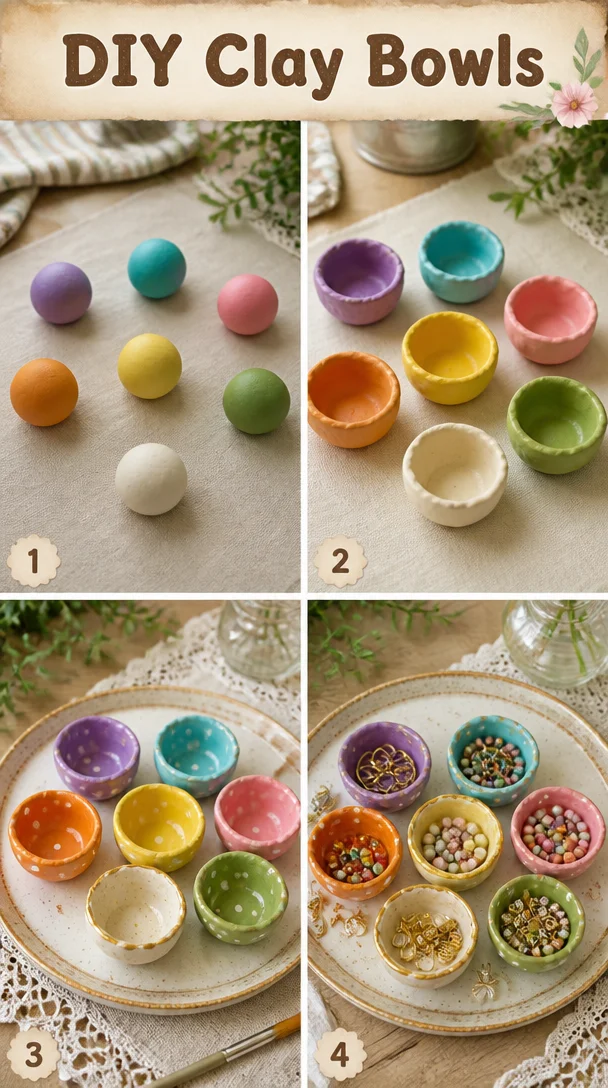
These bowls serve not just as functional objects but as reflections of your intention and spirit. Each bowl tells a story, capturing memories of the moment when your hands merged with the earth’s creation. It becomes a vessel for keeping special things – perhaps small treasures or simple reminders. With every touch, you add a little bit of yourself, creating not just a bowl, but a piece of your heart.
The Flow of Making DIY Clay Bowls
Before diving into the materials and steps, let’s picture the process together. Imagine yourself seated comfortably, surrounded by a cozy workspace bathed in soft light. You take a moment to breathe deeply, feeling the weight of the clay in your hands.
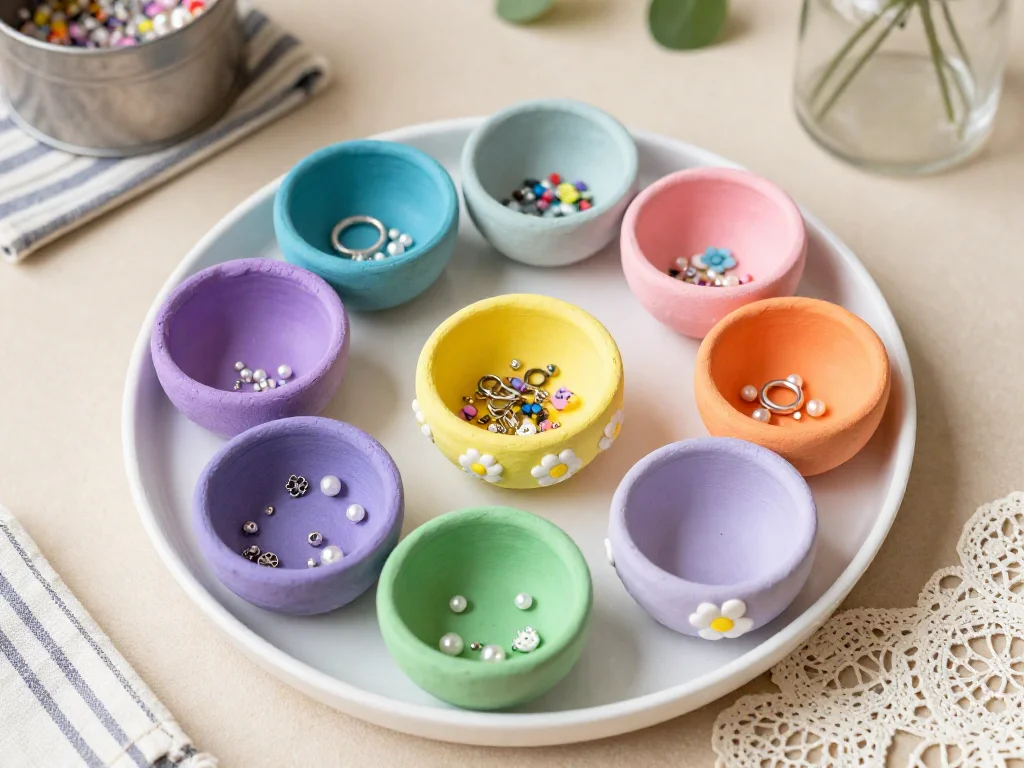
As you begin to work, the sound of the clay rolling and squishing becomes a soothing soundtrack. Each movement invites focus – shaping, pinching, and smoothing as you bring form to your imagination. The soft pastels of the wet clay contrast beautifully against your workspace, creating a gentle visual rhythm. By engaging your senses, the whole experience becomes a calming journey of creation.
Materials You’ll Need
- Air-dry clay (easy to find at craft stores)
- A rolling pin
- A cutting board or a smooth surface
- A knife or clay cutting tool
- A small bowl of water (to keep your fingers damp)
- Optional: a smooth stone or a texture tool (to add patterns)
- Optional: paint or sealant (for finishing touches)
Gathering these materials allows you to be present in the moment, preparing your space for a gentle crafting experience. Each item holds the promise of creativity ready to unfold.
Step-by-Step Directions
-
Start with a piece of air-dry clay, roughly the size of your palm. Feel its weight and softness as you hold it.
-
Roll the clay into a ball, letting it warm between your hands. Enjoy the smoothness as it changes shape.

-
Place the ball on your cutting board and gently flatten it with the rolling pin. Aim for a round shape about a quarter-inch thick. The rhythmic motion is calming.
-
Once flattened, use a knife to cut a circle around the edges. This doesn’t have to be perfect. Embrace any natural curves.
-
Carefully lift the circle and form it into a bowl shape, using your fingers to pinch and mold the sides upwards. Notice how the clay responds with each touch.
-
Keep a small bowl of water nearby. If the clay starts to feel dry, dip your fingers in the water and smooth the edges. This will help maintain the clay’s softness.
-
If you wish, use a smooth stone or texture tool to add patterns to the outside of your bowl. This adds a personal touch and invites more texture to your piece.
-
Let your bowl dry completely, usually taking about 24 hours. Find a cozy spot for it to rest undisturbed.
-
Once dry, consider painting or sealing your bowl if you desire more color or durability. This step adds another layer of beauty to your creation.
Using DIY Clay Bowls in Everyday Life
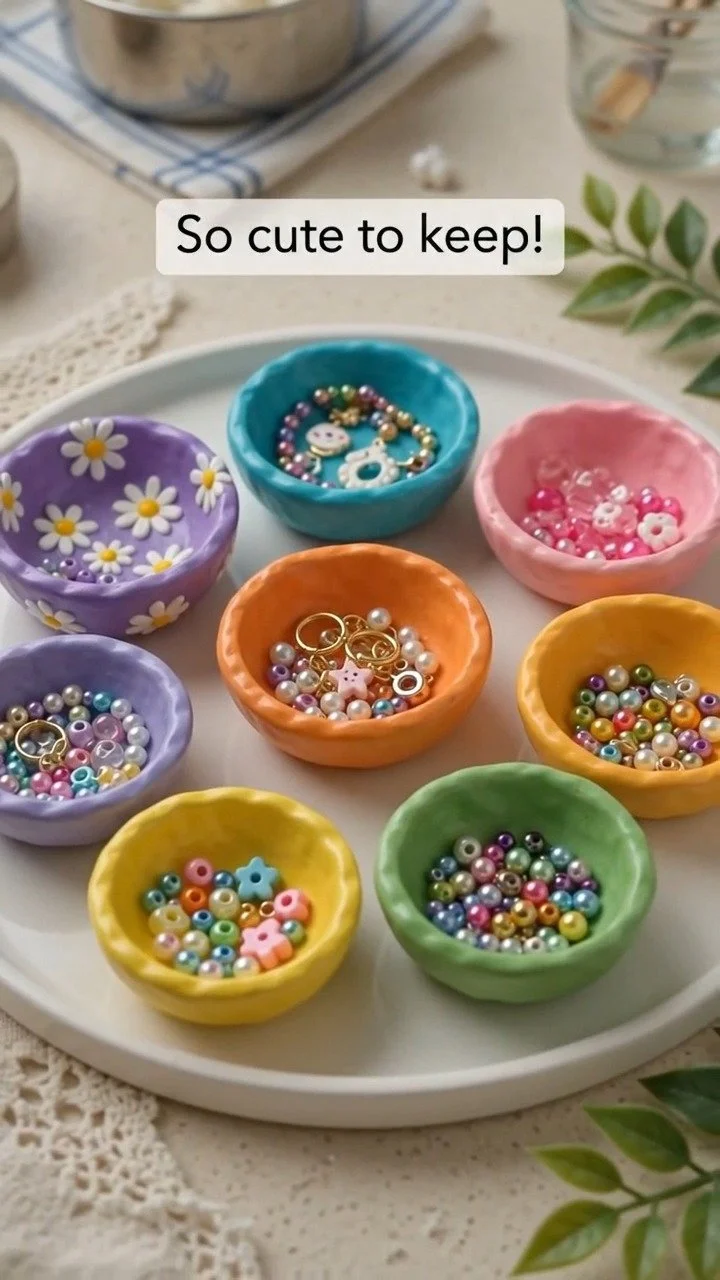
Your finished DIY clay bowl finds a place in your home, inviting you to interact with it in various ways. Use it to hold trinkets, such as keys or drops of your day-to-day treasures. It can cradle snacks during a movie night or serve as a welcoming dish for visitors.
You can display it on a shelf or a bedside table, where it becomes part of your day-to-day environment. Each time you see it, you are reminded of the calming moments spent crafting, the joy of your focused creativity. This bowl holds not just objects, but memories of your hands shaping something truly yours.
Making This DIY Last
Caring for your clay bowl is quite simple, allowing it to be a lasting addition to your home. Store it in a dry, cool place, avoiding exposure to direct sunlight, which could cause cracking over time.
If you find it gets dusty, a gentle wipe with a soft cloth will restore its beauty without damaging the surface. Should you choose to use it for food, make sure to seal it with a food-safe finish to keep both the bowl and your food safe.
Calm Customization Ideas
While the basic shape of your DIY clay bowls is beautiful in itself, consider these gentle invitations to make it more personal:
-
Experiment with different shapes. Instead of a traditional bowl, try creating a more sculptural piece or even a freeform design.
-
Explore color by using paints or natural dyes. A soft pastel hue can enhance the warmth of the clay.
-
Mix textures within your bowls. Try different tools or even natural items like leaves to create interesting impressions on the surface.
-
Personalize your creations by adding names or words with a gentle engraving technique. This could turn them into thoughtful gifts.
-
Consider making a small set of bowls, varying their sizes for a beautifully coordinated collection.
FAQs About DIY Clay Bowls
Can I use regular clay instead of air-dry clay?
Regular clay requires firing in a kiln to harden, while air-dry clay is designed to set by exposure to air. If you don’t have access to a kiln, air-dry clay is a wonderful choice for creating your bowls at home.
What should I do if my clay dries out while I am working?
Keep a bowl of water nearby. Dip your fingers in it and lightly moisten the clay where it feels dry. This helps soften the material and makes it easier to work with.
How do I know when my bowl is dry?
Check the clay’s color and feel. When it transitions from a darker wet tone to a lighter, consistent hue and feels hard to the touch, it’s ready.
Can I use my clay bowl for food?
If you wish to use your bowl for food items, be sure to apply a food-safe sealant for safety. Some air-dry clay recipes are not meant for food use, so always read the packaging first.
Is it okay to paint my bowl?
Absolutely. Painting your bowl can enhance its beauty and personalize it even further. Just ensure that you use non-toxic paint or sealant if it will hold food.
A Gentle Note Before You Go
Creating DIY clay bowls serves as a gentle reminder of the joy found in the act of making. With each curve and pinch, you cultivate not only a beautiful object but also a rich experience grounded in the present moment. Take time to reflect on your creations and the feelings they evoke. Every bowl holds a story, a piece of your essence within it. Embrace the process, and let your imagination unfold slowly. In this intentional journey, may you continue to find comfort and creativity through your hands.
Print
DIY Clay Bowls
- Total Time: 1455 minutes
- Yield: 1 bowl
- Diet: N/A
Description
Creating DIY clay bowls provides a calming and creative experience, transforming simple clay into personalized treasures.
Ingredients
- Air-dry clay
- A rolling pin
- A cutting board or smooth surface
- A knife or clay cutting tool
- A small bowl of water
- Optional: a smooth stone or texture tool
- Optional: paint or sealant
Instructions
- Start with a piece of air-dry clay, roughly the size of your palm.
- Roll the clay into a ball, letting it warm between your hands.
- Place the ball on your cutting board and gently flatten it with the rolling pin.
- Once flattened, use a knife to cut a circle around the edges.
- Carefully lift the circle and form it into a bowl shape.
- Keep a small bowl of water nearby for moistening the clay.
- If desired, use a smooth stone or texture tool to add patterns.
- Let your bowl dry completely, usually taking about 24 hours.
- Once dry, consider painting or sealing your bowl.
Notes
Store your clay bowl in a cool, dry place to avoid cracking. Use a soft cloth to clean it and ensure food safety with food-safe sealants if used for food.
- Prep Time: 15 minutes
- Cook Time: 1440 minutes
- Category: Craft
- Method: Crafting
- Cuisine: N/A