

This post contains Amazon affiliate links. As an Amazon Associate I earn from qualifying purchases.
Crocheting a jewelry box is a lovely way to turn simple stitches into a useful keepsake. This pattern creates small and medium crocheted boxes with a separate lid and a decorative flower sewn on top. It is suitable for beginners who are comfortable with basic chains and single crochet, and it makes a thoughtful handmade gift for birthdays, holidays, or special occasions.
Why You’ll Love This Pattern
These crochet jewelry boxes are practical, decorative, and enjoyable to make. The project uses basic single crochet stitches and gradual increases, making it a useful way to practice shaping while creating something functional.
The boxes are also portable projects. You can work on the base, lid, or flower separately, making them easy to take along for a relaxing crochet session. The finished boxes can hold rings, earrings, hair accessories, buttons, or other small treasures.
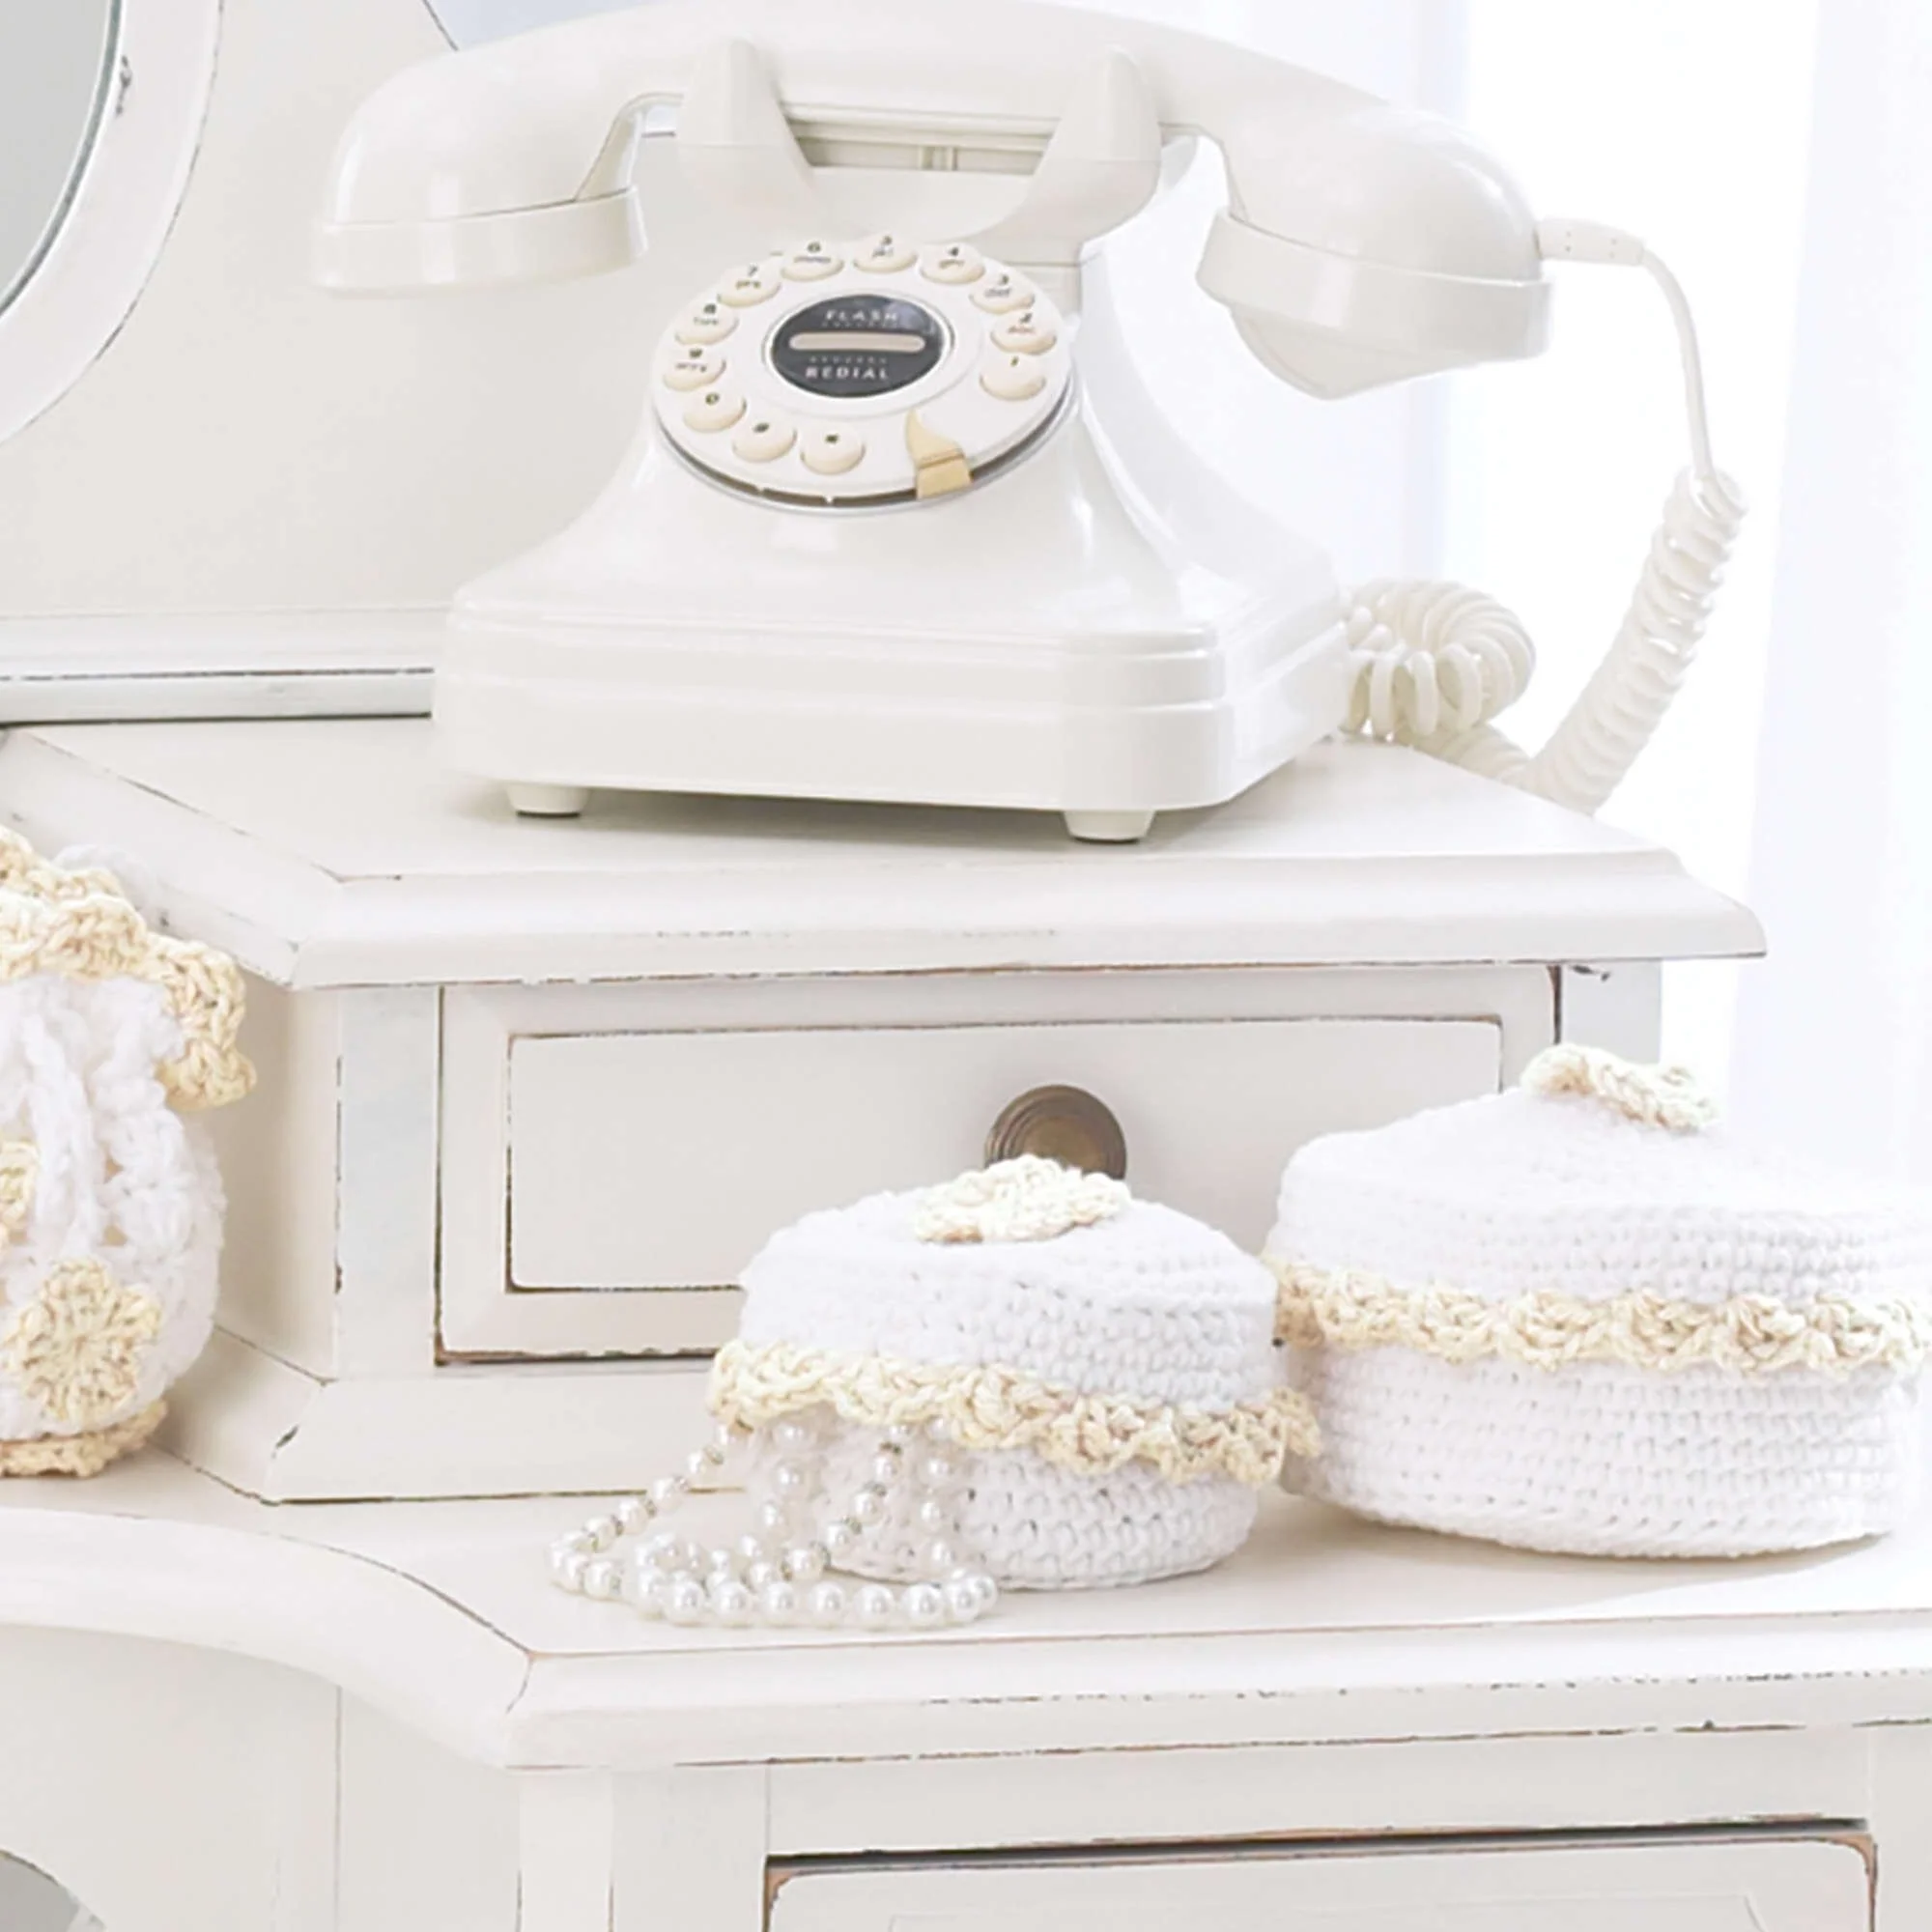
The white and cream color combination gives the boxes a soft, classic appearance, while the flower adds a handmade finishing touch. Making both sizes creates a coordinated set that works well as a gift or as attractive storage for your own dressing table.
“The boxes were simple to crochet, and the flower made them look much more special. They are perfect for keeping small jewelry pieces organized.”
Crochet Process Explained
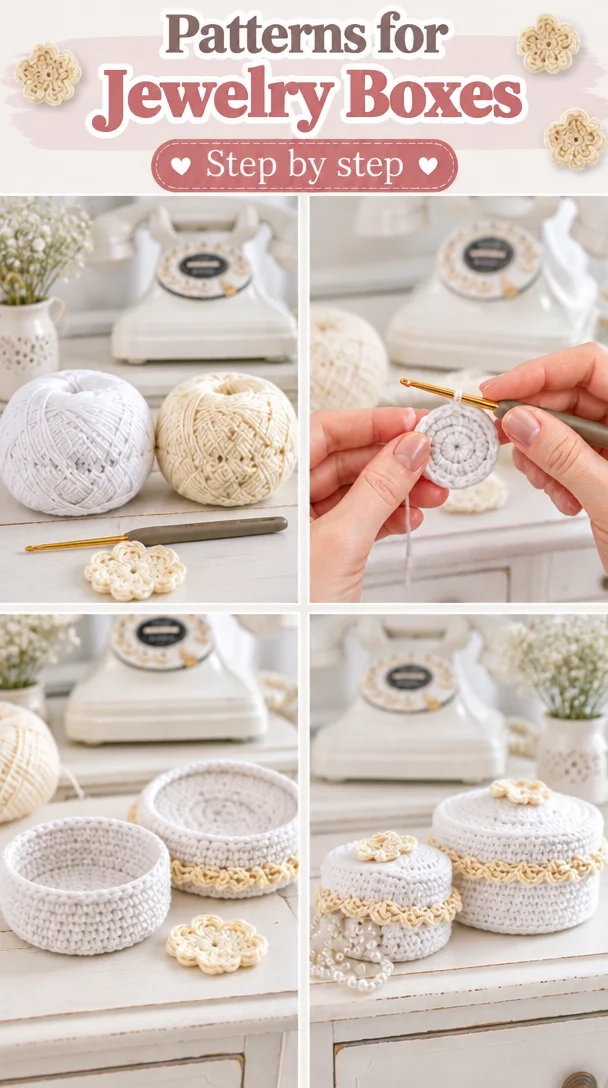
You will make a small jewelry box and repeat the process for a medium version, adjusting the stitch increases according to the instructions for each size. The project is built in rounds, beginning with six single crochet stitches worked into the second chain from the hook.
The lid and bottom are crocheted separately. Once the main pieces are shaped, you will create a small flower from a slip knot and chain-4 beginning, then sew it to the top of the lid.
The main skills involved are chaining, single crochet, increasing, working in rounds, shaping flat pieces, and sewing crochet components together. The pattern is best suited to an advanced beginner, although a confident beginner can follow it with careful stitch counting. The completion time will depend on your crochet speed and the amount of shaping required for each box.
Materials You’ll Need
- Lily Sugar ’n Cream yarn in White and Cream
- Crochet hook, 3.25 mm
- Yarn needle for sewing the flower and weaving in ends
- Scissors
- Stitch marker, optional but helpful when working in continuous rounds
Lily Sugar ’n Cream is a cotton yarn that gives the box structure and a firm fabric. Cotton is a suitable choice for small storage projects because it holds its shape well. Use the recommended 3.25 mm hook for the intended stitch density. A different yarn or hook may change the box’s size, firmness, and yarn requirements.
Step-by-Step Instructions
Small Box
- Begin with the main color, abbreviated as MC. Make a slip knot and chain 2.
- Work 6 single crochet stitches, abbreviated as sc, into the second chain from the hook.
- Continue working in rounds as described in the pattern, increasing stitches as needed to create the desired box size.
- Keep your tension even so the base remains flat. If the work begins to cup or ripple, check that the increases are being made correctly.
- Work the bottom section in a similar way, following the lid instructions for the required shaping.
- To make the flower, begin with a slip knot and chain 4.
- Follow the flower instructions to form the decorative flower.
- Fasten off and leave a yarn tail for sewing.
- Use a yarn needle to sew the flower securely to the top of the lid.
- Weave in all loose ends neatly on the inside of the box or lid.
Medium Box
- Begin with the main color and chain 2.
- Work 6 single crochet stitches into the second chain from the hook.
- Continue working the rounds, adjusting the number of stitches and increases according to the medium-box instructions.
- Check the shape regularly as you work. The base should remain even and stable.
- Crochet the bottom in the same general manner as the lid instructions, using the stitch adjustments given for the medium size.
- Make another flower by forming a slip knot, chaining 4, and following the flower instructions.
- Sew the flower to the top of the medium-box lid.
- Secure and weave in all yarn ends before placing the lid on the box.
Because the supplied instructions refer to additional round and flower details, use the original stitch instructions for the exact increase sequence and flower construction. Do not add increases randomly, as this can cause the base or lid to become wavy.
Ways to Use Your Finished Project
- Store rings, earrings, brooches, or hair clips.
- Keep sewing notions such as buttons, beads, or small spools of thread together.
- Use the boxes as decorative containers on a bedroom dresser or desk.
- Fill a box with wrapped sweets or small gifts for a handmade presentation.
- Give the small and medium boxes as a coordinated gift set.
- Create several boxes in matching colors for craft-fair or handmade-shop displays, subject to the original pattern designer’s usage terms.
The flower-topped lid makes the boxes attractive even when they are not being used, so they can function as both storage and décor.
How to Care for Your Crochet Project
Lily Sugar ’n Cream is cotton, but always check the specific yarn label for its care instructions. For the safest cleaning method:
- Hand wash in cool or lukewarm water with a mild detergent.
- Avoid harsh bleach, especially when using cream-colored yarn.
- Do not wring or twist the box, as this may distort its shape.
- Gently press out excess water with a towel.
- Reshape the box and lid while damp.
- Allow both pieces to dry flat and completely.
- Keep the box away from prolonged direct sunlight to help prevent color fading.
- Store it in a dry place when not in use.
If the flower becomes loose, reinforce it with a few discreet stitches rather than pulling on the petals.
Helpful Crochet Tips
- Use a stitch marker to identify the beginning of each round.
- Count your stitches after every increase round. An accidental extra stitch can make the base ripple.
- Keep your tension firm but comfortable. Loose stitches may produce a floppy box.
- Check that the base stays flat as you work. Curling, cupping, or rippling usually indicates a tension or increase issue.
- If the pattern is worked in continuous rounds, mark the first stitch instead of assuming the round ending is obvious.
- Keep the lid and bottom together while checking the fit, but do not force them over one another.
- Use a blunt yarn needle to sew the flower so the stitches do not show prominently on the outside.
- Weave in ends securely on the inside of each piece.
- If the lid feels too tight or too loose, review your tension before changing hook size.
- Make sure the flower is centered before sewing it permanently in place.
Customize Your Project
There are several simple ways to personalize these crocheted jewelry boxes:
- Use a contrasting color for the flower so it stands out against the lid.
- Make the box in a single color for a clean, minimalist look.
- Try seasonal combinations such as red and cream, pastel shades, or deep jewel tones.
- Add a second small flower or a few embroidered dots to the lid.
- Create coordinating small and medium boxes in the same color palette.
- Experiment with a decorative edging around the lid if the original construction allows enough space.
- Adjust the number of increase rounds to make a larger or smaller box, following the same shaping principles.
Changing the yarn weight or hook size will affect the finished dimensions and firmness. A thicker yarn may create a larger, softer box and require more yarn, while a smaller hook may produce a denser, more rigid fabric.
Frequently Asked Questions
Is this crochet jewelry box pattern beginner-friendly?
Yes. The project uses basic chains, single crochet, increases, rounds, and simple sewing. Beginners should work slowly and count stitches carefully, especially during the increase rounds.
What yarn works best for these crochet boxes?
The specified Lily Sugar ’n Cream cotton yarn is a good choice because it creates a firm fabric with useful structure. Another cotton yarn may work, but differences in weight and texture can change the size and stiffness.
Can I use a different crochet hook?
You can, but the finished result may change. A larger hook may make the box looser and larger, while a smaller hook may create a denser and smaller box. Make a small test section if size and firmness are important.
How do I make the box larger or smaller?
Adjust the number of increase rounds according to the pattern instructions. More increase rounds create a larger base, while fewer rounds create a smaller one. The lid and bottom must be adjusted consistently so they fit together.
Why is my crochet base curling?
Curling can result from uneven tension, incorrect increases, or not following the round instructions precisely. Check your stitch count and confirm that each increase is placed correctly. A slightly cupped shape may also indicate that more shaping is needed.
How do I keep the lid and bottom even?
Maintain consistent tension and count each round. Compare the pieces as you work so they have compatible shapes and dimensions. Avoid stretching one piece to force it to fit the other.
How much yarn will I need?
The supplied information does not specify a yarn quantity. The amount will depend on the box size, your tension, and whether you make one or both boxes. Keep extra yarn available for the flower and sewing.
How should I wash the finished box?
Follow the yarn-label instructions. For cotton, gentle hand washing in cool or lukewarm water, followed by reshaping and flat drying, is a cautious approach.
Can I sell jewelry boxes made from this pattern?
The source information does not state the designer’s rules for selling finished items. Check the original pattern’s usage terms before listing or selling completed boxes.
Print
Crocheted Jewelry Box
Description
A lovely DIY project to create small and medium crocheted boxes with separate lids and decorative flowers on top, perfect for storing jewelry or small treasures.
Materials
- Lily Sugar ’n Cream yarn in White and Cream
- Crochet hook, 3.25 mm
- Yarn needle for sewing the flower and weaving in ends
- Scissors
- Stitch marker, optional
Instructions
- Begin with the main color (MC). Make a slip knot and chain 2.
- Work 6 single crochet stitches into the second chain from the hook.
- Continue working in rounds as described in the pattern, increasing stitches as needed to create the desired box size.
- Keep your tension even so the base remains flat. If the work begins to cup or ripple, check that the increases are being made correctly.
- Work the bottom section in a similar way, following the lid instructions for the required shaping.
- To make the flower, begin with a slip knot and chain 4.
- Follow the flower instructions to form the decorative flower.
- Fasten off and leave a yarn tail for sewing.
- Use a yarn needle to sew the flower securely to the top of the lid.
- Weave in all loose ends neatly on the inside of the box or lid.
Notes
Use the original stitch instructions for the exact increase sequence and flower construction. Do not add increases randomly, as this can cause the base or lid to become wavy.