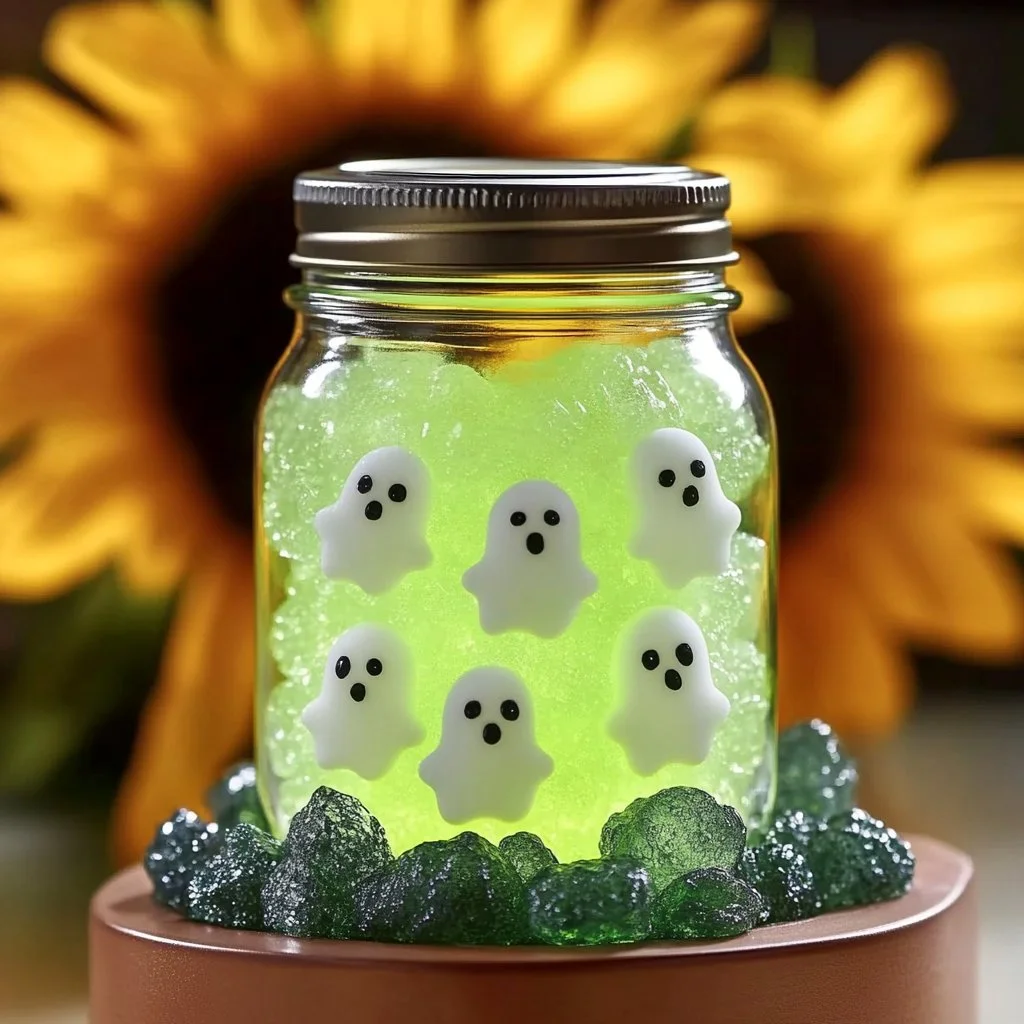
Creating a DIY Alien Nightlight is a delightful project that blends creativity with functionality. Perfect for brightening up a room or adding a whimsical touch to a child’s bedroom, this nightlight is not only charming but also serves a practical purpose. With just a few simple materials and steps, you can craft a cute alien figure that glows softly in the dark. This project is ideal for both kids and adults, making it a fun way to spend an afternoon or evening. Customize your alien with personal touches and enjoy the glow it brings to your space!
Why You’ll Love This DIY Alien Nightlight:
- Creative Outlet: Unleash your artistic side by designing your own unique alien.
- Practical Use: Provides a soft, comforting glow at night.
- Fun for Everyone: Great activity for both kids and adults.
- Easy to Make: Simple steps and minimal materials make it accessible for all skill levels.
- Customizable: Change colors and features to match your décor or preferences.
- Gift Idea: A thoughtful handmade gift for friends and family.
Materials
- Clear plastic bottle (e.g., soda or water bottle)
- LED tea light or small LED bulb
- Acrylic paints (green, purple, or your choice of alien colors)
- Paintbrushes
- Black marker or paint pen
- Scissors
- Optional: glow-in-the-dark paint
- Optional: googly eyes or other decorative elements
Full Step-by-Step
Preparing the Bottle
- Clean & Dry: Start by thoroughly washing the clear plastic bottle and allowing it to dry completely.
- Cutting: Carefully cut the bottle to create the desired height for your alien. A taller bottle makes a taller nightlight!
Painting Your Alien
- Base Coat: Use acrylic paint to apply a base coat to the outside of the bottle. Choose a fun color like green or purple.
- Drying Time: Let the paint dry completely before adding details.
Adding Features
- Facial Features: Use a black marker or paint pen to draw eyes, a mouth, and other features on your alien. Consider adding googly eyes for extra fun!
- Glow-in-the-Dark Touch: If desired, apply glow-in-the-dark paint for a magical effect at night.
Assembly
- Insert Light: Place the LED tea light or bulb inside the bottle. Ensure it’s secure and stable to prevent it from falling over.
- Final Adjustments: Make any final touches to your alien design before finishing.
Tips & Variations
- Material Swap: Instead of a plastic bottle, try using a clear glass jar for a different aesthetic.
- Theme It Up: Consider creating an entire alien family with various colors and features.
- Personal Touch: Add accessories like antennas made from pipe cleaners or stickers.
- Different Lights: Experiment with different colors of LED lights for a cool effect.
Frequently Asked Questions
Q1: Can I use regular paint instead of acrylic?
A1: Acrylic paint is recommended for its durability and vivid colors, but you can use other types if necessary. Just ensure they are suitable for plastic.
Q2: What if I don’t have LED lights?
A2: You can use battery-operated string lights, but ensure they’re safe for enclosed spaces and won’t overheat.
Q3: How do I clean the nightlight?
A3: Wipe the outside gently with a damp cloth. Avoid getting water inside the bottle if you’re using electrical components.
Q4: Can small children help with this project?
A4: Yes! Just supervise any cutting or use of paints, and ensure materials are safe for younger crafters.
Suggestions
- Create a Series: Make different designs inspired by space characters like astronauts or UFOs.
- Interactive Features: Add some sound effects by embedding a small sound module that plays alien sounds when turned on.
- Themed Parties: Use these nightlights as decorations for a space-themed birthday party.
Final Thoughts
Making a DIY Alien Nightlight is an enjoyable and imaginative craft that can brighten any room. It’s not only a fun project but also a great way to add personal flair to your space. We’d love to see your versions of this nightlight! Share your creations in the comments or tag us in your social media posts. Happy crafting!
Print
DIY Alien Nightlight
- Total Time: 30 minutes
- Yield: 1 nightlight
- Diet: N/A
Description
A delightful DIY project that allows you to create a charming alien nightlight using simple materials. Perfect for adding a whimsical touch to any room!
Ingredients
- Clear plastic bottle (e.g., soda or water bottle)
- LED tea light or small LED bulb
- Acrylic paints (green, purple, or your choice of alien colors)
- Paintbrushes
- Black marker or paint pen
- Scissors
- Optional: glow-in-the-dark paint
- Optional: googly eyes or other decorative elements
Instructions
- Thoroughly wash and dry the clear plastic bottle.
- Cut the bottle to create the desired height for your alien.
- Apply a base coat of acrylic paint to the outside of the bottle.
- Allow the paint to dry completely before adding details.
- Draw eyes, a mouth, and other features on your alien using a black marker or paint pen.
- Apply glow-in-the-dark paint for a magical effect at night, if desired.
- Insert the LED tea light or bulb inside the bottle and secure it.
- Make final adjustments to your alien design before finishing.
Notes
Consider using a clear glass jar instead of a plastic bottle for a different aesthetic.
- Prep Time: 15 minutes
- Cook Time: 15 minutes
- Category: Crafting
- Method: Crafting
- Cuisine: N/A
Nutrition
- Serving Size: 1 nightlight
- Calories: N/A
- Sugar: N/A
- Sodium: N/A
- Fat: N/A
- Saturated Fat: N/A
- Unsaturated Fat: N/A
- Trans Fat: N/A
- Carbohydrates: N/A
- Fiber: N/A
- Protein: N/A
- Cholesterol: N/A

