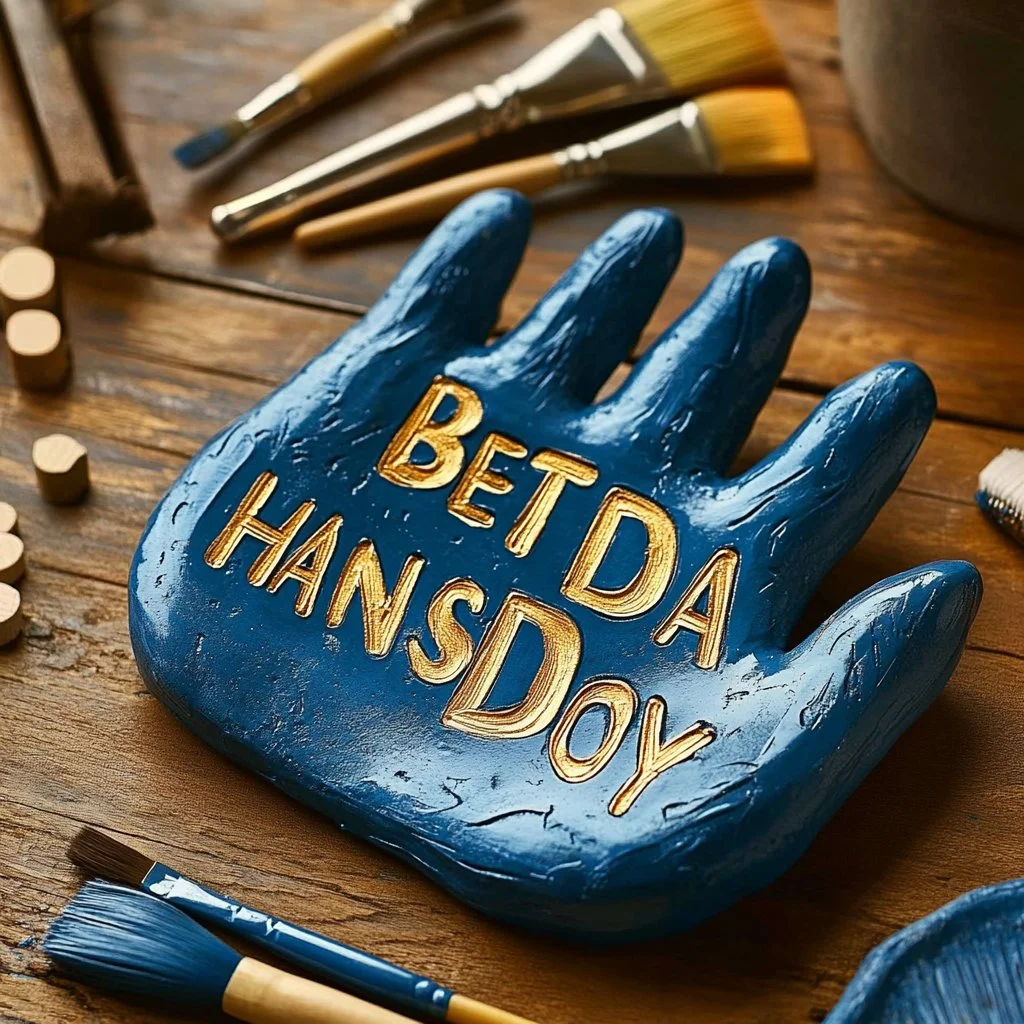
Creating a Daddy Clay Dish is not just a fun craft project—it’s a fantastic way to engage your family and unleash your creativity. This timeless activity allows both children and adults to express their artistic flair while making functional and decorative items. The tactile experience of molding clay stimulates the senses, providing a calming and relaxing outlet. You can also customize your dish with various colors and designs, making each one unique and personal. Whether you’re looking for a hands-on activity for a rainy day or a special gift idea, the Daddy Clay Dish is versatile and easy to make. Let’s dive into why you’ll love this craft recipe!
Why You’ll Love This Daddy Clay Dish:
- Creative Expression: Unleash your artistic side by molding and decorating the clay.
- Functional Art: Create beautiful dishes that can be used to hold small items or as decorative pieces.
- Family Bonding: A great way for families to spend quality time together.
- Endless Customizations: Personalize your dish with colors, patterns, and designs.
- Relaxing Activity: The act of working with clay is therapeutic and stress-relieving.
Materials:
- Air-dry clay
- Rolling pin
- Cutting tool or knife
- Clay sculpture tools (optional)
- Acrylic paint (various colors)
- Paintbrushes
- Sealant (for durability, optional)
- Water bowl (for smoothing edges)
Full Step-by-Step:
Step 1: Prepare Your Workspace
- Clear a flat surface and cover it with newspaper or a plastic mat to make cleanup easy.
Step 2: Roll the Clay
- Take a lump of air-dry clay and roll it into a ball.
- Tip: Use a rolling pin to flatten the clay into a disk about 1/4 inch thick.
Step 3: Shape the Dish
- Use a cutting tool to create a desired shape (circle, oval, etc.).
- Gently lift the edges to create a bowl form.
- Sensory cue: Feel the soft, pliable texture of the clay as you mold it.
Step 4: Smooth the Edges
- Dip your fingers in water and smooth out the edges for a polished look.
Step 5: Let it Dry
- Allow the dish to air dry according to the clay package instructions, usually 24 hours.
Step 6: Paint and Decorate
- Once dry, apply your chosen acrylic paints, and let them dry completely.
- Optional: Seal your dish with a clear coat for added durability.
Tips & Variations:
- Color Mixing: Blend your acrylic paints to create custom shades.
- Texture: Use household items like stamps, leaves, or fabrics to add textures to your dish.
- Shape Variations: Experiment with different shapes or sizes based on your needs.
- Functional Uses: Consider making a key holder, trinket dish, or a decorative bowl.
Frequently Asked Questions:
1. Can I use regular clay instead of air-dry clay?
Yes, but regular clay requires firing in a kiln, which may not be accessible for everyone.
2. How long does it take for the dish to dry?
Drying time usually takes around 24 hours but can vary based on thickness and humidity.
3. What can I use to decorate the dish?
Acrylic paints, glitter, beads, and even fabric pieces can add an artistic touch to your dish.
4. How do I ensure the dish is waterproof?
Using a sealant after painting will protect your dish from moisture but may not make it fully waterproof.
Suggestions:
- Consider making a set of coordinating dishes for a cohesive look.
- Personalize your dish by adding initials or symbols that represent your family.
- Create themed dishes for different holidays or events, such as Halloween or birthdays.
Final Thoughts
In conclusion, making a Daddy Clay Dish is an enjoyable and fulfilling craft that brings a sense of accomplishment. Whether you are crafting for yourself or as a gift, each dish is a reflection of your creativity. We would love to hear how your projects turn out! Share your versions or leave a comment below to inspire others. Happy crafting!
Print
Daddy Clay Dish
- Total Time: 1455 minutes
- Yield: 1 dish
- Diet: N/A
Description
A fun and engaging craft project for families to create unique and functional clay dishes.
Ingredients
- Air-dry clay
- Rolling pin
- Cutting tool or knife
- Clay sculpture tools (optional)
- Acrylic paint (various colors)
- Paintbrushes
- Sealant (optional)
- Water bowl
Instructions
- Prepare your workspace by covering a flat surface with newspaper or a plastic mat.
- Roll a lump of air-dry clay into a ball and flatten it into a disk about 1/4 inch thick using a rolling pin.
- Shape the dish by using a cutting tool to create your desired shape and gently lift the edges.
- Smooth the edges with wet fingers to create a polished look.
- Let the dish air dry according to the clay package instructions, usually around 24 hours.
- Once dry, paint your dish with acrylic paints and let them dry completely. Optionally, seal it with a clear coat for durability.
Notes
Consider making coordinating sets of dishes or adding personal touches like initials.
- Prep Time: 15 minutes
- Cook Time: 1440 minutes
- Category: Craft
- Method: Handcrafting
- Cuisine: N/A
Nutrition
- Serving Size: 1 dish
- Calories: 0
- Sugar: 0g
- Sodium: 0mg
- Fat: 0g
- Saturated Fat: 0g
- Unsaturated Fat: 0g
- Trans Fat: 0g
- Carbohydrates: 0g
- Fiber: 0g
- Protein: 0g
- Cholesterol: 0mg

