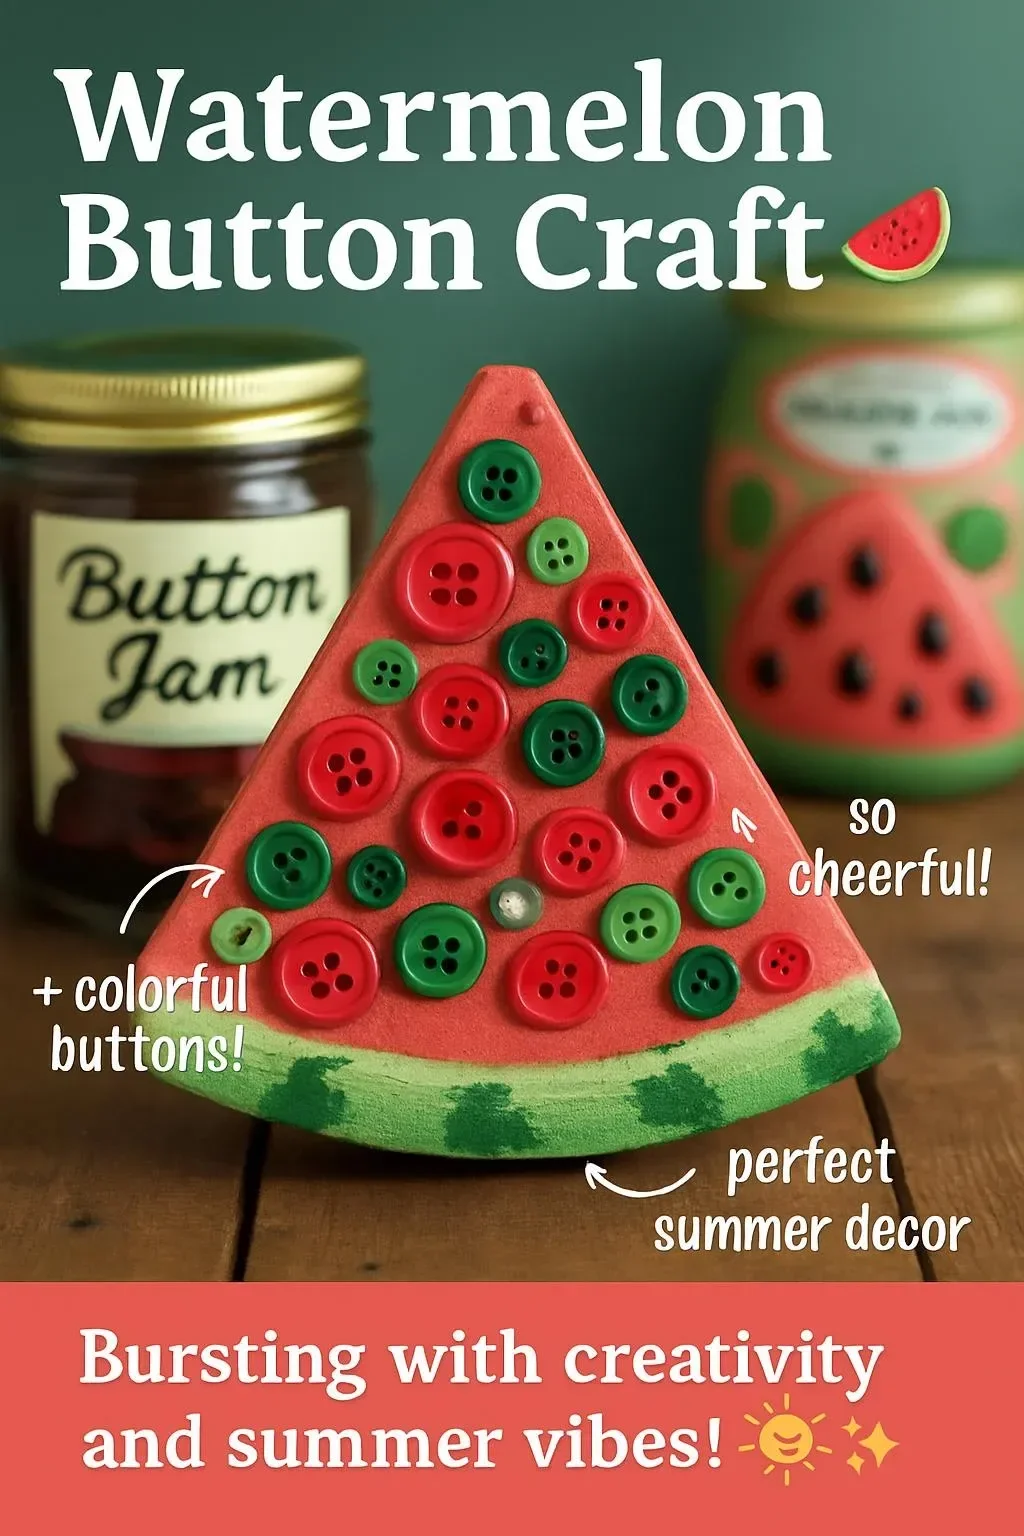
Crafting is a delightful way to express creativity, and what could be more fun than creating your own watermelon button craft? This simple yet charming project is not only enjoyable but also a wonderful opportunity to develop fine motor skills and explore color combinations. Whether you’re crafting with kids at home, in a classroom setting, or looking for a relaxing solo project, this watermelon button craft provides a satisfying hands-on experience that brings smiles to faces. Incorporating vibrant colors and playful shapes, this craft showcases the beauty of summer in a unique way. Plus, it’s an excellent way to repurpose buttons and other materials you may already have around the house!
Why You’ll Love This Watermelon Button Craft:
- Creative Expression: Customize your watermelon design to reflect your unique style.
- Sensory Experience: Enjoy the tactile sensations of the buttons and materials being used.
- Easy and Fun: Simple steps make this craft accessible for all ages.
- Eco-Friendly: A great way to repurpose old buttons and materials.
- Educational Value: Teach children about colors, shapes, and fine motor skills.
- Perfect for Any Occasion: Great for summer decor or playful gifts.
Materials
- Various colored buttons (green, pink, and black)
- A piece of cardboard or sturdy paper as a base
- Craft glue or a hot glue gun
- Scissors
- Green, pink, and black markers (optional for additional detailing)
- Pencil for sketching (optional)
Full Step-by-Step
Step 1: Prepare Your Base
- Cut your cardboard or sturdy paper into a round shape, roughly resembling a watermelon slice.
- Use a pencil to outline the shape lightly.
Step 2: Paint or Color the Base
- If desired, paint the outer edge green to mimic the watermelon rind. Allow it to dry completely.
- For added texture, you can draw lines on the rind using a green marker.
Step 3: Button Placement
- Start placing your pink buttons in the center of your watermelon slice, mimicking the fruit’s flesh.
- Arrange black buttons to represent the watermelon seeds, spacing them evenly among the pink buttons.
Step 4: Gluing Down Buttons
- Once you are satisfied with your button arrangement, carefully lift each button and apply a small amount of glue to the back.
- Press each button firmly onto the base, ensuring they are securely attached.
Step 5: Final Touches
- Allow the glue to dry thoroughly.
- Use markers to add any additional details, like a smiley face or more decorative elements on the rind.
Tips & Variations
- Swap Materials: If you don’t have buttons, consider using pom-poms, beads, or cut-out paper shapes.
- Make It a Theme: Create a series of fruit-themed crafts, such as an orange or a pineapple, using similar techniques.
- Add Texture: Incorporate fabric or felt for a different tactile experience.
- Use Different Styles: Experiment with varying button sizes for a unique look.
Frequently Asked Questions
Q1: Can I use other materials instead of buttons?
- Absolutely! Pom-poms, beads, and cut-out paper shapes can work just as well.
Q2: What age group is this craft suitable for?
- This craft is great for ages 4 and up, with adult supervision for younger children.
Q3: How can I display my finished watermelon craft?
- You can hang it up as wall decor, use it as a playful centerpiece, or even gift it to a friend!
Q4: What should I do if my buttons don’t stick?
- Make sure you are using enough glue, and allow the craft ample time to dry. For better adhesion, consider a hot glue gun.
Suggestions
- Host a crafting party and invite friends or family to create their watermelon buttons together.
- Use this craft as a fun educational activity, incorporating lessons about fruits or colors.
- Consider using your watermelon button craft as a fun card for summer birthdays or thank-you notes.
Final Thoughts
Creating a watermelon button craft is not just fun; it’s a delightful way to explore your creativity and repurpose materials. We encourage you to try this craft and share your unique versions! Leave a comment below with your thoughts or any variations you made. Happy crafting!
Print
Watermelon Button Craft
- Total Time: 45 minutes
- Yield: 1 craft
- Diet: N/A
Description
A fun and creative watermelon button craft perfect for all ages, utilizing buttons and repurposed materials.
Ingredients
- Various colored buttons (green, pink, and black)
- A piece of cardboard or sturdy paper as a base
- Craft glue or a hot glue gun
- Scissors
- Green, pink, and black markers (optional for additional detailing)
- Pencil for sketching (optional)
Instructions
- Prepare your base by cutting cardboard into a round shape resembling a watermelon slice and outline it with a pencil.
- Paint the outer edge green to mimic the watermelon rind and let it dry, optionally adding lines with a green marker.
- Place pink buttons in the center of the slice for the flesh, arranging black buttons evenly as seeds.
- Lift each button to apply glue to the back and press firmly onto the base.
- Allow glue to dry and add additional details with markers.
Notes
Consider using pom-poms or beads instead of buttons for variety. This craft is great for ages 4 and up with supervision.
- Prep Time: 15 minutes
- Cook Time: 30 minutes
- Category: Craft
- Method: Crafting
- Cuisine: N/A
Nutrition
- Serving Size: 1 craft
- Calories: 0
- Sugar: 0g
- Sodium: 0mg
- Fat: 0g
- Saturated Fat: 0g
- Unsaturated Fat: 0g
- Trans Fat: 0g
- Carbohydrates: 0g
- Fiber: 0g
- Protein: 0g
- Cholesterol: 0mg

