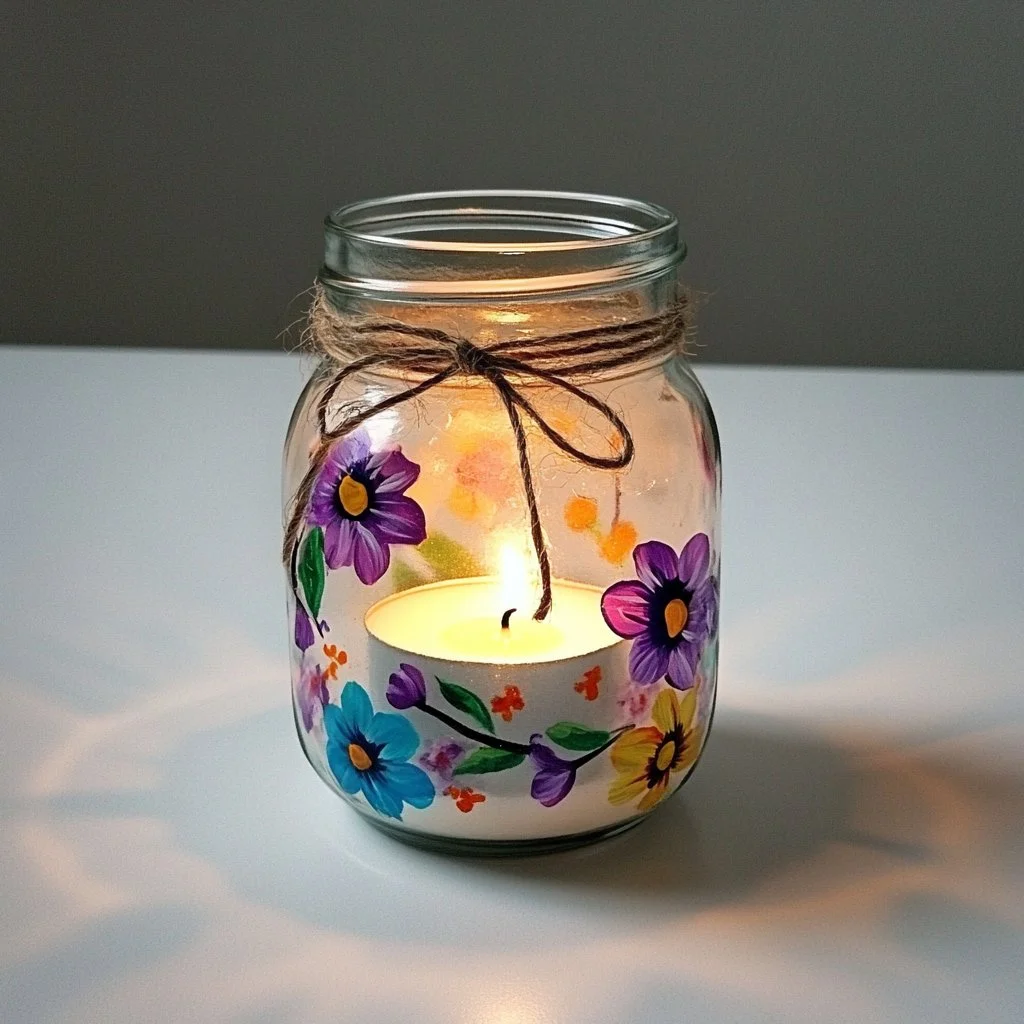
Creating a thumbprint flower candle holder is a delightful DIY project that adds a personal touch to your home décor. Perfect for any occasion, these charming candle holders make fantastic gifts or centerpieces for gatherings. By combining simple materials with your own creative flair, you can craft unique pieces that capture the beauty of nature. Not only do these holders illuminate your space with warm candlelight, but they also serve as conversation starters, showcasing your artistic abilities. With just a few steps, you’ll be able to transform plain materials into exquisite floral-inspired designs. Let’s dive into the joys of making your very own thumbprint flower candle holder!
Why You’ll Love This Thumbprint Flower Candle Holder
- Unique Design: Each holder is one-of-a-kind, showcasing your creative touch.
- Personalized Gift: Perfect for birthdays, housewarmings, or as a heartfelt gesture.
- Easy to Make: Simple steps mean anyone can create beautiful decorations.
- Customizable Colors: Use paints or glazes to match your home décor or seasonal themes.
- Natural Ambiance: The flickering candlelight creates a warm, inviting atmosphere.
Materials
- Air-dry clay or polymer clay
- A small round candle (tealight or votive)
- Acrylic paints or glazes
- Paintbrushes
- Rolling pin
- Cookie cutter (flower shape)
- A small bowl of water (to smooth the edges)
- Wax paper or a non-stick surface for working
Step-by-Step Instructions
Prepare Your Workspace
- Lay out your wax paper or non-stick surface to protect your workspace.
- Gather all materials within reach for a smooth crafting session.
Shape the Holder
- Roll Out the Clay: Use a rolling pin to flatten your clay to about 1/4 inch thick.
- Cut the Flower Shape: Press the flower-shaped cookie cutter into the clay to create the base.
- Thumbprint Design: Use your thumb or fingers to create indents in the petals, mimicking flower designs.
Form the Candle Holder
- Cut a Circle for the Candle: Use a smaller round object to cut out the center of the flower, creating a space for your candle.
- Shape Edges: Dip your fingers in water and smooth out any rough edges for a polished look.
Drying and Painting
- Dry the Holder: If using air-dry clay, let it sit for 24-48 hours. For polymer clay, follow package instructions.
- Paint Your Design: Once dry, use acrylic paints or glazes to add color. Experiment with different designs and techniques to make it your own.
Final Touch
- Insert Candle: Once the paint is dry, place your candle in the center hole and enjoy!
Tips & Variations
- Swap Colors: Use different paint colors for each season or occasion.
- Add Texture: Incorporate other tools (like brushes or stamps) to create unique surface patterns.
- Larger Holders: Scale up the size for larger candles or decorative pieces.
- Use Essential Oils: Add a few drops of essential oils to the clay before shaping for a scented touch.
Frequently Asked Questions
Q: Can I use regular clay instead of air-dry or polymer clay?
A: While regular clay works, it requires firing in a kiln. For ease, stick with air-dry or polymer clay.
Q: How can I safely light the candles in the holder?
A: Ensure that the clay is thoroughly dry and never leave candles burning unattended.
Q: Can I use other shapes besides flowers?
A: Absolutely! Feel free to experiment with different shapes that inspire you.
Q: How do I clean the candle holder?
A: Gently wipe with a damp cloth and avoid soaking in water, especially if painted.
Serving Suggestions or Pairings
To enhance the ambiance created by your thumbprint flower candle holder, consider pairing it with:
- A fragrant herbal tea or spiced cider for a cozy feel.
- Soft instrumental music to create a relaxing atmosphere.
- Fresh flowers around the base for an extra touch of nature.
Final Thoughts
Crafting a thumbprint flower candle holder offers a rewarding creative outlet while enhancing your home’s charm. Not only are they functional, but they also reflect your personality and style. Don’t forget to share your crafted versions or any fun variations in the comments below. Your artistic endeavors could inspire others to ignite their creativity!
Print
Thumbprint Flower Candle Holder
- Total Time: 1440 minutes
- Yield: 1 candle holder
- Diet: N/A
Description
Create a delightful thumbprint flower candle holder, perfect for adding a personal touch to your home décor or as a unique gift.
Ingredients
- Air-dry clay or polymer clay
- A small round candle (tealight or votive)
- Acrylic paints or glazes
- Paintbrushes
- Rolling pin
- Cookie cutter (flower shape)
- A small bowl of water
- Wax paper or a non-stick surface for working
Instructions
- Prepare Your Workspace: Lay out your wax paper or non-stick surface to protect your workspace and gather all materials.
- Roll Out the Clay: Use a rolling pin to flatten your clay to about 1/4 inch thick.
- Cut the Flower Shape: Press the flower-shaped cookie cutter into the clay to create the base.
- Thumbprint Design: Use your thumb or fingers to create indents in the petals.
- Cut a Circle for the Candle: Use a smaller round object to cut out the center of the flower.
- Shape Edges: Dip your fingers in water and smooth out any rough edges.
- Dry the Holder: For air-dry clay, let it sit for 24-48 hours; for polymer clay, follow package instructions.
- Paint Your Design: Once dry, paint with acrylics or glazes to customize.
- Insert Candle: Place the candle in the center hole and enjoy your creation!
Notes
Feel free to swap colors, add texture, or use essential oils for a scented touch.
- Prep Time: 15 minutes
- Cook Time: 0 minutes
- Category: Crafts
- Method: Crafting
- Cuisine: DIY
Nutrition
- Serving Size: 1 holder
- Calories: 0
- Sugar: 0g
- Sodium: 0mg
- Fat: 0g
- Saturated Fat: 0g
- Unsaturated Fat: 0g
- Trans Fat: 0g
- Carbohydrates: 0g
- Fiber: 0g
- Protein: 0g
- Cholesterol: 0mg

