- Introduction
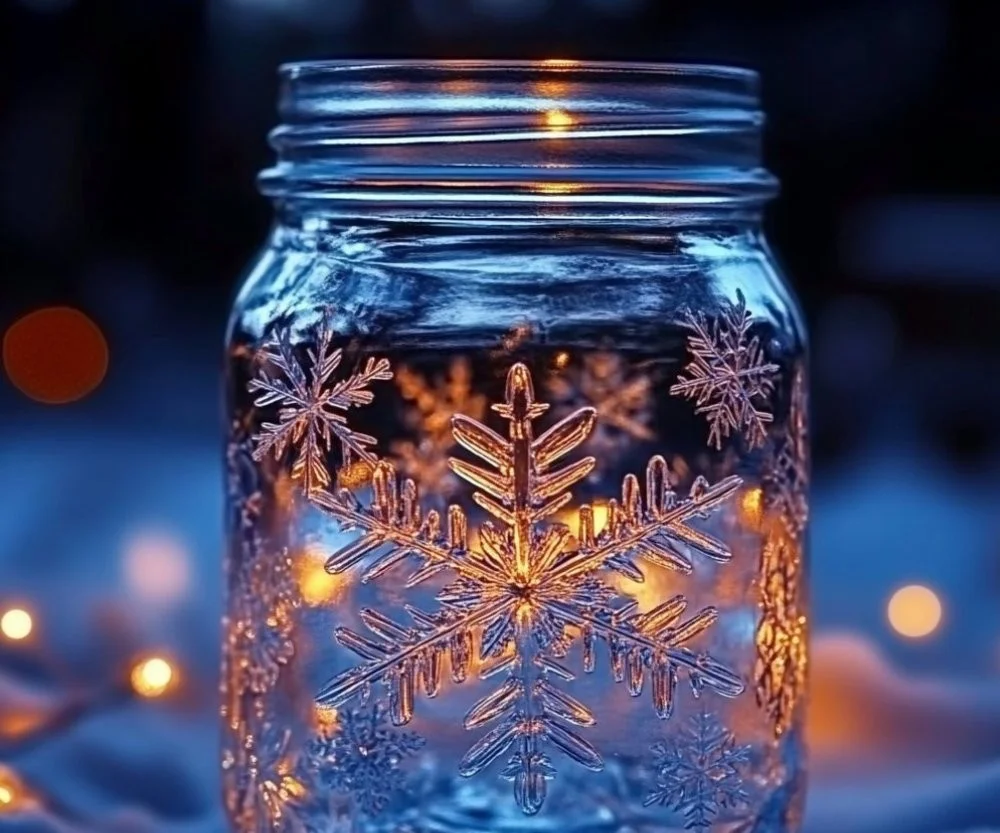
Creating shimmering ice crystals in a jar is not only a delightful DIY project but also an enchanting way to bring a bit of winter magic into your home. These beautiful crystals can brighten up any space, making them perfect for decorations during the holiday season or year-round. This simple recipe allows you to craft visually stunning pieces that shimmer and shine, adding a touch of elegance and whimsy to your decor. Whether you’re looking for a unique gift idea or want to spruce up your own living area, shimmering ice crystals are an excellent and fun craft to undertake. Gather your materials, roll up your sleeves, and let the creative process unfold as you transform basic ingredients into a spectacular display!
- Why You’ll Love This Shimmering Ice Crystals in a Jar
- Visual Appeal: Sparkling crystals that catch the light and create a stunning display.
- Easy to Make: Simple and quick steps make this project accessible to all skill levels.
- Customizable: Tailor the colors and sizes to fit your decor or personal style.
- Perfect for Gifting: A unique and thoughtful homemade gift for any occasion.
- Sensory Experience: The process of making is as enjoyable as the final result.
- Fun for All Ages: A great activity for families to enjoy together.
- Materials
- Jar or glass container (clear)
- Epsom salt or sugar
- Warm water
- Food coloring (optional)
- String or thin wire (for hanging, if desired)
- Stirring stick
- Heat source (such as a stovetop or microwave)
- Step-by-Step Instructions
Prepare the Solution
- In a bowl, mix 1 cup of warm water with 2 cups of Epsom salt or sugar.
- Stir gently until the ingredients dissolve completely.
Add Color
- If desired, add a few drops of food coloring to the solution, stirring until evenly colored.
Assemble the Jar
- Pour the solution into the jar or container, leaving some space at the top.
- If you want to add string for hanging purposes, place it in the jar before the solution hardens.
Let It Set
- Place the jar in a cool, undisturbed area.
- Over the next few hours to days, crystals will form as the water evaporates.
Enjoy Your Creation
- Once the crystals have formed and the solution has hardened, your shimmering ice crystals are ready to be displayed!
- Tips & Variations
- Color Variations: Experiment with different food coloring combinations for a rainbow effect.
- Size of Crystals: For larger crystals, increase the amount of Epsom salt or sugar.
- Fragrance: Add a few drops of essential oil to give your crystals a pleasant scent.
- Different Containers: Use various shapes and sizes of containers for a more dynamic display.
- Frequently Asked Questions
Q: Can I use table salt instead of Epsom salt?
A: Yes, table salt can be used, but Epsom salt tends to create larger and more sparkly crystals.
Q: How long does it take for the crystals to form?
A: The time varies, but usually, crystals will start appearing within a few hours and may take up to a few days to fully form.
Q: Can I reuse the solution if crystals don’t form?
A: Yes, you can reheat and reuse the solution. Just make sure to dissolve any remaining crystals before starting again.
Q: How should I store my shimmering ice crystals?
A: Keep them in a cool place out of direct sunlight to prevent melting or degradation.
-
Serving Suggestions or Pairings
For a delightful winter-themed gathering, pair your shimmering ice crystals with hot chocolate garnished with whipped cream and peppermint sticks. Alternatively, they make a stunning centerpiece alongside a warm spiced apple cider. Add a side of gingerbread cookies for a complete festive experience! -
Final Thoughts
Making shimmering ice crystals in a jar is a captivating and rewarding craft. This project not only enhances your decor but also brings a bit of winter magic into any space. We encourage you to share your own versions or variations of this recipe in the comments below! Happy crafting!

Shimmering Ice Crystals in a Jar
- Total Time: 1440 minutes
- Yield: 1 jar 1x
- Diet: N/A
Description
Create beautiful shimmering ice crystals to brighten up your home or gift to others. This easy and fun DIY project is perfect for all skill levels.
Ingredients
- 1 cup warm water
- 2 cups Epsom salt or sugar
- Food coloring (optional)
- Jar or glass container (clear)
- String or thin wire (for hanging, if desired)
- Stirring stick
- Heat source (stovetop or microwave)
Instructions
- In a bowl, mix 1 cup of warm water with 2 cups of Epsom salt or sugar. Stir gently until dissolved.
- If desired, add a few drops of food coloring to the solution, stirring until evenly colored.
- Pour the solution into the jar, leaving some space at the top. If using string, place it in the jar before the solution hardens.
- Place the jar in a cool, undisturbed area. Crystals will form as the water evaporates over the next few hours to days.
- Once the crystals have formed and the solution has hardened, your shimmering ice crystals are ready to be displayed!
Notes
Experiment with different food coloring combinations for a rainbow effect. Larger crystals can be made by increasing the amount of Epsom salt or sugar.
- Prep Time: 15 minutes
- Cook Time: 0 minutes
- Category: Craft
- Method: DIY
- Cuisine: N/A
Nutrition
- Serving Size: 1 jar
- Calories: 0
- Sugar: 0g
- Sodium: 0mg
- Fat: 0g
- Saturated Fat: 0g
- Unsaturated Fat: 0g
- Trans Fat: 0g
- Carbohydrates: 0g
- Fiber: 0g
- Protein: 0g
- Cholesterol: 0mg

