Introduction
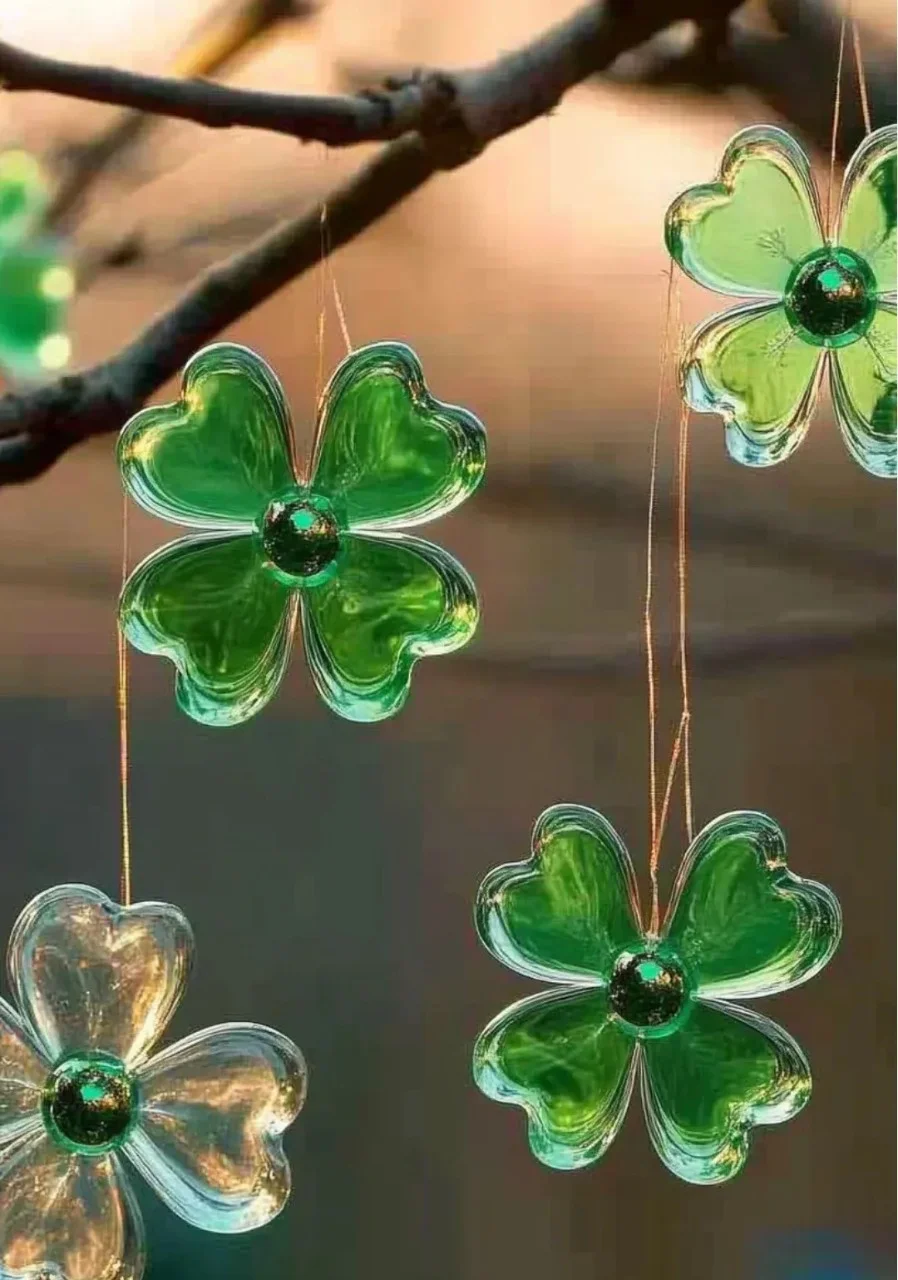
Creating a Shamrock Suncatcher is an enjoyable and engaging crafts activity, perfect for celebrating St. Patrick’s Day or bringing a touch of Irish charm into your home throughout the year. This delightful and colorful project allows you to engage in a hands-on artistic process while also fostering creativity and fine motor skills. The best part is that it’s suitable for all ages, making it a fantastic group activity for families, friends, or classrooms. As the sunlight filters through the translucent materials, the vibrant colors will brighten any space, casting playful patterns and encouraging a positive atmosphere. Join us in making your very own Shamrock Suncatcher and enjoy a dash of whimsy and joy in your decor!
Why You’ll Love This Shamrock Suncatcher:
- Easy and Fun: Perfect for all ages—great for kids and adults!
- Creative Expression: Customize your suncatcher with colors and designs.
- Vibrant Decor: Instantly brightens up your windows with beautiful patterns.
- Low-Cost Materials: Uses accessible and affordable items.
- Meaningful Gift: A thoughtful handmade present for friends or loved ones.
- Seasonal Flair: A festive touch for St. Patrick’s Day or springtime.
Materials:
- Clear contact paper (or clear adhesive sheets)
- Tissue paper in various shades of green, gold, and white
- Scissors
- A pencil
- A sharpie or permanent marker
- A paper plate or a flat surface
- String or ribbon for hanging (optional)
Full Step-by-Step:
Step 1: Prepare the Template
- Draw a shamrock shape on a piece of paper or directly onto the contact paper using a permanent marker.
- Make it large enough to fill out the window space when completed.
Step 2: Cut the Contact Paper
- Cut a piece of clear contact paper larger than your shamrock drawing.
- Carefully peel off the backing, making sure not to touch the sticky side too much.
Step 3: Create Your Colorful Pieces
- Tear or cut the tissue paper into small squares or shapes.
- Feel the different textures and see the range of colors you’ll use!
Step 4: Assemble Your Suncatcher
- Place the tissue paper pieces randomly or in a pattern on the sticky side of the contact paper shamrock.
- Press down gently to ensure they stick well, letting your creativity flow!
Step 5: Seal and Cut
- Cover the artwork with another piece of contact paper for protection. Press down to seal.
- Cut out the shamrock shape carefully, leaving a little border for stability.
Step 6: Hang and Enjoy
- Use string or ribbon to hang your suncatcher in a sunny spot.
- Step back and admire the colorful display as the light filters through!
Tips & Variations:
- Color Combinations: Experiment with different colors of tissue paper for unique designs.
- Different Shapes: Try creating different shapes like stars or hearts for various occasions.
- Glitter It Up: Add a sprinkle of glitter to your tissue paper for extra sparkle!
- Privacy Window Film: Use window film instead of tissue paper for a more transparent look.
- Layering: Layer different sizes of shamrocks for a 3D effect.
Frequently Asked Questions:
Q1: Can I use regular paper instead of tissue paper?
A1: While you can use regular paper, tissue paper works best because it allows light to pass through effectively.
Q2: What if I don’t have contact paper?
A2: You can use clear plastic sandwich bags or laminate sheets as alternatives.
Q3: How do I clean my suncatcher?
A3: Gently wipe with a damp cloth to remove dust. Avoid using harsh chemicals that may damage it.
Q4: Can this project be done outside?
A4: Yes, but be mindful of the wind as it may disturb your pieces before they stick properly.
Suggestions:
- Pair this craft with a related activity, such as making homemade Irish treats.
- Consider hosting a Shamrock Suncatcher-making party, with friends and family providing their supplies!
- Use your suncatchers to decorate for a St. Patrick’s Day celebration or a spring-themed event.
Final Thoughts
Crafting a Shamrock Suncatcher is not only a path to creativity but also a wonderful way to add cheer to your environment. We’d love to see your unique creations! Feel free to share your version of the suncatcher or any tips in the comments below. Happy crafting!
Print
Shamrock Suncatcher
- Total Time: 15 minutes
- Yield: 1 suncatcher
Description
Create a vibrant Shamrock Suncatcher to celebrate St. Patrick’s Day and brighten your home decor.
Ingredients
- Clear contact paper (or clear adhesive sheets)
- Tissue paper in various shades of green, gold, and white
- Scissors
- A pencil
- A sharpie or permanent marker
- A paper plate or a flat surface
- String or ribbon for hanging (optional)
Instructions
- Draw a shamrock shape on a piece of paper or directly onto the contact paper using a permanent marker.
- Cut a piece of clear contact paper larger than your shamrock drawing and peel off the backing.
- Tear or cut the tissue paper into small squares or shapes.
- Place the tissue paper pieces on the sticky side of the contact paper shamrock and press down gently.
- Cover the artwork with another piece of contact paper and cut out the shamrock shape, leaving a border for stability.
- Use string or ribbon to hang your suncatcher in a sunny spot and admire the display.
Notes
Experiment with different colors and shapes. Add glitter for extra sparkle!
- Prep Time: 15 minutes
- Cook Time: 0 minutes
- Category: Crafts
- Method: Crafting
Nutrition
- Serving Size: 1 suncatcher
- Calories: 0
- Sugar: 0g
- Sodium: 0mg
- Fat: 0g
- Saturated Fat: 0g
- Unsaturated Fat: 0g
- Trans Fat: 0g
- Carbohydrates: 0g
- Fiber: 0g
- Protein: 0g
- Cholesterol: 0mg

