Introduction
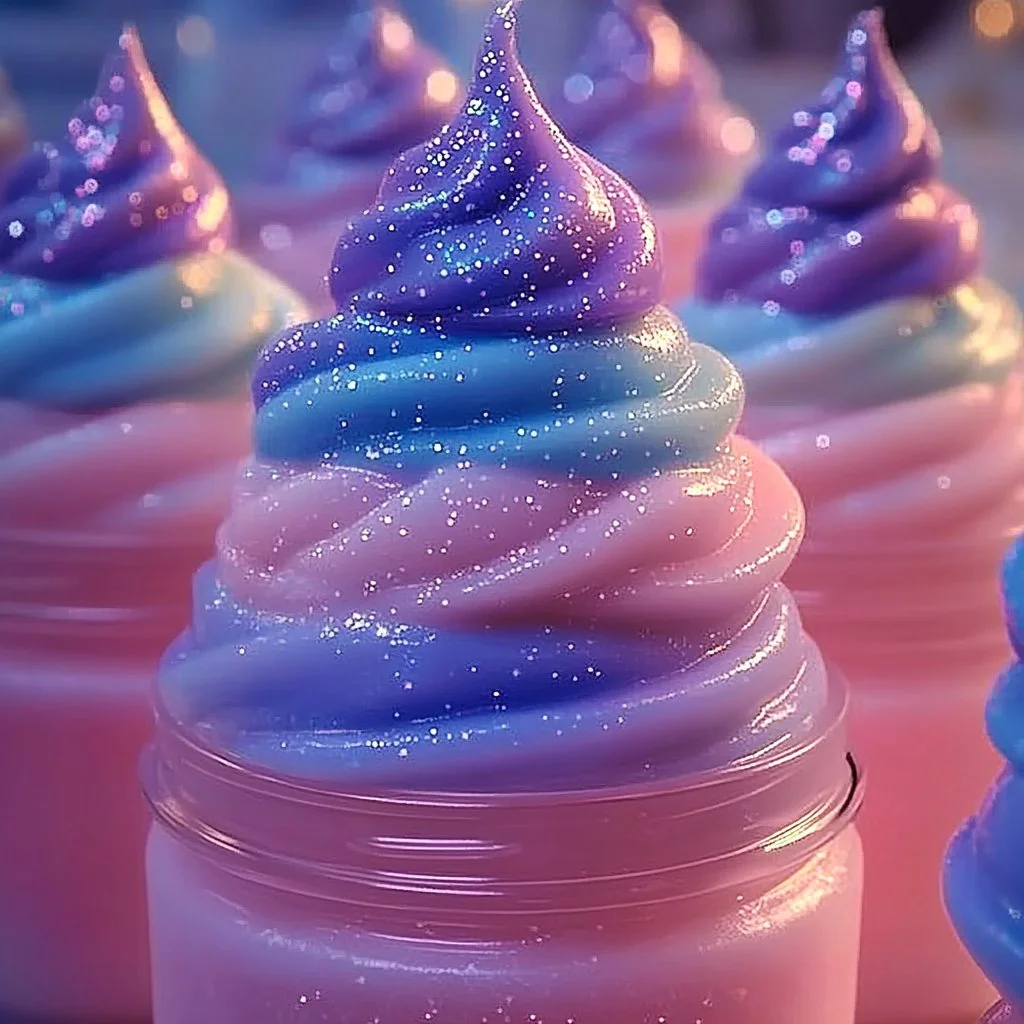
Are you ready to dive into the world of fun and creativity with an exciting DIY project? Shadow Slime Jars are a unique and engaging way to explore the fascinating properties of slime while enjoying a mesmerizing visual experience. Perfect for kids and adults alike, this delightful activity allows for both hands-on fun and artistic expression. With a few simple ingredients, you can create your very own vibrant shadow slime that glows under black light or sparkles in the light. It’s a great activity for parties, playdates, or just a fantastic weekend project! Get ready to unleash your creativity and bring a little magic into your home with these captivating slime jars.
Why You’ll Love This Shadow Slime Jars
- Easy to Make: Simple ingredients that are easy to find.
- Endless Creativity: Customize colors and textures to suit your style.
- Sensory Play: A delightful tactile experience for kids and adults.
- Science & Fun: An educational way to explore chemistry while having fun.
- Perfect for Parties: Makes for great party favors or fun activities.
- Interactive Display: The jars look stunning as decor and are fun to play with.
Materials
- Clear glue (PVA)
- Baking soda
- Liquid starch
- Food coloring (various colors for layering)
- Glitter or confetti (optional)
- Black light (for an ultimate glow effect)
- Mixing bowl
- Measuring cups and spoons
- Jars with secure lids
Step-by-Step Instructions
1. Prepare the Glue Mixture
- In a mixing bowl, pour 1 cup of clear glue.
- Add 1 tablespoon of baking soda and mix until well combined. The baking soda will help with texture.
2. Add Color and Glitter
- Add a few drops of food coloring to the mixture.
- If desired, sprinkle in some glitter or confetti to make your slime sparkle. Mix well until the color is even.
3. Activate the Slime
- Slowly add 1/2 cup of liquid starch, a little at a time, while stirring.
- The mixture will start to clump together. Continue until it forms a cohesive slime.
4. Knead the Slime
- Once the slime has formed, take it out of the bowl. Knead it with your hands for a few minutes until smooth and stretchy.
5. Layer in the Jar
- Start layering the slime in your jar by using different colors and textures. Adjust the order of layers for stunning visual effects.
6. Seal and Display
- Close the jar securely with the lid. Shine a black light on it to see the amazing glowing effects!
Tips & Variations
- Mix in glow-in-the-dark powder for extra luminescence.
- Use different types of glitter (fine, chunky) for varied textures.
- Swap out the clear glue for colored glue for a different base color.
- Try adding essential oils for a scented slime experience.
Frequently Asked Questions
Q1: Can I use another type of glue?
A1: Yes, you can use white school glue, but the final result may be less transparent.
Q2: How do I store my Shadow Slime?
A2: Keep the jars sealed to retain moisture. Store in a cool, dry place away from sunlight.
Q3: What if my slime is too sticky?
A3: Add a bit more liquid starch while kneading, or let it sit uncovered for a few minutes to dry out slightly.
Q4: Is this recipe safe for kids?
A4: Yes, all ingredients are non-toxic. However, supervise young children during the activity to avoid ingestion.
Serving Suggestions or Pairings
- Pair your Shadow Slime with themed snacks like colorful cupcakes or fruit skewers.
- Offer drinks like sparkling lemonade or fruity punch to complement the colorful vibe of your slime-making activity.
- Set up a glow-in-the-dark party area to enhance the overall experience!
Final Thoughts
Creating Shadow Slime Jars is not only a fun craft but also a fantastic way to engage your senses and unleash your imagination. Whether you’re a seasoned slime maker or a complete beginner, this project will spark joy and creativity. Don’t forget to share your unique versions or leave a comment about your experience below. Let’s connect and inspire each other in this delightful, squishy adventure!

Shadow Slime Jars
- Total Time: 10 minutes
- Yield: 1 jar of slime 1x
- Diet: N/A
Description
Create captivating Shadow Slime Jars that glow under black light, ideal for parties and hands-on fun.
Ingredients
- 1 cup clear glue (PVA)
- 1 tablespoon baking soda
- 1/2 cup liquid starch
- Food coloring (various colors for layering)
- Glitter or confetti (optional)
- Black light (for an ultimate glow effect)
- Mixing bowl
- Measuring cups and spoons
- Jars with secure lids
Instructions
- In a mixing bowl, pour 1 cup of clear glue. Add 1 tablespoon of baking soda and mix until well combined.
- Add a few drops of food coloring to the mixture and optional glitter or confetti. Mix well.
- Slowly add 1/2 cup of liquid starch while stirring until it forms cohesive slime.
- Knead the slime with your hands until smooth and stretchy.
- Layer the slime in your jar with different colors and textures for stunning visual effects.
- Seal the jar, then shine a black light on it to see the glowing effects!
Notes
Mix in glow-in-the-dark powder or essential oils for added fun. Store sealed in a cool, dry place.
- Prep Time: 10 minutes
- Cook Time: 0 minutes
- Category: Craft
- Method: DIY
- Cuisine: N/A
Nutrition
- Serving Size: 1 jar
- Calories: 50
- Sugar: 0g
- Sodium: 70mg
- Fat: 0g
- Saturated Fat: 0g
- Unsaturated Fat: 0g
- Trans Fat: 0g
- Carbohydrates: 12g
- Fiber: 0g
- Protein: 0g
- Cholesterol: 0mg

