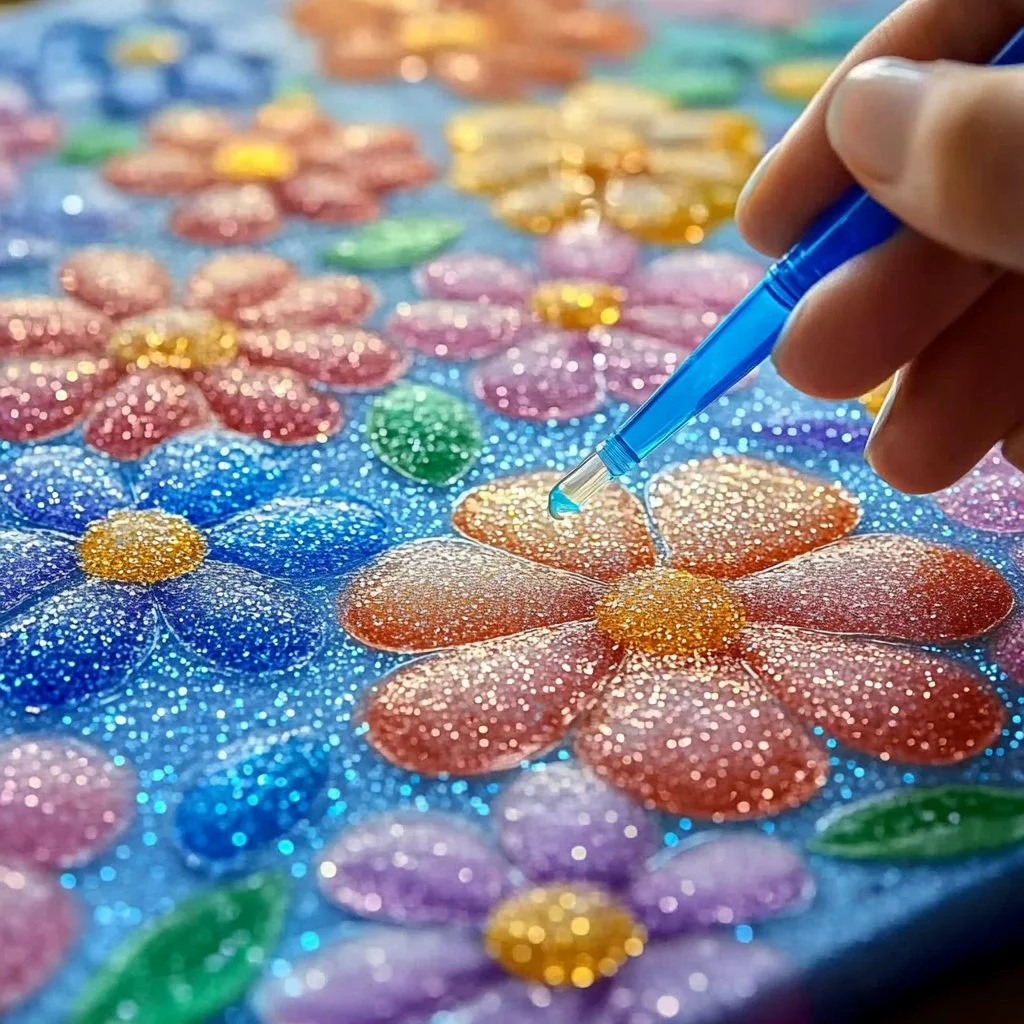
Salt painting is a captivating art project that combines creativity with fun sensory experiences. This unique technique involves creating textured designs using salt and vibrant colors, making it a fantastic activity for artists of all ages. Whether you’re a parent looking for a meaningful craft to do with your kids, a teacher wanting to spice up your classroom activities, or simply an art enthusiast seeking a new medium, salt painting offers something special.
As you work with the materials, you’ll discover the soothing sound of salt pouring and the satisfaction of watching colors blend and spread. The tactile sensation of glue on paper and the shimmering effect of salt catching the light will create a memorable experience. Creating art in this manner not only nurtures creativity but also offers a perfect opportunity for mindfulness. So grab your supplies and dive into this exciting salt painting project!
Why You’ll Love This Salt Painting Project:
- Simple and inexpensive materials
- Allows for endless creativity and personal expression
- Engages multiple senses and promotes mindfulness
- Perfect for kids and adults alike
- Teaches color mixing and design techniques
Materials:
- White school glue
- Table salt
- Watercolor paints or liquid food coloring
- Thick cardboard or watercolor paper
- Small cups for mixing paints
- Paintbrushes
- A tray or workspace to contain mess
Full Step-by-Step:
Step 1: Create Your Design
- Using white school glue, draw a design on the thick cardboard or watercolor paper.
- Experiment with different shapes; simple lines, swirls, or shapes will work best.
- Make sure to apply enough glue for the salt to stick.
Step 2: Apply the Salt
- While the glue is still wet, sprinkle salt generously over the entire design.
- Gently shake off any excess salt back into the container.
Step 3: Add Color
- Prepare your watercolor paints or liquid food coloring in small cups with a bit of water.
- Using a paintbrush, introduce the color to the salt areas. Notice how the paint spreads and mixes with the salt.
- Feel free to experiment with blending different colors.
Step 4: Let It Dry
- Allow the artwork to dry completely. This may take several hours; the salt will stay gritty and crisp.
Tips & Variations:
- Customize Your Design: Try using a variety of drawing styles or textures such as dots or hatching.
- Swap Materials: If you don’t have watercolor paints, use food coloring or even diluted acrylics.
- Experiment with Salt Types: Coarse sea salt will give a different texture than fine salt.
Frequently Asked Questions:
Q1: Can I use other types of glue?
A1: While white school glue works best, you can experiment with other types like clear glue, but results may vary.
Q2: What should I do if paint does not spread as expected?
A2: Make sure your salt is applied while the glue is wet. Also, try using more water in your paint mixture.
Q3: Can I reuse the salt?
A3: It’s best not to reuse the salt after the project is complete, as it may be contaminated by paint.
Q4: How long does the artwork last?
A4: Once dry, salt paintings can last for a long time if stored properly, away from moisture.
Suggestions:
- Consider making themed salt paintings for holidays or special occasions.
- Organize a salt painting party where friends and family can create together.
- Use your finished artworks as unique greeting cards or gifts.
Final Thoughts
Salt painting is not just a craft; it’s an experience that fosters creativity and allows you to explore color and texture in a fun way. We encourage you to share your creations or variations in the comments below! We’d love to see how you interpreted this project!
Print
Salt Painting
- Total Time: 15 minutes
- Yield: 1 artwork
- Diet: N/A
Description
A captivating art project that combines creativity with fun sensory experiences using salt and vibrant colors.
Ingredients
- White school glue
- Table salt
- Watercolor paints or liquid food coloring
- Thick cardboard or watercolor paper
- Small cups for mixing paints
- Paintbrushes
- A tray or workspace to contain mess
Instructions
- Using white school glue, draw a design on the thick cardboard or watercolor paper. Apply enough glue for the salt to stick.
- While the glue is still wet, sprinkle salt generously over the entire design. Shake off any excess salt.
- Prepare your watercolor paints or liquid food coloring with water. Use a paintbrush to introduce color to the salt areas.
- Allow the artwork to dry completely for several hours.
Notes
Experiment with different types of salt for unique textures and customize your design with various drawing styles.
- Prep Time: 15 minutes
- Cook Time: 0 minutes
- Category: Craft
- Method: Art Project
- Cuisine: N/A
Nutrition
- Serving Size: 1 artwork
- Calories: N/A
- Sugar: N/A
- Sodium: N/A
- Fat: N/A
- Saturated Fat: N/A
- Unsaturated Fat: N/A
- Trans Fat: N/A
- Carbohydrates: N/A
- Fiber: N/A
- Protein: N/A
- Cholesterol: N/A

