

Creating Salt Dough Aroma Stones invites a gentle stillness. The soothing scent of essential oils mingles softly with the comforting warm glow of the oven as you prepare the dough. The texture of the clay-like mixture warms your hands, creating a familiar connection to the earth. While you knead the dough, the rhythmic sound of your hands working and the absorbing scent of the oils pull you into a cozy mindset. The simple act of making these stones becomes a mindful ritual, grounding you in a soft, sensory world.
The Heart Behind This DIY
Making Salt Dough Aroma Stones connects with the desire for simplicity and calm in our daily lives. It is not just a craft but an invitation to slow down and focus on the moment. As you engage in this process, you create something tangible, rooted in creativity and mindfulness. The materials are easy to obtain, which enhances the accessibility of the project and makes the experience of creating both enjoyable and meaningful.
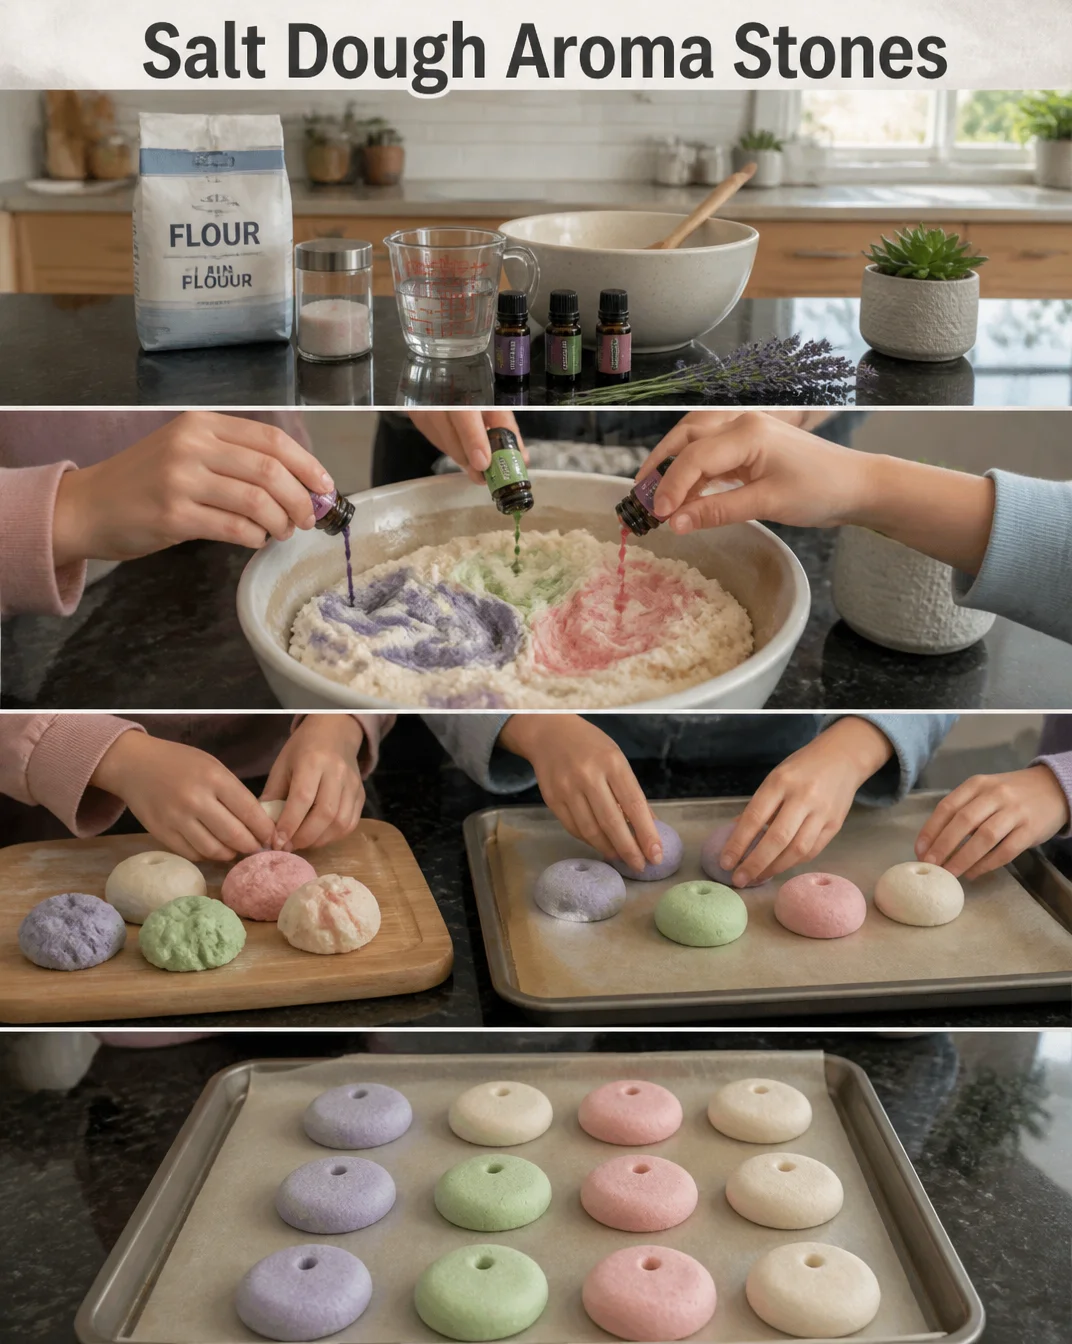
The act of shaping the stones encourages you to be present. Each moment spent working with the dough allows you to focus on texture and warmth, inviting you to let go of distractions. When you incorporate your favorite essential oils, you deepen the connection, creating personalized aroma stones that resonate with your unique spirit. This activity nurtures not only your hands but also your heart, reminding you of the joy found in simple, intentional creativity.
A Gentle Look at the Process
Embarking on the journey of making Salt Dough Aroma Stones unfolds in soft, inviting steps. You will fill your space with the scent of essential oils and the warm embrace of dough as your fingers knead and mold. The gentle flow of this project allows you to savor each movement, from mixing the ingredients to shaping the stones into delicate forms. You can hear the soft sounds of dough being pressed and rolled, each moment guiding you deeper into a meditative state.
Before proceeding, gather your materials and carve out some time for yourself. Allow yourself to sink into the rhythm of the process, experiencing the blend of scents and textures as you work. This activity does not require haste; instead, it beckons you to enjoy quiet engagement with your creative potential.
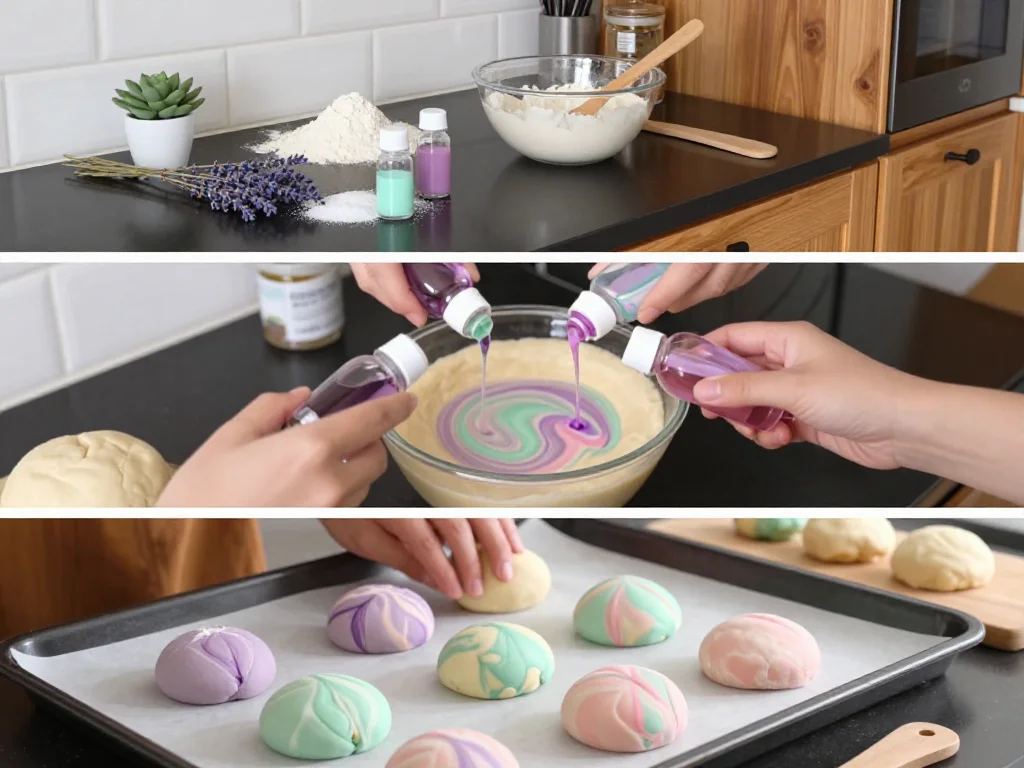
Materials You’ll Need
- 2 cups all-purpose flour
- 1 cup salt (coarse or fine)
- 1 cup water
- 2 tablespoons vegetable oil
- Essential oils of your choice (e.g., lavender, eucalyptus, or citrus for uplifting aromas)
- Mixing bowl
- Baking tray
- Parchment paper (optional, for easier cleanup)
- Rolling pin
- Cookie cutters or molds (fun shapes add a personal touch)
These supplies are simple and easy to find, making the process feel approachable and inviting. You might even have some of the ingredients at home already. Feel free to experiment with different essential oils that resonate with you, allowing your creations to reflect your individual taste and spirit.
Step-by-Step Directions
-
Begin by mixing the flour and salt in a bowl, feeling the dry grains move through your fingers. It should feel coarse and granular, creating a calming foundation for your project.
-
In a separate container, combine the water and vegetable oil. Stir this mixture gently until the oil disperses.

-
Slowly pour the wet ingredients into the dry ones. As you do this, watch the way the flour and salt absorb the liquid, forming a pasty texture.
-
Use your hands to knead the dough together. The warmth of your touch will make the mixture smoother and softer. Knead it for about five minutes, enjoying the elastic feel developing between your fingers.
-
Once the dough is homogenous, divide it into smaller sections. Roll each piece out on a lightly floured surface to about ¼ inch thick, taking your time to appreciate the transformation.
-
Use cookie cutters or molds to create shapes. The playfulness of this step invites you to be creative. Pay attention to the soft, yielding nature of the dough as you press down, letting your imagination guide you.
-
Place the shaped stones onto a baking tray lined with parchment paper for easier cleanup. Ensure they have space to breathe, as they will expand slightly when baking.
-
Preheat your oven to 250°F (120°C). Bake the stones for about two hours or until they feel hard and firm. The scent of baking dough fills the air, creating a comforting atmosphere.
-
Once baked, let the stones cool completely. As they cool, you can set the mood with your favorite music or a calming candle.
-
Once cooled, take a moment to decorate or imprint the stones with designs if you wish, or simply apply a drop of your chosen essential oil to each stone. This final touch will release enchanting fragrances, filling your space with warmth.
Enjoying the Finished Piece
Salt Dough Aroma Stones can bring a gentle, aromatic touch to any space. You might place them in your living room, beside your bed, or even in your workspace, where the calming scents can support focus and relaxation. Simply add a few drops of essential oil to the stones as the need arises, allowing the aromas to gradually release into the air.
The beauty of these stones lies in their versatility. They can serve as decorative elements, adding warmth to your surroundings. You can create a peaceful arrangement on a shelf or combine them with candles for a cozy setting. Each time the scent wafts by, it can serve as a gentle reminder to pause and breathe, inviting tranquility into your day.
How to Store or Reuse Salt Dough Aroma Stones
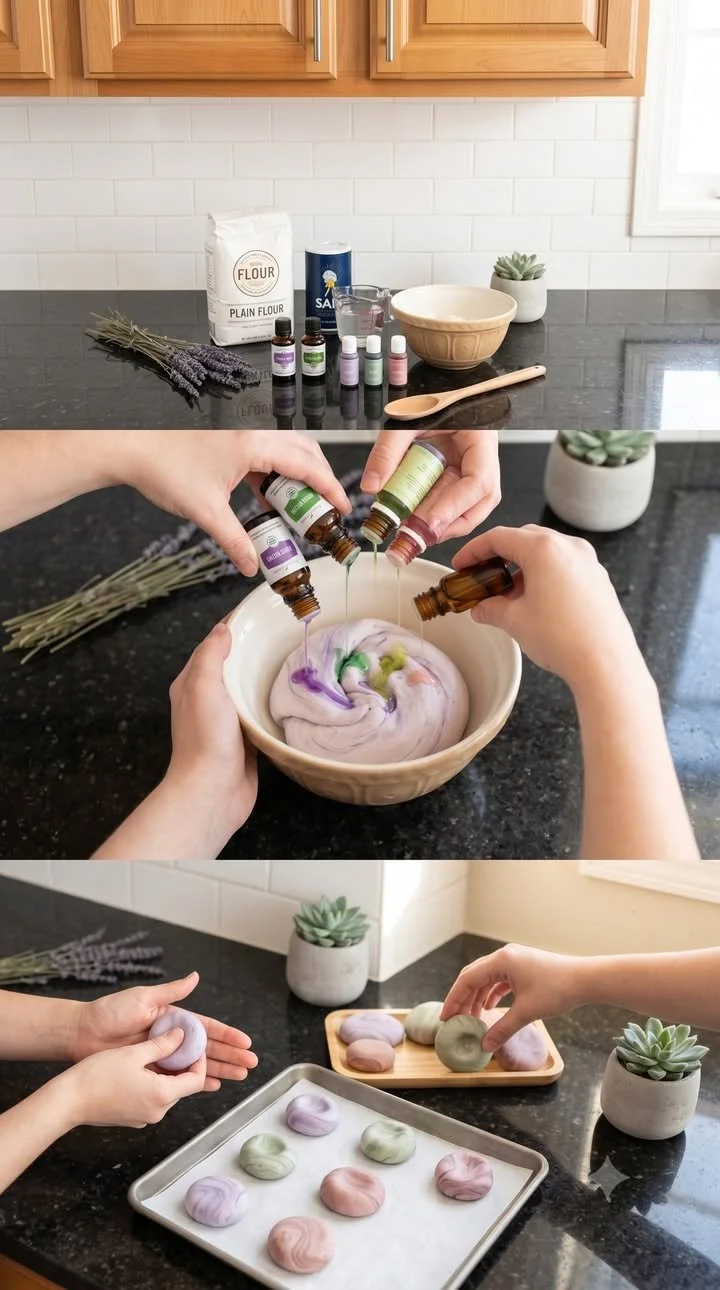
When it comes to prolonging the life of your lovely aroma stones, simple steps will keep them in good condition. Store them in a cool, dry place, away from direct sunlight. Avoid placing them in humid areas, as moisture could cause them to soften over time.
If you notice the scent fading, gently refresh them by adding a few drops of your favorite essential oil. This practice breathes new life into the stones, allowing them to continue infusing your space with the calming fragrances you love.
If you find that some are cracking or show signs of wear, consider them a part of the journey. Embrace their imperfections, as they tell the story of moments spent crafting with intention and care.
Gentle Tips & Variations
-
Explore different shapes and sizes. Using a variety of cookie cutters or molds enhances your collection and allows for a playful design aesthetic.
-
Experiment with colors. You can add natural colorants to your dough, such as beet juice for a soft pink, or turmeric for a warm yellow. This brings a delightful visual dimension to your stones.
-
Create themed sets. Use specific essential oils associated with the evening, like chamomile for sleep, or energizing oils like peppermint for morning motivation. This can guide their use, enriching your daily routine.
-
Consider adding dried flowers or herbs into the dough for an extra touch of beauty and texture. They can add a gentle, rustic charm and enhance the sensory experience.
-
Share the experience. Consider making this project a communal activity, inviting friends or family to craft alongside you. This deepens connections and transforms the DIY session into shared joy.
FAQs About Salt Dough Aroma Stones
1. How long do Salt Dough Aroma Stones last?
Salt Dough Aroma Stones can last for months if stored correctly. Keep them dry and away from moisture, and refresh their scent as needed.
2. Can I use any essential oils?
Absolutely. Feel free to choose any essential oils that resonate with you. Consider allergies or sensitivities, and test a small amount first if you’re unsure.
3. What if my stones break?
If a stone breaks, embrace it as part of the journey. Smaller pieces can still be used, or you can repurpose the remaining bits in creative ways, like adding them to potpourri.
4. Are these stones safe around pets?
While the salt dough itself is non-toxic, some essential oils can be harmful to pets. Always do thorough research on any oils you plan to use if pets are around.
5. Can I paint my aroma stones?
Yes, you can use non-toxic paint to add color or decoration to your stones after they cool. Ensure the paint isn’t harmful to people or pets if the stones will be placed in areas accessible to them.
A Gentle Note Before You Go
As you finish your Salt Dough Aroma Stones, may you find a sense of calm in both the process and the final product. Each stone embodies moments of mindfulness, connecting you to creativity and centeredness. Allow yourself the grace to enjoy this new craft, celebrating the quiet joys it brings into your space.
Let the soothing scents guide your moments of reflection, and remember that this journey of creation is just as enriching as the finished piece. Embrace your creativity, trusting it will lead you into deeper connections with your surroundings and yourself. Enjoy the beauty found in both making and using your aroma stones, and carry that warmth with you.
Print
Salt Dough Aroma Stones
- Total Time: 135 minutes
- Yield: 10 aroma stones
- Diet: Non-Diet Specific
Description
Create soothing aroma stones using salt dough, perfect for filling your space with calming scents from essential oils.
Ingredients
- 2 cups all-purpose flour
- 1 cup salt (coarse or fine)
- 1 cup water
- 2 tablespoons vegetable oil
- Essential oils of your choice (e.g., lavender, eucalyptus, or citrus)
- Mixing bowl
- Baking tray
- Parchment paper (optional)
- Rolling pin
- Cookie cutters or molds
Instructions
- Begin by mixing the flour and salt in a bowl.
- Combine the water and vegetable oil in a separate container.
- Slowly pour the wet ingredients into the dry ones.
- Use your hands to knead the dough together for about five minutes.
- Once the dough is homogenous, divide it into smaller sections.
- Roll each piece out on a lightly floured surface to about 1/4 inch thick.
- Use cookie cutters or molds to create shapes.
- Place the shaped stones onto a baking tray lined with parchment paper.
- Preheat your oven to 250°F (120°C), and bake the stones for about two hours.
- Once baked, let the stones cool completely.
- Take a moment to decorate or imprint the stones with designs if you wish.
Notes
Store your aroma stones in a cool, dry place away from direct sunlight. Refresh their scent with essential oils as needed.
- Prep Time: 15 minutes
- Cook Time: 120 minutes
- Category: Craft
- Method: Baking
- Cuisine: Not Applicable