

Creating a Rainbow CD Wind Spinner brings an enchanting touch of color and whimsy to our surroundings. As you find a quiet spot to work on this project, the physical sensation of holding a cd—a smooth, cool disk—connects you to memories of joy and laughter. The gentle interplay of light reflecting off the shimmering surface will be your companion throughout this experience. Imagine the soft rustle of the wind as it catches the spinner, drawing it to dance and twirl, each movement whispering stories of sunshine and gentle breezes.
Why Make This Rainbow CD Wind Spinner (Easy DIY)
Crafting the Rainbow CD Wind Spinner invites us to slow down and connect with our surroundings. The act of creating brings a sense of calm, allowing our hands to engage in a mindful rhythm. Each decision, from choosing colors to finding the perfect place to hang it, compels us to pay close attention to the moment. In a world that often rushes by, this DIY project becomes a sanctuary where simplicity reigns, and creativity blossoms.
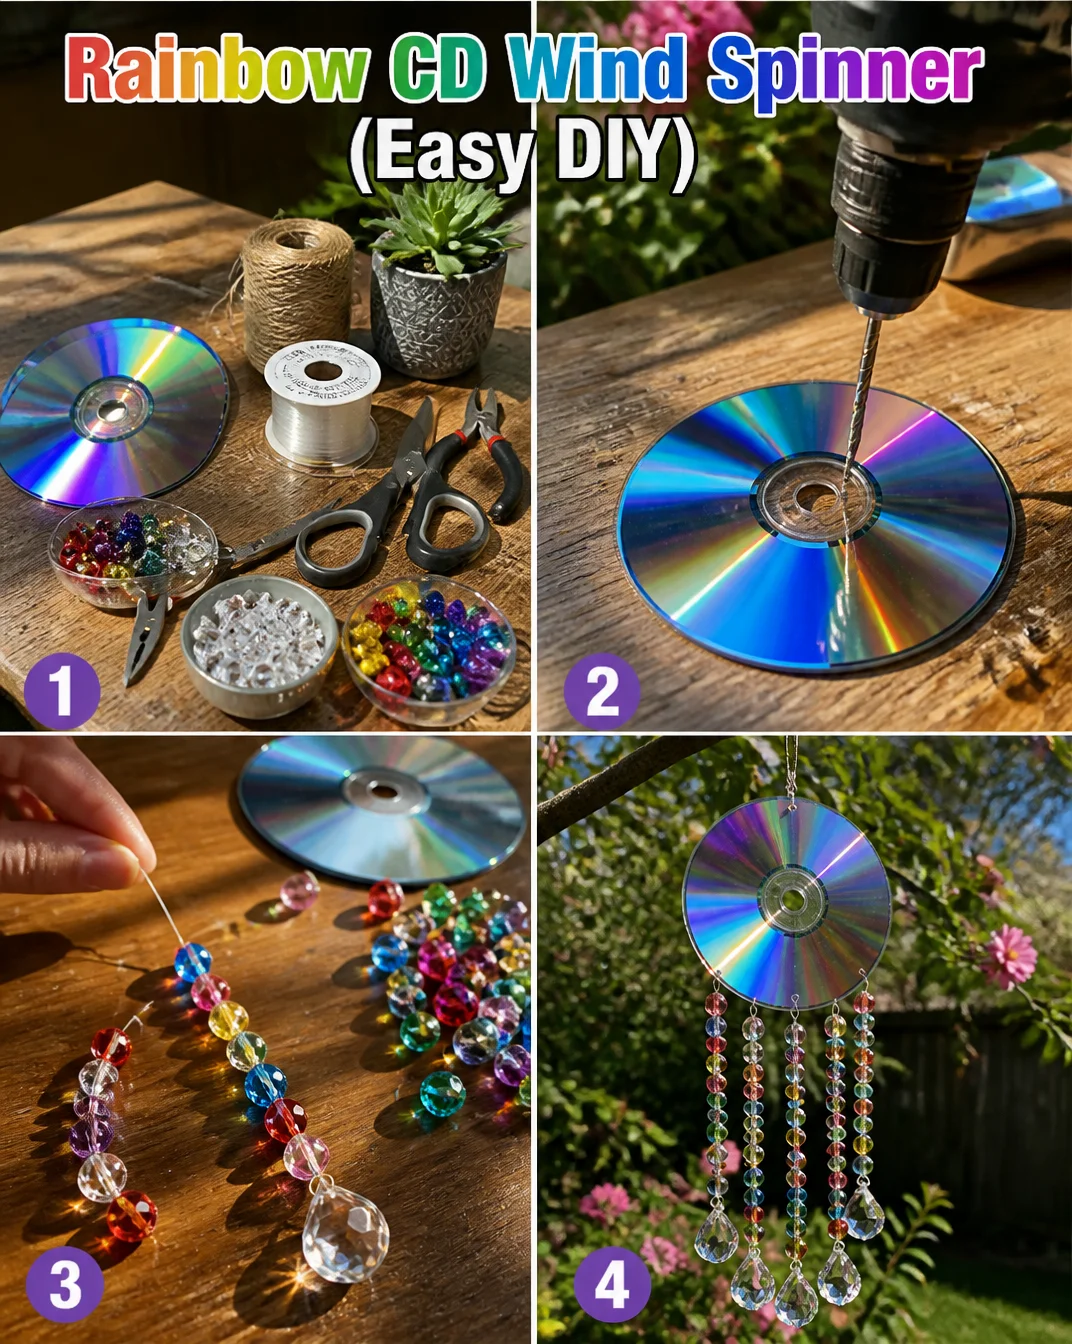
As you make this spinner, you may find yourself captivated by the sound of scissors cutting through paper or the texture of paint gliding smoothly onto the CD surface. These sensory experiences ground us, helping us focus on the present. The act of spinning the created piece becomes a simple joy, reminding us that beauty often comes from the gentlest of actions.
A Gentle Look at the Process
Envision the flow of creating as an effortless dance. The process begins with gathering materials—each item exists with a purpose, waiting to be transformed. As you cut and assemble, you’ll notice the soft glide of tape, the gentle tug of string, and the vibrant splash of colors coming together. Each layer you add builds anticipation, reflecting your intentions and emotions. This project isn’t just about the finished product; it’s about the tranquil moments spent in creation.
Before you breathe life into your Rainbow CD Wind Spinner, imagine connecting each element with care and tenderness. Soon, you will see your creativity manifest into a lovely piece that catches the light and spins beautifully in the breeze.
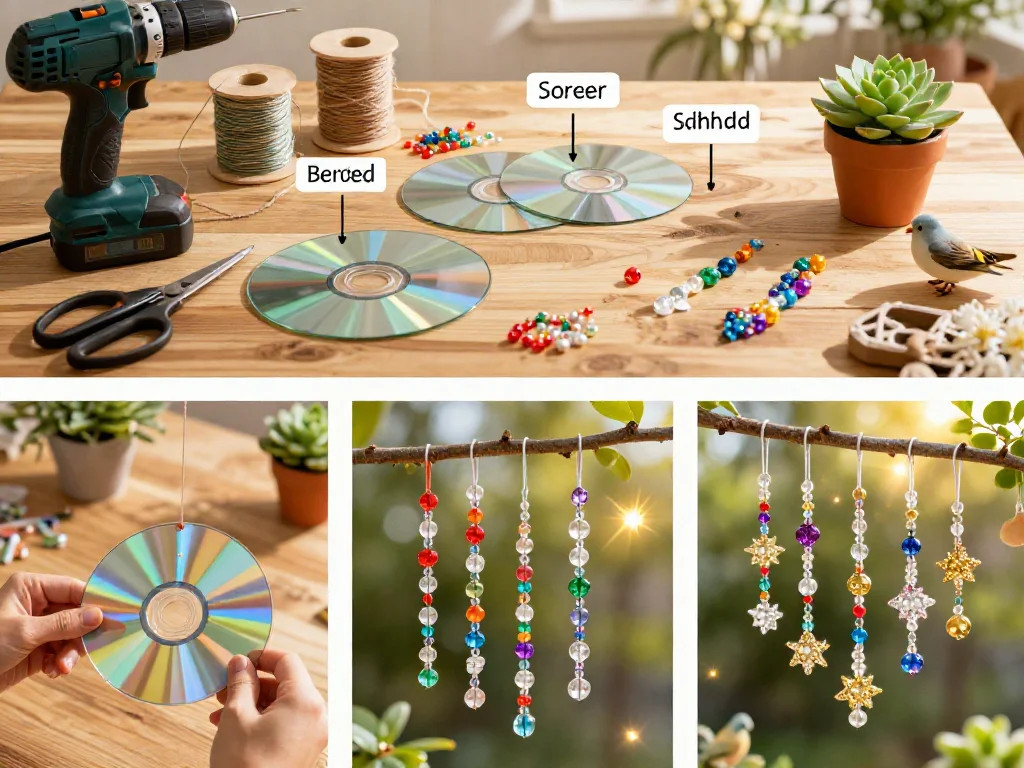
Materials You’ll Need
- Old CDs or DVDs (any unwanted ones work well)
- Acrylic paints in vibrant colors (choose a palette you adore)
- Paintbrushes (for smooth application of paint)
- Clear glue or a glue gun (for secure attachment)
- Lightweight string or fishing line (to allow free movement)
- Scissors (for cutting the string)
- Hole punch (optional, for creating clean holes)
Gathering these materials is quite the gentle ritual. You may find many of these items tucked away at home or easily sourced from craft stores. Look for those familiar strokes of color and those items that feel inviting in your hands.
Step-by-Step Directions
-
Begin by choosing a couple of CDs that no longer hold value for you. It’s okay if they have scratches; the beauty lies in the creativity that follows.
-
Next, lay your CDs down on a flat surface. Choose a comfortable place where you feel at ease.

-
With your paintbrush, begin applying acrylic paint to one side of the CD. Let your creativity flow and allow the colors to mix if you like. Each stroke brings warmth.
-
Once you’ve finished painting, set the CDs aside to dry fully. While you wait, enjoy the rhythmic sounds of your space.
-
After the paint has dried, take your hole punch and create holes in the center of each CD. If you don’t have a hole punch, simply pierce gently with scissors.
-
Cut a length of string or fishing line to the desired length. Thread it through the hole you created, tying a secure knot to keep it in place.
-
If you’d like, you can add more embellishments or paints to the edges of the spinner for extra flair. Let your hands guide you.
-
Once you feel satisfied with your designs, find a breezy outdoor spot or a sunny window to hang your spinner. Let it twirl and catch the light.
-
Take a moment to watch your creation come to life as it dances in the wind, a true reflection of your emotions and intentions.
Enjoying the Finished Piece
Once your Rainbow CD Wind Spinner finds its place, wonder unfolds in how it interacts with your space. The light will play gently upon its surface, casting soft reflections across your home. Each spin brings movement and joy, turning a quiet moment into a lively spectacle.
You might choose to hang it near a window where it can catch sunlight or in your garden where the wind can lift it. Children may find themselves enchanted, watching as colors swirl and blend, and adults may feel a soothing calmness sweep over them in its presence. This spinning beauty brings a sense of playfulness and creativity to life, promoting joy wherever it resides.
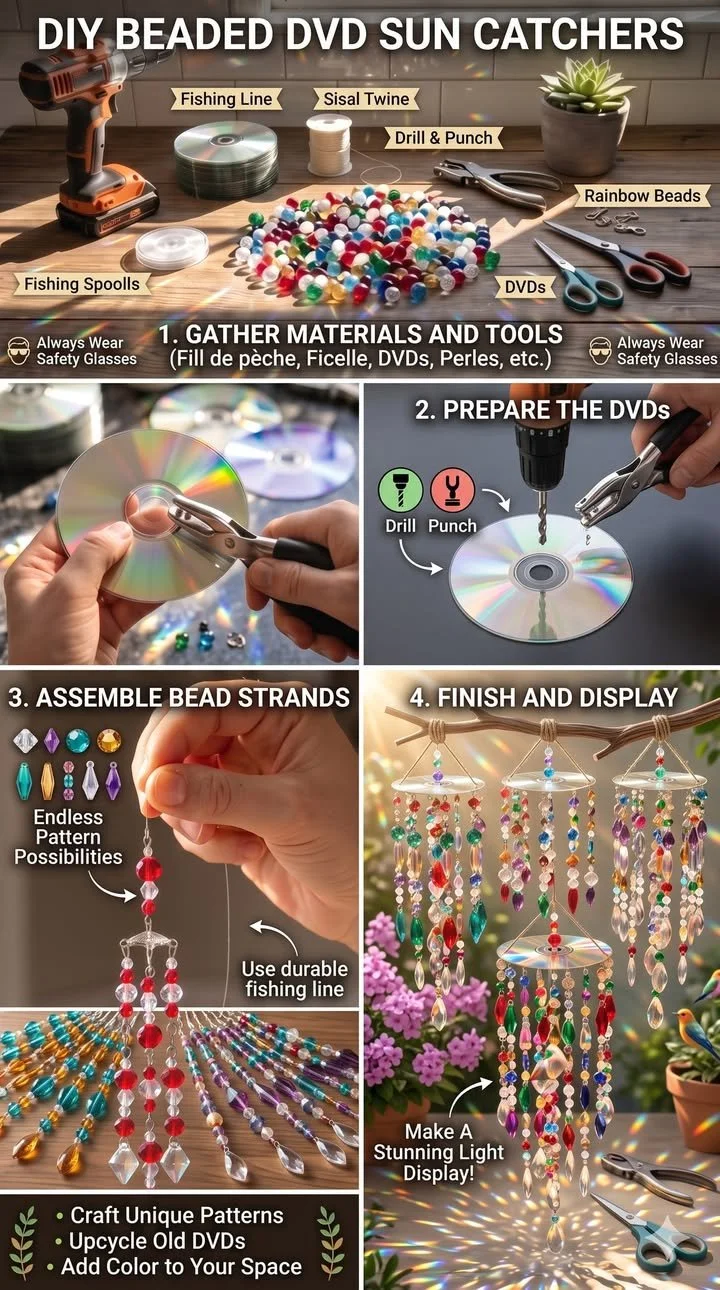
How to Store or Reuse Rainbow CD Wind Spinner (Easy DIY)
Caring for your Rainbow CD Wind Spinner is simple, allowing you to keep this piece of art vibrant and engaging. If you need to take it inside for certain seasons, gently untie it from its mounting and find a safe spot in your home—perhaps a window sill or a shelf that catches some light.
Should your desires shift down the road, remember that you can easily reuse the materials. The CD may transform into another project with a little added creativity, or the string may find a new purpose in your crafting adventures. This mindful approach to reuse reflects our intention to remain connected to the things we create, keeping the cycle of creativity alive.
Gentle Tips & Variations
-
Consider using glitter or metallic paints to add an extra shimmer to your spinner. The sparkle will dance with the sunlight, making it even more magical.
-
For a more textured approach, use fabric scraps instead of paint. Attach them with glue for a cozy, tangible feel.
-
Experiment with the shapes you cut from the CD. Try creating spirals or various sizes to add depth and variety to your wind spinner.
Each gentle variation invites unique expressions while still focusing on the calming act of creation.
FAQs About Rainbow CD Wind Spinner (Easy DIY)
Will this project take a long time?
Not at all. The actual time spent painting is enjoyable and can take around an hour, while drying may require a bit more patience, providing time to reflect and relax.
Can I use other items instead of CDs?
Certainly! Old plastic plates, cardboard, or even paper can work beautifully. The essence of creativity resides in how you choose to express yourself.
How do I keep my wind spinner clean?
Simple dusting is often enough. If it needs a deeper clean, a damp soft cloth can be used gently to avoid damaging any paint or decorations.
What if I want to hang it outside but fear the weather?
If you are worried about weather elements, consider bringing it indoors during storms or high winds. Alternatively, a light coat of exterior sealant might protect it better.
Is this project safe for children?
Yes, with adult supervision. The craft involves paints and scissors, so ensuring oversight will create a safe and fun making experience.
A Gentle Note Before You Go
As you finish your Rainbow CD Wind Spinner project, take a moment to pause in appreciation. Allow yourself to savor the sense of accomplishment that comes not just from the finished piece but from the peaceful journey of creating it. Each spin you witness embraces your unique spirit and adds color to your day-to-day life.
May your newly crafted spinner bring calmness, joy, and a sprinkle of whimsy, reminding you of simple pleasures and the heartfelt moments spent in the art of making.
Print
Rainbow CD Wind Spinner
- Total Time: 75 minutes
- Yield: 1 wind spinner
- Diet: Vegetarian
Description
Create a colorful and whimsical Rainbow CD Wind Spinner to add charm to your surroundings. This easy DIY project allows for creativity and mindfulness in crafting.
Ingredients
- Old CDs or DVDs
- Acrylic paints in vibrant colors
- Paintbrushes
- Clear glue or a glue gun
- Lightweight string or fishing line
- Scissors
- Hole punch (optional)
Instructions
- Begin by choosing a couple of CDs that no longer hold value for you.
- Next, lay your CDs down on a flat surface.
- With your paintbrush, begin applying acrylic paint to one side of the CD.
- Once you’ve finished painting, set the CDs aside to dry fully.
- After the paint has dried, take your hole punch and create holes in the center of each CD.
- Cut a length of string or fishing line to the desired length.
- If you’d like, you can add more embellishments or paints to the edges of the spinner.
- Once you feel satisfied with your designs, find a breezy outdoor spot to hang your spinner.
- Take a moment to watch your creation come to life as it dances in the wind.
Notes
Consider using glitter or metallic paints for extra shimmer. This project is safe for children with adult supervision.
- Prep Time: 15 minutes
- Cook Time: 60 minutes
- Category: Craft
- Method: Crafting