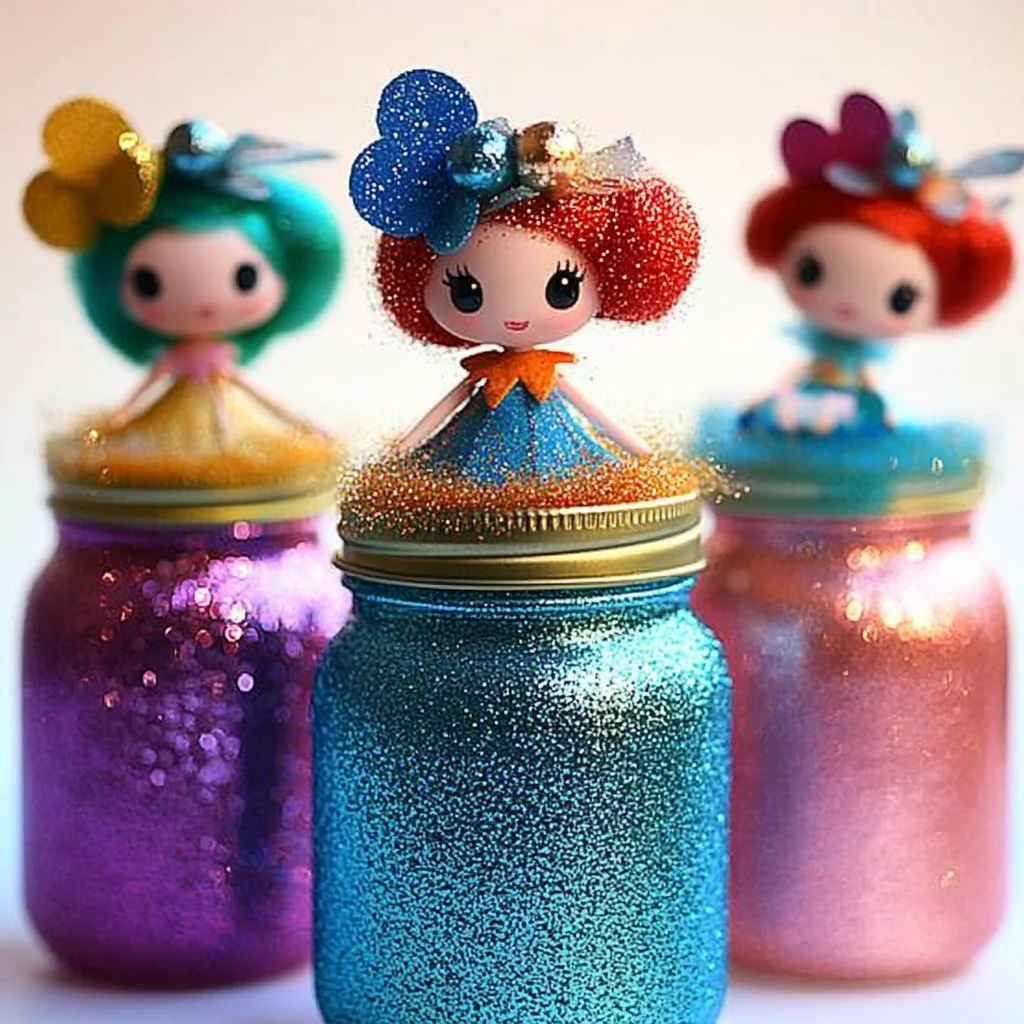
Crafting can be a delightful way to express creativity, and what better way to light up a room than with your very own DIY Powerpuff Girls Glitter Night Lights? This fun and colorful craft captures the beloved characters from the classic animated series, combining a dose of nostalgia with modern flair. Whether you’re a fan of Blossom, Bubbles, or Buttercup, you’ll enjoy this project that not only brightens your space but also showcases your artistic skills. The soothing glow of the night lights brings a whimsical charm to a child’s bedroom, a cozy nook, or even a playful addition to adult decor. Plus, the added element of glitter makes this project sparkly and exciting, perfect for kids and adults alike. Ready to create some enchanting atmospheres? Let’s dive in!
Why You’ll Love This Craft: Powerpuff Girls Glitter Night Lights
- Creative Expression: Personalize each night light to showcase your favorite character.
- Fun and Engaging: Perfect for kids and the young-at-heart; a great way to bond through crafting.
- Sensory Delight: Enjoy the glittery texture and soft glow of your finished project.
- Easy to Make: Simple steps ensure quick success, even for beginners.
- Practical Use: Brighten up any space while adding a playful touch to your decor.
Materials
- Clean glass jar (mason jar or similar)
- Battery-operated tea light
- Mod Podge or school glue
- Paintbrush
- Assorted colored glitter (pink, blue, green)
- Powerpuff Girls printouts or stickers
- Optional: ribbon, washi tape for embellishments
Full Step-by-Step
Prepare Your Workspace
- Gather all materials on a clean, flat surface.
- Lay down newspaper or a protective cloth to catch any stray glitter.
Create Your Design
- Choose your favorite Powerpuff Girls characters and print out their images or use stickers.
- Trim the images if needed to fit the jar’s size.
Apply Mod Podge
- Using the paintbrush, apply a thin layer of Mod Podge to the inside of the jar.
- Place your character images or stickers against the glass, smoothing them out flat.
Add Glitter
- Sprinkle the selected colored glitter inside the jar over the Mod Podge.
- Focus on specific areas to create a layered, magical effect.
- Shake out the excess glitter, letting it fall into your protected area.
Seal It
- Apply a final coat of Mod Podge over the glitter to secure it in place.
- Allow the jar to dry completely, about 1-2 hours.
Insert Light Source
- Place a battery-operated tea light inside the jar.
- Turn it on and enjoy the glow as the glitter sparkles!
Tips & Variations
- Mix Colors: Experiment with different glitter colors to match your room decor.
- Use Different Shapes: Instead of jars, try using vases or even old lanterns for a different look.
- Layering: Create depth with multiple layers of glitter by letting each layer dry before adding the next.
- Personalized Notes: Add little messages or quotes about friendship or teamwork to enhance your night light.
Frequently Asked Questions
1. Can I use regular glue instead of Mod Podge?
Yes, but Mod Podge seals and gives a glossy finish that regular glue may not provide.
2. What should I do if my glitter is clumping together?
Try shaking the jar gently after applying the glitter to distribute it more evenly.
3. Are there alternative light sources I can use?
Yes! LED fairy lights can also be used for a twinkly effect inside the jar.
4. How long will this project last?
With proper care, your night lights can last for a long time, but keep them in a dry place to prevent moisture from affecting the glitter.
Suggestions
- Use these night lights as party favors for a Powerpuff Girls-themed birthday party.
- Create a whole collection with different designs reflecting various themes or characters.
- Engage children in storytelling with their night lights, enhancing imaginative play.
Final Thoughts
Crafting your own Powerpuff Girls Glitter Night Lights can be a joyful experience that brings creativity and fun into your home. We hope you enjoy making these delightful decorations as much as we did! We invite you to share your versions of this craft in the comments below or let us know your thoughts and any creative variations you tried. Happy crafting!
Print
DIY Powerpuff Girls Glitter Night Lights
- Total Time: 135 minutes
- Yield: 1 night light
Description
Create enchanting Powerpuff Girls Glitter Night Lights that brighten your space and showcase your creativity.
Ingredients
- Clean glass jar (mason jar or similar)
- Battery-operated tea light
- Mod Podge or school glue
- Paintbrush
- Assorted colored glitter (pink, blue, green)
- Powerpuff Girls printouts or stickers
- Optional: ribbon, washi tape for embellishments
Instructions
- Gather all materials on a clean, flat surface.
- Lay down newspaper or a protective cloth to catch any stray glitter.
- Choose your favorite Powerpuff Girls characters and print out their images or use stickers. Trim the images if needed.
- Apply a thin layer of Mod Podge to the inside of the jar using the paintbrush.
- Place your character images or stickers against the glass, smoothing them out flat.
- Sprinkle the selected colored glitter inside the jar over the Mod Podge.
- Shake out the excess glitter, letting it fall into your protected area.
- Apply a final coat of Mod Podge over the glitter to secure it in place and allow the jar to dry completely (about 1-2 hours).
- Place a battery-operated tea light inside the jar, turn it on, and enjoy the glow as the glitter sparkles!
Notes
Experiment with different glitter colors and shapes to personalize your night light. Consider using quotes about friendship for added charm.
- Prep Time: 15 minutes
- Cook Time: 120 minutes
- Category: Craft
- Method: Crafting
Nutrition
- Serving Size: 1 night light
- Calories: 0
- Sugar: 0g
- Sodium: 0mg
- Fat: 0g
- Saturated Fat: 0g
- Unsaturated Fat: 0g
- Trans Fat: 0g
- Carbohydrates: 0g
- Fiber: 0g
- Protein: 0g
- Cholesterol: 0mg

