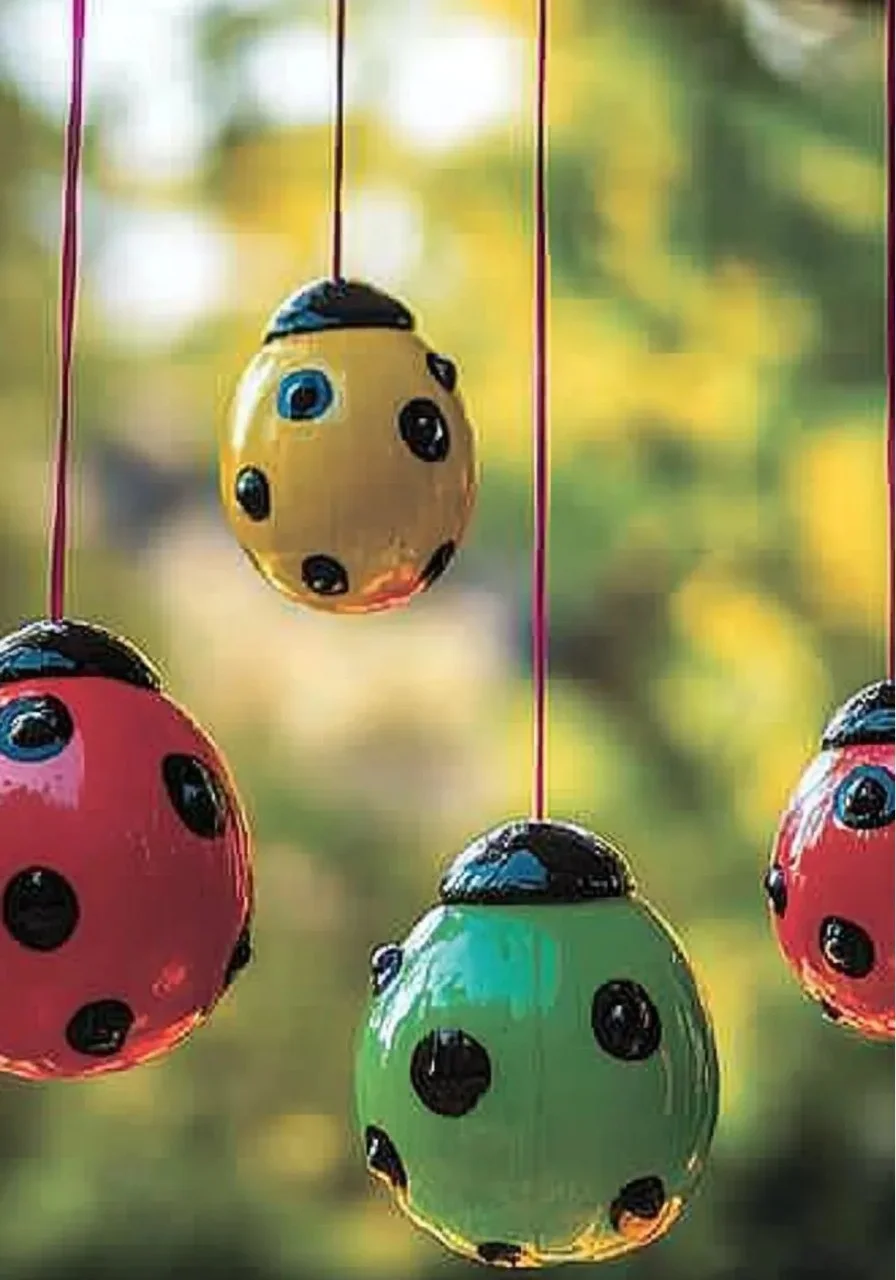
Crafting with children is an enriching experience that fosters creativity and motor skills while providing a sense of accomplishment. One delightful craft to try is making DIY Twirling Ladybugs. These charming little critters are not only fun to create but also serve as a delightful decoration or toy once completed. The vibrant colors and twirling motion capture the imagination of both kids and adults alike. Whether you’re looking to spend a rainy afternoon indoors or want to engage young minds in a creative project, crafting these ladybugs is a perfect choice. Plus, they can be easily customized to suit different tastes and styles, making them a hit for any occasion.
Why You’ll Love This DIY Twirling Ladybugs:
- Fun and Engaging: Keeps children entertained and focused.
- Interactive Play: Twirling action makes them irresistible to play with.
- Educational Value: Develops fine motor skills and encourages creativity.
- Customizable: Choose colors and designs to personalize each ladybug.
- Easy to Make: Simple materials and clear steps mean quick success.
- Perfect Gift: Great for parties, classrooms, or just because!
Materials
- Red and black construction paper
- Googly eyes
- Scissors
- Glue stick or craft glue
- Pipe cleaners (preferably black)
- Wooden skewers or straws
- Circular template (like a cup or lid) for tracing
- Markers or crayons (optional)
Full Step-by-Step
Step 1: Prepare the Body
- Use your circular template to trace and cut out two circles from red construction paper.
- Cut out small black circles for the ladybug’s spots.
Step 2: Assemble the Ladybug
- Glue the black spots onto one of the red circles. Allow to dry for a moment.
- Take the second red circle and attach googly eyes using a dab of glue. This will be the top side of the ladybug.
Step 3: Create the Twirling Mechanism
- Take your wooden skewer or straw and insert it vertically at the center of the ladybug’s body.
- Use tape to secure it in place if needed.
Step 4: Add Antennae
- Cut two small segments of pipe cleaner, bending them slightly to form antennae.
- Insert the ends into the top of the skewer or straw, letting them jut out for a whimsical touch.
Step 5: Twirl and Enjoy!
- Pinch the skewer or straw and watch your ladybug twirl smoothly!
Tips & Variations
- Customize Colors: Try using different shades of construction paper to create ladybugs in various colors.
- Decorate with Markers: Use markers or crayons to add details like stripes or different patterns on the wings.
- Change the Body: Turn your ladybug into another insect by swapping out colors and shapes.
Frequently Asked Questions
Q1: Can I use other materials besides construction paper?
A1: Absolutely! You can use felt, foam sheets, or even recycled cardboard for a sturdier ladybug.
Q2: What if I don’t have a skewer or straw?
A2: You can use a wooden stick, chopstick, or even a sturdy pencil as an alternative.
Q3: How can I store the ladybugs after crafting?
A3: Store them in a small box or a paper bag to prevent tears and keep them safe for play.
Q4: Can this craft be done with a larger group?
A4: Yes, this craft can be easily adapted for larger groups by preparing kits in advance to keep things organized.
Suggestions
- Pair this craft with a story about ladybugs to enhance the learning experience.
- Host a themed event where kids can make and showcase their ladybugs to friends and family.
- Consider creating a mobile with the finished ladybugs for an eye-catching ceiling decoration.
Final Thoughts
Crafting DIY Twirling Ladybugs is not only a joy for kids but also a cherished memory for families. We encourage you to modify the design and share your unique versions! Don’t forget to leave a comment below and let us know how your twirling ladybugs turned out!
Print
DIY Twirling Ladybugs
- Total Time: 10 minutes
- Yield: 1 ladybug
- Diet: Not Applicable
Description
Engage children in a fun and educational craft by making DIY Twirling Ladybugs that twist and twirl, offering both enjoyment and a sense of accomplishment.
Ingredients
- Red and black construction paper
- Googly eyes
- Scissors
- Glue stick or craft glue
- Pipe cleaners (preferably black)
- Wooden skewers or straws
- Circular template (like a cup or lid) for tracing
- Markers or crayons (optional)
Instructions
- Use your circular template to trace and cut out two circles from red construction paper.
- Cut out small black circles for the ladybug’s spots.
- Glue the black spots onto one of the red circles. Allow to dry for a moment.
- Take the second red circle and attach googly eyes using a dab of glue. This will be the top side of the ladybug.
- Take your wooden skewer or straw and insert it vertically at the center of the ladybug’s body. Use tape to secure it in place if needed.
- Cut two small segments of pipe cleaner, bending them slightly to form antennae. Insert the ends into the top of the skewer or straw, letting them jut out for a whimsical touch.
- Pinch the skewer or straw and watch your ladybug twirl smoothly!
Notes
Encourage kids to customize their ladybugs with different colors and designs. Store completed ladybugs in a safe place to prevent damage.
- Prep Time: 10 minutes
- Cook Time: 0 minutes
- Category: Craft
- Method: Crafting
- Cuisine: Not Applicable
Nutrition
- Serving Size: 1 ladybug
- Calories: 0
- Sugar: 0g
- Sodium: 0mg
- Fat: 0g
- Saturated Fat: 0g
- Unsaturated Fat: 0g
- Trans Fat: 0g
- Carbohydrates: 0g
- Fiber: 0g
- Protein: 0g
- Cholesterol: 0mg

