

Crafting has a way of inviting us into a gentle space, where movement slows and textures awaken our senses. The act of creating DIY gelatine suncatchers feels like breathing in light itself. As the sun filters through colorful, translucent shapes, the world outside dances in hues of joy. The quiet resilience of gelatin transforms into a soft, shimmering art piece, connecting us to a moment of mindful making. This project allows us to engage with simple ingredients, creating something beautiful while enveloping ourselves in calm creativity.
The Heart Behind This DIY
Creating DIY gelatine suncatchers invites an intimate connection between our hands and the materials. It’s a space where focus softens, and the worries of the day fade into the background. As you mix the gelatin and water, the tactile sensation grounds you. Watching the powder dissolve into a smooth, warm liquid acts as a reminder of how transformation unfolds in simple ways. This project encourages you to breathe deeply, savoring the colors and shapes you are crafting.
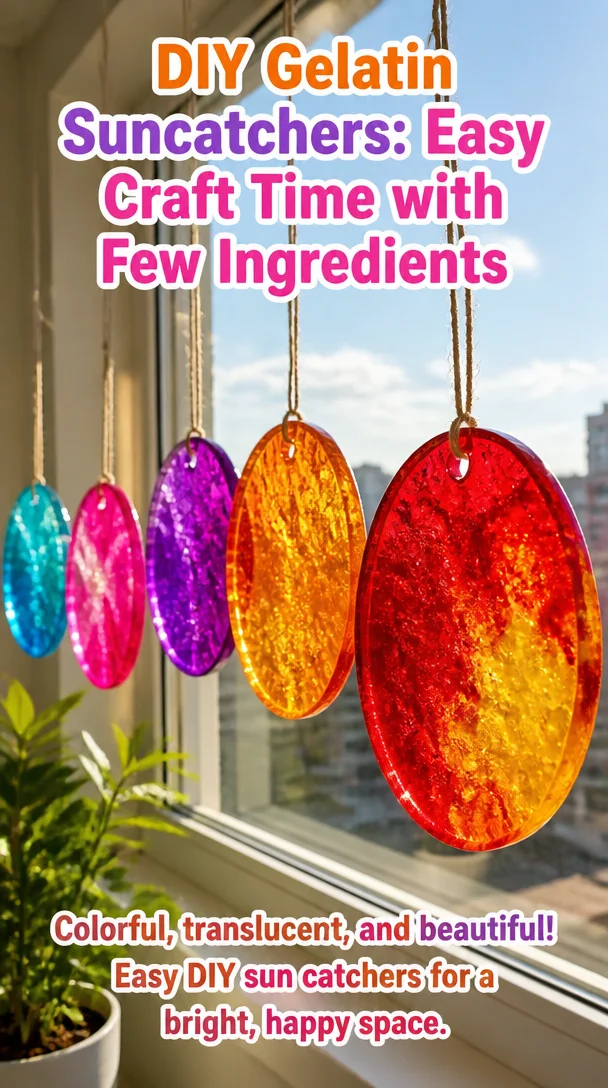
Furthermore, these suncatchers offer both a visual treat and a delightful experience of light. With every sunbeam caught, you see a glimpse of your creative journey, a soft reflection of your intentions and care. Making these suncatchers can become a cherished ritual, one that allows for quiet moments of mindfulness amid the busyness of life.
A Gentle Look at the Process
As you step into the process of making your suncatchers, imagine a rhythmic flow. Start by gathering your materials, feeling each item between your fingers. The sounds of scoops and pours blend nicely with your breathing, creating a relaxing soundtrack for your project. When you begin mixing, watch the beautiful transformation unfold as the gelatin expands into a silky mixture. This visual harmony closely aligns with the peaceful vibe of your workspace.
Once you pour the mixture into molds, the anticipation builds, as the colors settle in their spaces. Each layer becomes a canvas for your creativity. Working at a gentle pace allows you to appreciate every movement. Before you know it, your creations will reflect your time and love, catching the sunlight in the most enchanting way.
What You’ll Use to Make DIY Gelatin Suncatchers: Easy Craft Time with Few Ingredients
Here’s a simple list of materials you’ll need for this project:
- Gelatin powder (available at any grocery store)
- Water (filtered or tap works well)
- Food coloring (liquid or gel for vibrant colors)
- Mixing bowl (glass or plastic)
- Molds (silicone molds or cookie cutters)
- Kitchen parchment or wax paper (for easy release)
- Optional: flower petals, glitter, or small leaves (for added texture)
These materials are easy to find, and you can create vibrant colors with a few drops of food coloring. If you don’t have silicone molds, consider any safe container for shaping, as the gelatin adapts.
Step-by-Step Directions
-
Start by pouring 1 cup of water into a mixing bowl. Let the stillness of the water settle before moving forward.

-
Gradually add 2 tablespoons of gelatin powder. Watch as the gelatin begins to dissolve. Gently stir until the mixture is smooth and well combined, feeling the transformation with each stir.
-
Next, add 1-2 teaspoons of food coloring. The colors swirl and meld together, creating a lovely blend. Adjust the hue to your liking, remembering this piece is yours.
-
If you’re using any decorative elements like petals or glitter, gently fold them into the mixture. This step invites imagination into your design, allowing you to personalize each piece.
-
Prepare your molds by lining them with parchment or wax paper for easy removal. Gently pour the gelatin mixture into the molds, enjoying the quiet sound of it gliding smoothly.
-
Allow your suncatchers to sit at room temperature for about 2-3 hours. Feel free to check on them, appreciating how they slowly solidify into their colorful forms.
-
Once they are set, gently peel the gelatin from the molds. The soft texture will feel cool and slightly slippery between your fingers.
-
Finally, use a string or ribbon to hang your suncatchers in a sunny spot. The light will bring your creations to life, casting beautiful colors throughout your space.
Enjoying the Finished Piece
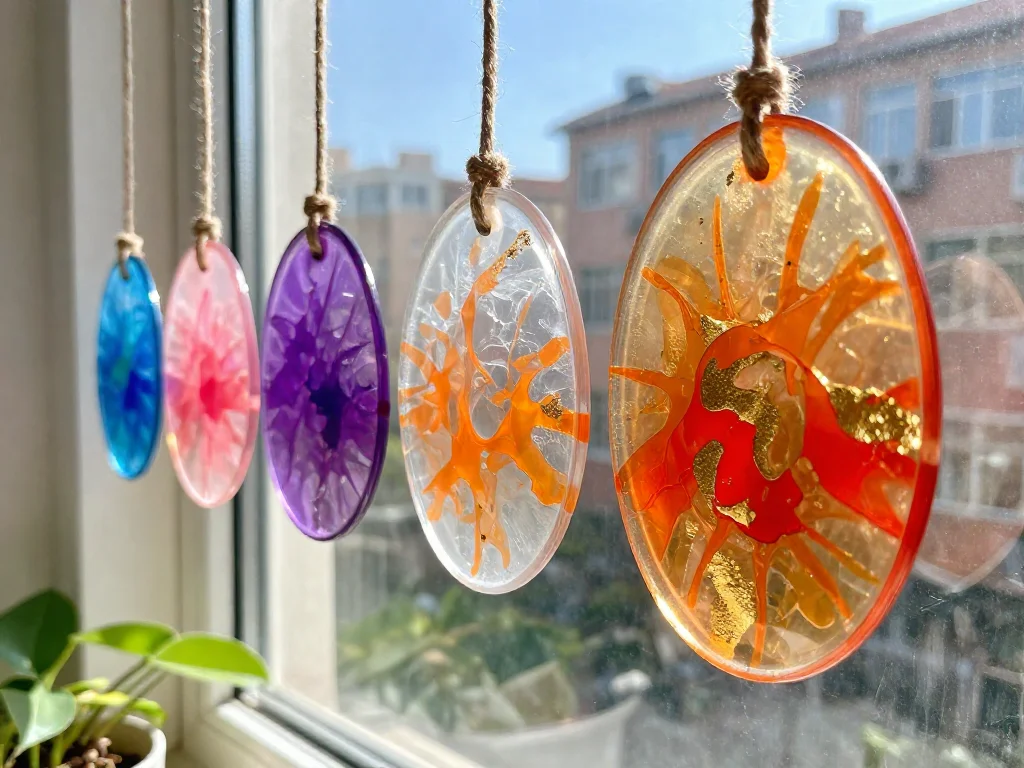
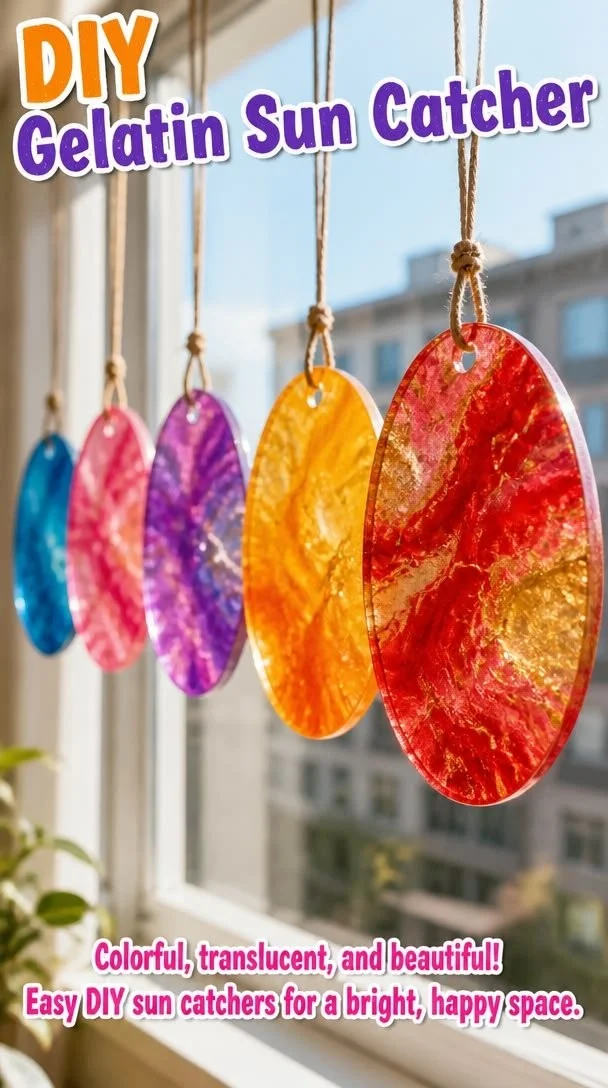
Once your gelatine suncatchers are complete, they become tiny windows to your creativity. Hang them in a favorite spot – perhaps near a window where sunlight pours in. As the light filters through these colorful creations, your space will fill with playful reflections and soft glowing patterns.
This gentle transformation brings warmth to any room, inviting you to pause and gaze at the dancing colors. Take a moment to enjoy the stillness, allowing yourself to feel the joy of your handiwork. You might find yourself drawn to this small piece of beauty, returning to it throughout the day as a moment of reflection and calm.
Keeping It for Later
Taking care of your gelatine suncatchers is simple. If you want to preserve them for a longer time, keep them in a cool, dry place. Avoid direct sunlight when storing, as prolonged exposure can affect their vibrant colors.
If they become a bit sticky over time, you can lightly dust them with cornstarch to help restore a smoother surface. In the spirit of mindful making, feel free to revisit the project when you’re ready for a new creation or when you want to try different colors or decorations.
Gentle Tips & Variations
As you grow comfortable with the process, consider these gentle invitations to make your suncatchers your own.
-
Experiment with different shapes and sizes. Try using various molds – a heart for love, a star for hope, or simply nature-inspired shapes.
-
Mix natural dyes like beet juice or turmeric instead of food coloring for a more earthy palette.
-
Try layering colors in your suncatcher. Pour one color, let it sit for a bit, then pour another. This technique creates beautiful depth and exciting patterns.
-
Use fresh or dried flowers for added texture. Experiment with placing them at different depths in the mixture to see how they capture light.
-
Create a seasonal display by changing suncatchers throughout the year. Welcome the autumn hues or winter frost with a new set of colors and designs.
FAQs About DIY Gelatin Suncatchers: Easy Craft Time with Few Ingredients
Can I use flavored gelatin for this project?
Yes, flavored gelatin can add a fun fragrance and color. However, you might want to ensure it doesn’t leave any sticky residue.
How do I clean up after making these suncatchers?
Cleaning is easy; simply wash any bowls or utensils used with warm soapy water. Be mindful of any residue in the molds and ensure they’re clean before your next use.
How long do these suncatchers last?
With proper care, your suncatchers can last for several weeks. However, they may begin to lose vibrancy; check for signs of wear, like stickiness or fading.
What if I want to make larger suncatchers?
You can easily double or triple your recipe to fill larger molds, just adjust the setting time accordingly. Larger pieces may take more time to solidify.
Can I use these suncatchers indoors and outdoors?
While they can be used outdoors, remember that prolonged exposure to rain or elements can shorten their lifespan. They are best suited for an indoor sunny spot.
A Gentle Note Before You Go
As you step away from this DIY project, remember the calm moments you embraced during the making. The process of creating DIY gelatine suncatchers offers an opportunity to engage gently with your surroundings. It encourages reflection, creativity, and the beauty of light.
In the end, it is not just the finished pieces that matter, but the experience of crafting them. Savor the tranquility this project brings into your life. May you find joy in your creativity, returning to this craft whenever you seek solace in the simplicity of making.
Print
DIY Gelatine Suncatchers
- Total Time: 190 minutes
- Yield: 2-4 suncatchers depending on mold size
- Diet: N/A
Description
Transform simple ingredients into beautiful gelatine suncatchers that catch the sunlight and brighten your space.
Ingredients
- 1 cup of water
- 2 tablespoons of gelatin powder
- 1-2 teaspoons of food coloring
- Optional: flower petals, glitter, or small leaves
- Molds (silicone molds or cookie cutters)
- Kitchen parchment or wax paper
Instructions
- Start by pouring 1 cup of water into a mixing bowl.
- Gradually add 2 tablespoons of gelatin powder and stir until smooth.
- Add 1-2 teaspoons of food coloring to blend colors.
- If using decorative elements, gently fold them into the mixture.
- Prepare your molds by lining them with parchment or wax paper.
- Pour the gelatin mixture into the molds.
- Allow to sit at room temperature for 2-3 hours to solidify.
- Peel the gelatin from the molds when set.
- Use a string or ribbon to hang your suncatchers in a sunny spot.
Notes
For added creativity, experiment with various shapes, natural dyes, or layering colors in your suncatchers.
- Prep Time: 10 minutes
- Cook Time: 180 minutes
- Category: Craft
- Method: Crafting
- Cuisine: N/A