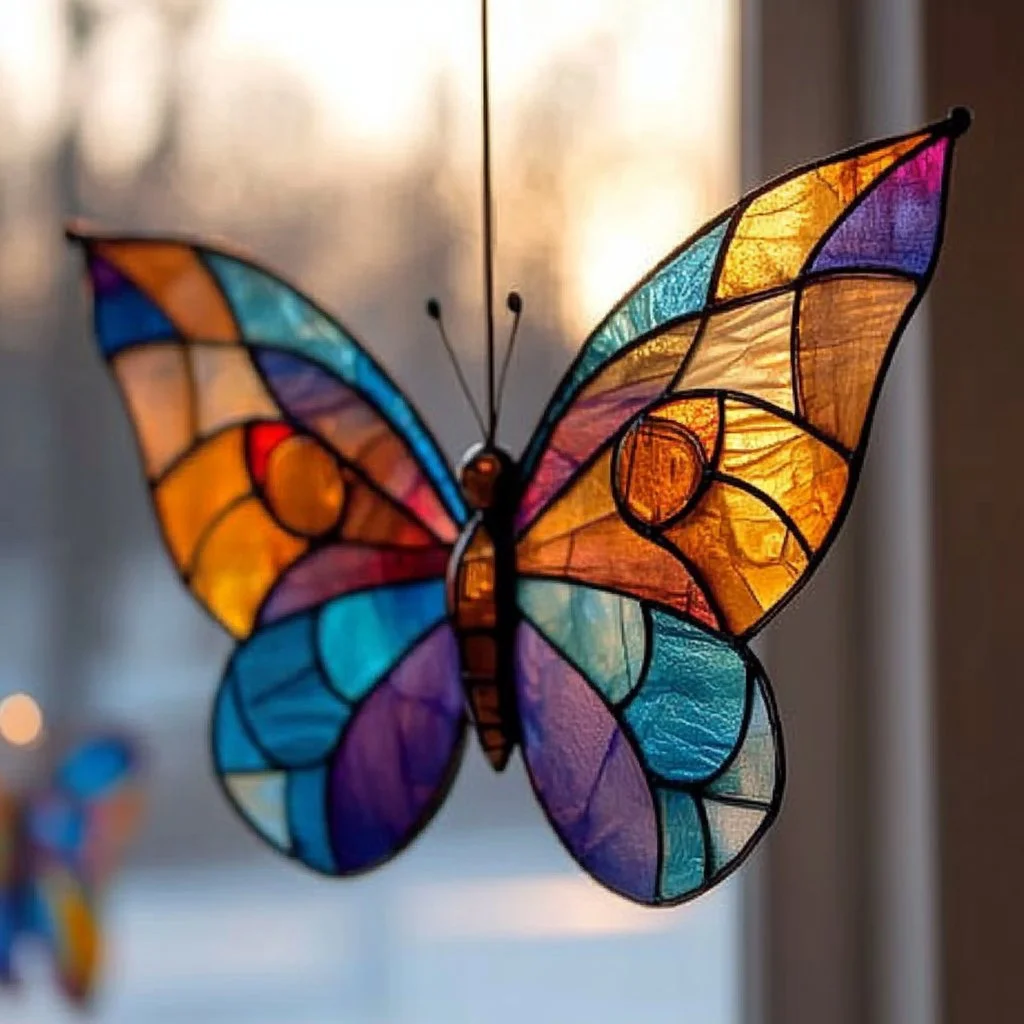
Creating a DIY stained glass butterfly is not just a delightful craft but also a way to bring a splash of color and creativity to your space. This project is perfect for all ages and can be made using easily accessible materials. Whether you’re looking to decorate your home, create a memorable gift, or engage children in a fun activity, this stained glass butterfly is a fantastic choice. The shimmering colors, the intricate design, and the satisfaction of creating something beautiful with your own hands will surely brighten your day. Plus, it’s a wonderful way to tap into your creative side and explore various patterns and colors, making each butterfly unique.
Why You’ll Love This DIY Stained Glass Butterfly
- Engaging Activity: This project is perfect for all ages, making it a great family activity.
- Customizable Design: You can choose your colors and patterns, allowing for unlimited creativity.
- Beautiful Decoration: These butterflies can brighten any window or garden, enhancing your decor.
- Inexpensive Materials: Most supplies are readily available and affordable.
- Skill Development: Improves fine motor skills, concentration, and artistic expression.
Materials
- Transparent plastic sheets or parchment paper
- Permanent markers (various colors)
- Scissors
- Black outline marker (like a Sharpie)
- Mod Podge or clear glue
- Paintbrush (for glue)
- Optional: glitter, beads, or embellishments
Step-by-Step Instructions
1. Prepare Your Design
- Use a Template: Find a butterfly outline or draw one on paper.
- Transfer the Design: Place your transparent plastic sheet over the template.
2. Create the Stained Glass Effect
- Color the Spaces: With permanent markers, fill in the butterfly design in various colors.
- Outline the Design: Once colored, use the black marker to outline the butterfly for definition.
3. Add Gloss
- Apply Mod Podge: Use a paintbrush to apply a clear coat of Mod Podge or glue over your design to give it a glossy finish.
- Let Dry: Allow to dry completely; this will enhance the colors and make it more durable.
4. Cut Out Your Butterfly
- Trim Carefully: Once dry, cut out your butterfly shape from the plastic sheet.
5. Display Your Creation
- Hang or Place: Use a window suction cup or hang it to display your beautiful stained glass butterfly.
Tips & Variations
- Color Choices: Experiment with different color combinations for a personalized touch.
- Add Texture: Incorporate beads or glitter into your design for extra sparkle.
- Larger Designs: Create a giant butterfly for an impressive display in a larger window or garden.
- Thematic Variations: Change the shapes to flowers, dragonflies, or other designs, using the same technique.
Frequently Asked Questions
Q: Can I use regular markers instead of permanent markers?
A: Regular markers may wash out or fade when subjected to light or moisture, so permanent markers are recommended for lasting results.
Q: How do I hang my butterfly?
A: You can use a suction cup, string, or fishing line to easily hang your butterfly from a window or ceiling.
Q: What can I do if I make a mistake while coloring?
A: If you make a mistake, you can use a small damp cloth to wipe it off quickly before it dries.
Q: Is this project suitable for young children?
A: Yes, with adult supervision, young children can participate. Just be cautious with scissors and follow safety guidelines with markers.
Serving Suggestions or Pairings
Consider pairing your stained glass butterfly with other DIY crafts, like flower pots or painted rocks for a cohesive display. For a lovely afternoon, enjoy the view of your butterfly while sipping on iced tea or lemonade.
Final Thoughts
Creating your own stained glass butterfly is a fun, rewarding project that allows for artistic expression. Share your versions, customize your designs and let your creativity flourish! We’d love to see your beautiful creations, so please leave a comment or share your photos with our community. Happy crafting!
Print
DIY Stained Glass Butterfly
- Total Time: 30 minutes
- Yield: 1 butterfly
- Diet: N/A
Description
Create a colorful, customizable stained glass butterfly using simple materials and techniques.
Ingredients
- Transparent plastic sheets or parchment paper
- Permanent markers (various colors)
- Scissors
- Black outline marker (like a Sharpie)
- Mod Podge or clear glue
- Paintbrush (for glue)
- Optional: glitter, beads, or embellishments
Instructions
- Use a Template: Find a butterfly outline or draw one on paper.
- Transfer the Design: Place your transparent plastic sheet over the template.
- Color the Spaces: With permanent markers, fill in the butterfly design in various colors.
- Outline the Design: Once colored, use the black marker to outline the butterfly for definition.
- Apply Mod Podge: Use a paintbrush to apply a clear coat of Mod Podge or glue over your design to give it a glossy finish.
- Let Dry: Allow to dry completely; this will enhance the colors and make it more durable.
- Trim Carefully: Once dry, cut out your butterfly shape from the plastic sheet.
- Hang or Place: Use a window suction cup or hang it to display your beautiful stained glass butterfly.
Notes
Experiment with different colors and embellishments for a unique design.
- Prep Time: 30 minutes
- Cook Time: 0 minutes
- Category: Crafts
- Method: Crafting
- Cuisine: N/A
Nutrition
- Serving Size: 1 butterfly
- Calories: 0
- Sugar: 0g
- Sodium: 0mg
- Fat: 0g
- Saturated Fat: 0g
- Unsaturated Fat: 0g
- Trans Fat: 0g
- Carbohydrates: 0g
- Fiber: 0g
- Protein: 0g
- Cholesterol: 0mg

