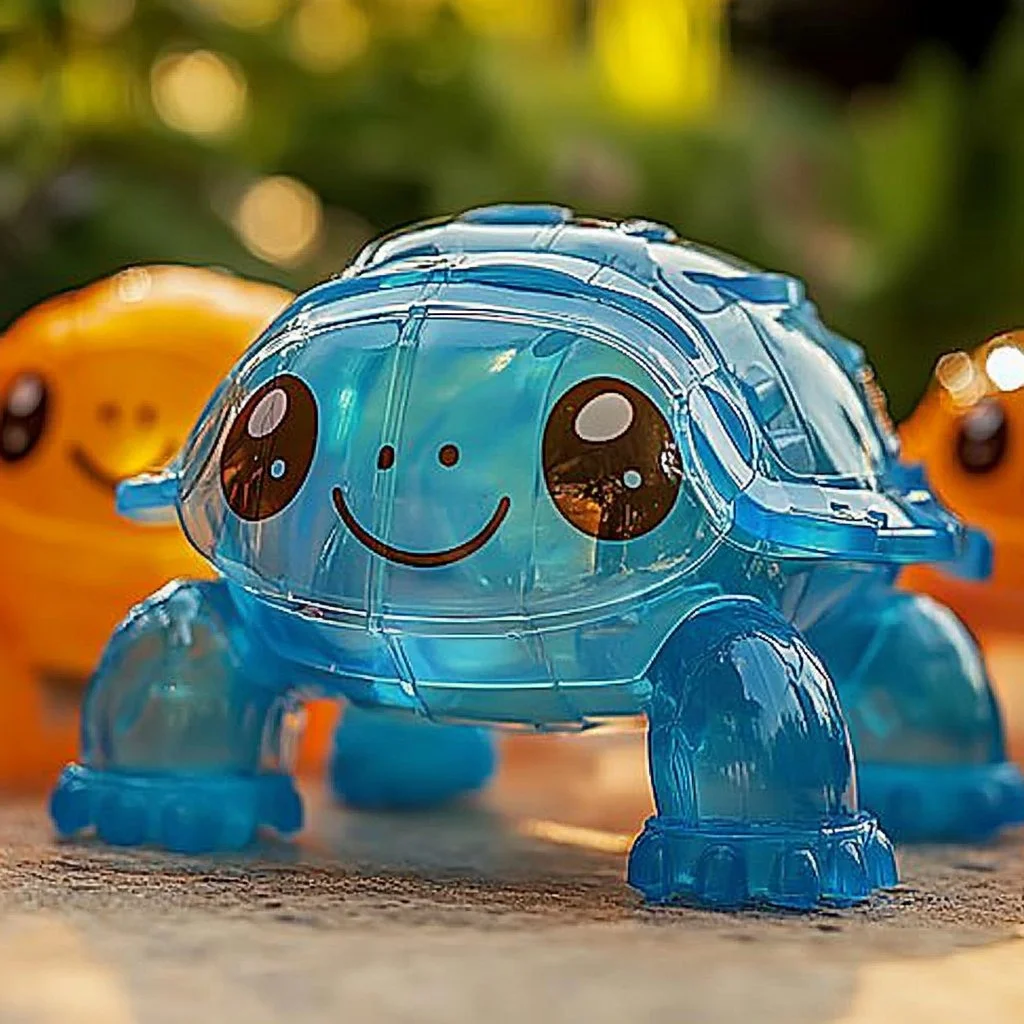
Creating crafts from recycled materials is not only a fun way to express creativity but also a meaningful step towards sustainability. One delightful project for all ages is making a DIY Plastic Bottle Turtle. This easy and engaging craft enables you to transform an ordinary plastic bottle into a charming turtle that can brighten up your home or garden. It promotes environmental consciousness and instills the significance of reusing materials. Plus, this project can spark a conversation about ocean conservation, as turtles are often impacted by plastic pollution. Follow along to discover how to make your very own plastic bottle turtle and enjoy a creative afternoon with family or friends.
Why You’ll Love This DIY Plastic Bottle Turtle:
- Eco-Friendly: Utilize waste materials and promote sustainability.
- Simple Materials: Requires only a few easy-to-find items.
- Creative Freedom: Customize with colors, patterns, and embellishments.
- Family Fun: A great project to do with kids or friends.
- Educational: Learn about marine life and the importance of recycling.
- Outdoor or Indoor Decor: Perfect for gardens, patios, or home decoration.
Materials
- 1 empty plastic bottle (1.5L or 2L)
- Green paint (acrylic or spray)
- Paintbrush or spray nozzle
- Scissors
- Black marker or googly eyes
- Craft glue
- Optional: fabric scraps, beads, or decorative materials
- Optional: clear sealant (for outdoor use)
Full Step-by-Step
Preparing the Bottle
-
Clean the Bottle: Rinse out the plastic bottle thoroughly to remove any residue.
-
Remove Label: Peel off any labels to have a clean surface for painting.
Crafting the Turtle
- Cut the Bottle:
- Using scissors, cut the bottle in half. The bottom half will serve as the turtle’s shell.
- Trim the top quarter of the bottle neck to create a head and flippers.
Painting
-
Paint the Shell:
- Use green paint to cover the entire outside of the bottle shell.
- Allow the paint to dry completely.
-
Add Details:
- Once dry, use the black marker or glue on googly eyes to the head.
- Feel free to add patterns or spots with different colors for extra flair.
Assembling the Turtle
- Attach Flippers:
- Glue the trimmed sections to the sides of the shell to create flippers.
- Optional: You can use fabric scraps for added texture.
Final Touches
- Seal for Durability:
- If placing outdoors, apply a clear sealant after decorations are set to protect from the elements.
Tips & Variations
- Colors: Use different shades of blue or even bright colors to make your turtle unique!
- Add Accessories: Decorate your turtle with hats, shells made of other materials, or beads.
- Use Other Bottles: Experiment with different bottle sizes for varied turtle shapes.
- Personalize: Add names or messages on the turtle using paint or markers for a custom touch.
Frequently Asked Questions
Q1: Can I use any type of plastic bottle?
A1: Yes, any plastic bottle will work, but larger bottles are easier to craft and paint.
Q2: What kind of paint should I use?
A2: Acrylic paint is recommended for its quick drying time and vibrant colors. Spray paint works well too.
Q3: How do I clean the bottle properly?
A3: Wash the bottle with warm, soapy water and rinse thoroughly. Make sure it’s dry before painting.
Q4: Can this project be done with younger kids?
A4: Yes, with adult supervision for cutting and using scissors, younger kids can enjoy painting and decorating their turtles.
Suggestions
- Host a bottle turtle-making party to encourage group creativity.
- Create a diorama featuring your turtle for a more elaborate project.
- Use the turtle as part of a nature education lesson for kids, discussing marine wildlife and pollution.
Final Thoughts
Creating a DIY Plastic Bottle Turtle is a fantastic way to combine artistry with environmental responsibility. We hope you have fun making your own unique version of this craft. Don’t forget to share your creations or any tips in the comments below! We’re excited to see how your turtles turn out! Happy crafting!
Print
DIY Plastic Bottle Turtle
- Total Time: 15 minutes
- Yield: 1 turtle 1x
- Diet: N/A
Description
Transform a plastic bottle into a charming turtle while promoting sustainability and creativity.
Ingredients
- 1 empty plastic bottle (1.5L or 2L)
- Green paint (acrylic or spray)
- Paintbrush or spray nozzle
- Scissors
- Black marker or googly eyes
- Craft glue
- Optional: fabric scraps, beads, or decorative materials
- Optional: clear sealant (for outdoor use)
Instructions
- Clean the bottle thoroughly and remove any labels.
- Using scissors, cut the bottle in half; the bottom half will be the turtle’s shell.
- Trim the top quarter of the bottle neck to create the head and flippers.
- Paint the entire outside of the bottle shell green and let it dry completely.
- Add googly eyes or a black marker to the head and any patterns or spots for flair.
- Glue the trimmed sections to the sides of the shell to create flippers.
- If placing outdoors, apply a clear sealant once everything is dry for durability.
Notes
Use various colors and accessories to personalize your turtle. Larger bottles are easier to craft and paint.
- Prep Time: 15 minutes
- Cook Time: 0 minutes
- Category: Crafts
- Method: Crafting
- Cuisine: N/A
Nutrition
- Serving Size: 1 turtle
- Calories: 0
- Sugar: 0g
- Sodium: 0mg
- Fat: 0g
- Saturated Fat: 0g
- Unsaturated Fat: 0g
- Trans Fat: 0g
- Carbohydrates: 0g
- Fiber: 0g
- Protein: 0g
- Cholesterol: 0mg

