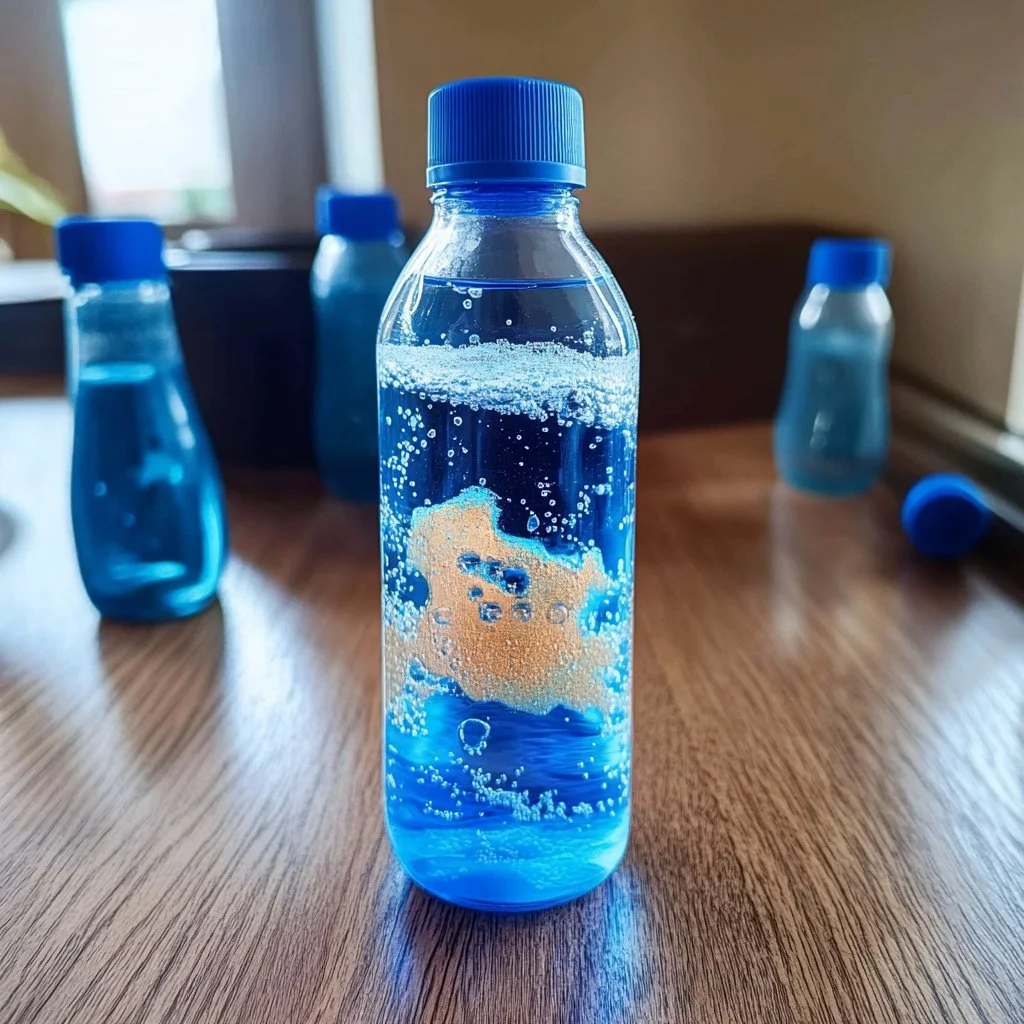
Creating your very own DIY lava lamp is a fun and engaging project that not only sparks creativity but also serves as an enchanting décor piece for any room. This hands-on activity offers a perfect opportunity to delve into the science of liquids and motion while engaging in a delightful sensory experience. With just a few simple ingredients commonly found around the house, you can easily transform everyday materials into a mesmerizing display. Whether you’re sharing it with kids or simply indulging in your inner child, making a lava lamp is sure to provide hours of entertainment and relaxation. Join us as we explore how to make this captivating drinkable art that swirls and bubbles in a truly spectacular way!
Why You’ll Love This DIY Lava Lamp
- Easy to Make: No complicated steps or specialized supplies needed.
- Educational: A fun way to learn about density and chemical reactions.
- Customizable: Easy to personalize with colors and sizes.
- Budget-Friendly: Uses common household items, making it cost-effective.
- Great for All Ages: Perfect for kids’ activities, parties, or relaxing evenings.
Materials
- Clear bottle or jar (plastic or glass)
- Water
- Vegetable oil (or any light oil)
- Food coloring
- Alka-Seltzer tablets (or baking soda and vinegar for a longer-lasting effect)
- Optional: glitter or small toy figures for extra fun
Step-by-Step Instructions
Step 1: Prepare Your Container
- Start with a clean clear bottle or jar. This will be your lava lamp’s base.
Step 2: Fill with Water
- Pour water into the bottle, filling it about one-third of the way full.
- Observe the water’s clear appearance, which sets the stage for the magic to come.
Step 3: Add Oil
- Slowly pour vegetable oil into the bottle until it is nearly full.
- Watch as the oil floats on top of the water – this is due to the different densities.
Step 4: Add Color
- Add a few drops of food coloring into the bottle.
- Enjoy watching the color burst through the oil and into the water.
Step 5: Create the Lava Effect
- Break an Alka-Seltzer tablet into smaller pieces and drop them into the bottle.
- Observe the bubbling and movement as the reaction occurs, creating your DIY lava lamp!
Step 6: Enjoy and Experiment
- Once the fizzing stops, feel free to add more Alka-Seltzer for a renewed lava show!
Tips & Variations
- Color Mixing: Experiment with different food color combinations for unique visual effects.
- Glitter Fun: Add glitter for extra sparkle and magical swirls.
- Container Choices: Use different size containers to create various lava lamp sizes.
- Longer Lasting Effect: Replace Alka-Seltzer with equal parts of baking soda and vinegar for a continuous reaction.
Frequently Asked Questions
Q: Can I reuse the materials?
A: It’s best to make a new batch for freshness, but you can store any leftover oil or colored water in a sealed container.
Q: What if I don’t have Alka-Seltzer?
A: You can use a mix of baking soda and vinegar instead. Just be aware that it may not produce the same immediate bubbling effect.
Q: Can I use a different type of oil?
A: Light oils work best, but feel free to experiment with what you have on hand. Just note that results may vary.
Q: How do I clean up if it spills?
A: Wipe up any spills with a damp cloth, and clean up any substances with warm soapy water.
Serving Suggestions or Pairings
This DIY lava lamp pairs wonderfully with a cozy movie night, a group craft activity, or even as a magical centerpiece for a birthday party. Set it alongside your favorite snacks or drinks to create a relaxing atmosphere.
Final Thoughts
Creating your own DIY lava lamp is not just an enjoyable craft; it’s also a fantastic way to engage with science and spark creativity. We’d love to see how your lava lamp turns out! Share your versions or leave a comment below with your thoughts and experiences!
Print
DIY Lava Lamp
- Total Time: 25 minutes
- Yield: 1 lava lamp
- Diet: N/A
Description
A fun and engaging project to create your very own DIY lava lamp using common household items. Perfect for kids and adults alike!
Ingredients
- Clear bottle or jar (plastic or glass)
- Water
- Vegetable oil (or any light oil)
- Food coloring
- Alka-Seltzer tablets (or baking soda and vinegar for a longer-lasting effect)
- Optional: glitter or small toy figures
Instructions
- Prepare Your Container: Start with a clean clear bottle or jar.
- Fill with Water: Pour water into the bottle, filling it about one-third of the way full.
- Add Oil: Slowly pour vegetable oil into the bottle until it is nearly full.
- Add Color: Add a few drops of food coloring into the bottle.
- Create the Lava Effect: Break an Alka-Seltzer tablet into smaller pieces and drop them into the bottle.
- Enjoy and Experiment: Add more Alka-Seltzer for a renewed lava show after fizzing stops!
Notes
Experiment with different colors and add glitter for extra fun! For longer-lasting effects, use baking soda and vinegar instead of Alka-Seltzer.
- Prep Time: 10 minutes
- Cook Time: 15 minutes
- Category: Craft
- Method: DIY Crafting
- Cuisine: N/A
Nutrition
- Serving Size: 1 lamp
- Calories: 0
- Sugar: 0g
- Sodium: 0mg
- Fat: 0g
- Saturated Fat: 0g
- Unsaturated Fat: 0g
- Trans Fat: 0g
- Carbohydrates: 0g
- Fiber: 0g
- Protein: 0g
- Cholesterol: 0mg

