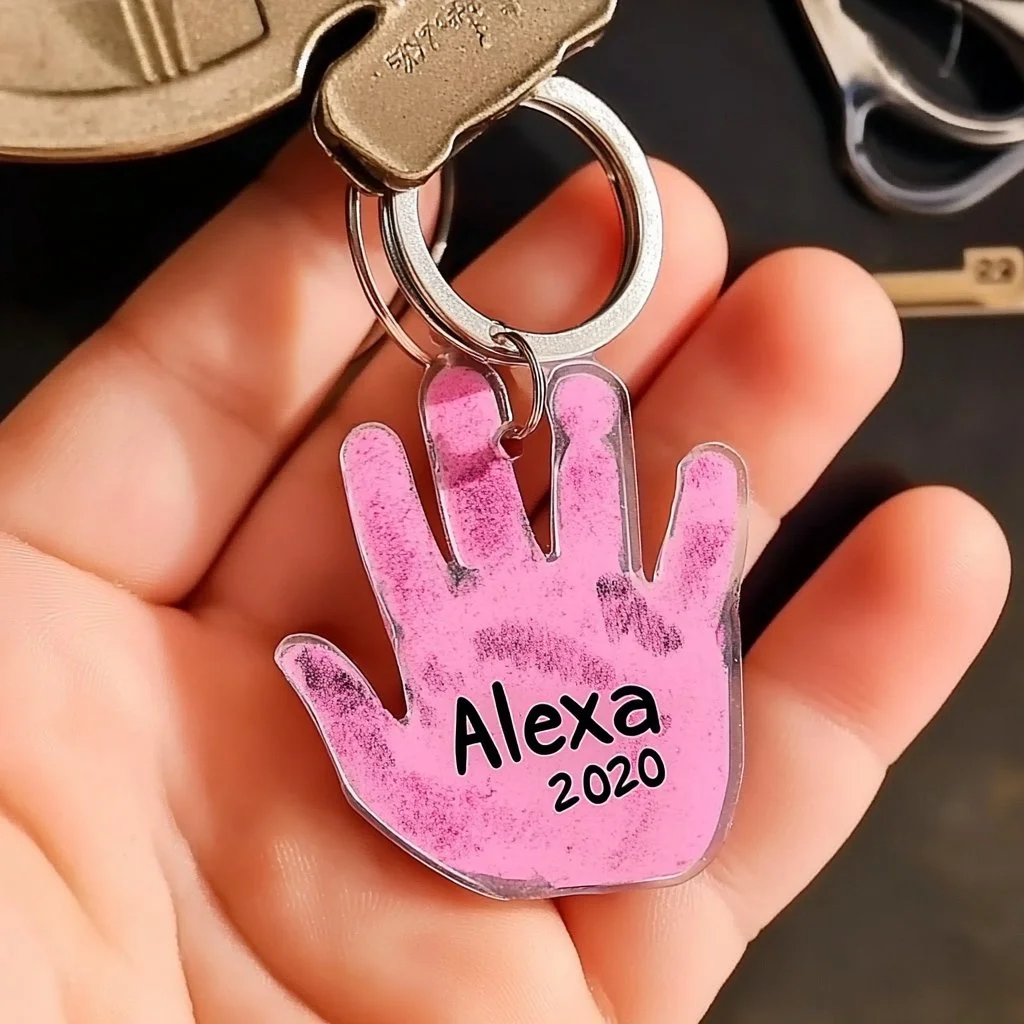
DIY Kids Handprint Keychains
Growing up in a bustling kitchen, I can still hear the giggles of my siblings and the gentle hum of my grandmother expertly molding her famous clay pots. As a child, sitting at her kitchen table, I remember how she taught us to express our creativity through simple crafts. Handprint keychains were one of our favorite projects—fun, easy, and forever embodying a little piece of our childhood! Each handprint captured a moment in time, keeping those sweet memories close by, hanging on school bags or family keys.
This DIY Kids Handprint Keychain project is a wonderful way to create lasting keepsakes that represent your child’s growth and creativity. As the seasons change, crafting these keychains can become a delightful family tradition that sparks joy and nostalgia. Plus, they’re not just adorable—they’re perfect personalized gifts for grandparents, teachers, and friends alike.
Why You’ll Love This DIY Kids Handprint Keychains
- Kid-approved: Fun, interactive, and easy for little hands.
- Personalized: A unique keepsake that showcases your child’s growth.
- Creative outlet: Encourages artistic expression and imagination.
- Perfect for all occasions: Ideal gifts for holidays, birthdays, and special moments.
- Low-cost materials: Simple and inexpensive supplies make this project accessible.
Ingredients
- 1 cup air-dry clay
- Rolling pin
- Cookie cutter or knife (for cutting shapes)
- Acrylic paint (assorted colors)
- Paintbrushes
- Small keychain rings
- Nontoxic sealant (for finishing)
- Optional: glitter, beads, or decorative items for added flair
Step-by-Step Instructions
Prepare the Clay
- Start by kneading the air-dry clay until it’s soft and pliable.
- Use a rolling pin to flatten the clay to about ¼ inch thick.
Create the Handprint
- Press your child’s hand firmly into the clay to create an impression. Ensure they spread their fingers slightly to capture the details.
- Carefully lift their hand away without smudging the impression.
Cut Out Shapes
- Use a cookie cutter or knife to cut around the handprint, creating a keychain shape.
- Poke a small hole at the top of the cutout for the keychain ring.
Dry the Handprint
- Allow the clay to dry according to the package instructions. This usually takes about 24 hours.
Paint and Decorate
- Once dry, let your child paint the handprint keychain in their favorite colors.
- For added sparkle, use glitter or other decorative items.
Finish and Attach
- Once the paint is dry, seal the keychain with a nontoxic sealant to preserve it.
- Attach a small keychain ring to the hole at the top.
Tips & Variations
- Customization: Use different tools to create unique designs, such as leaving a name or date written on the clay.
- Color Choices: Allow kids to mix colors or use finger paints for a more hands-on experience.
- Varying Shapes: Instead of just handprints, kids can make footprints or simple shapes like hearts and stars.
Storage Instructions
- Drying: Allow keychains to dry completely at room temperature.
- Storage: If not gifting immediately, keep them in a cool, dry place (ideally indoors) to avoid moisture.
Nutritional Information
- Prep Time: 15 minutes
- Dry Time: 24 hours
- Total Time: 24 hours 15 minutes
- Calories per serving: Not applicable (craft project)
- Servings: 1 keychain per handprint
Frequently Asked Questions
1. Can I use any type of clay?
Yes, but air-dry clay is easy to work with and doesn’t require baking.
2. What if my child has a sensitive skin reaction?
Always ensure materials used are nontoxic and suitable for children. Conduct a patch test if in doubt.
3. How long will the keychains last?
When sealed properly, these keychains can last many years as cherished memorabilia.
4. Can older children do this project independently?
Absolutely! This project is versatile, making it great for all age groups.
Serving Suggestions or Pairings
Pair your DIY keychain project with:
- Hot chocolate or lemonade for a cozy crafting session.
- Gift bags filled with homemade cookies as a thoughtful touch alongside the keychain gifts.
Final Thoughts
Crafting DIY Kids Handprint Keychains is not just about creating souvenirs but moments that you and your children will treasure for years to come. I encourage you to dive into this project together, sharing your unique twists and little stories along the way. Please do share your results or favorite memories in the comments below—I can’t wait to see your creations! Happy crafting!

