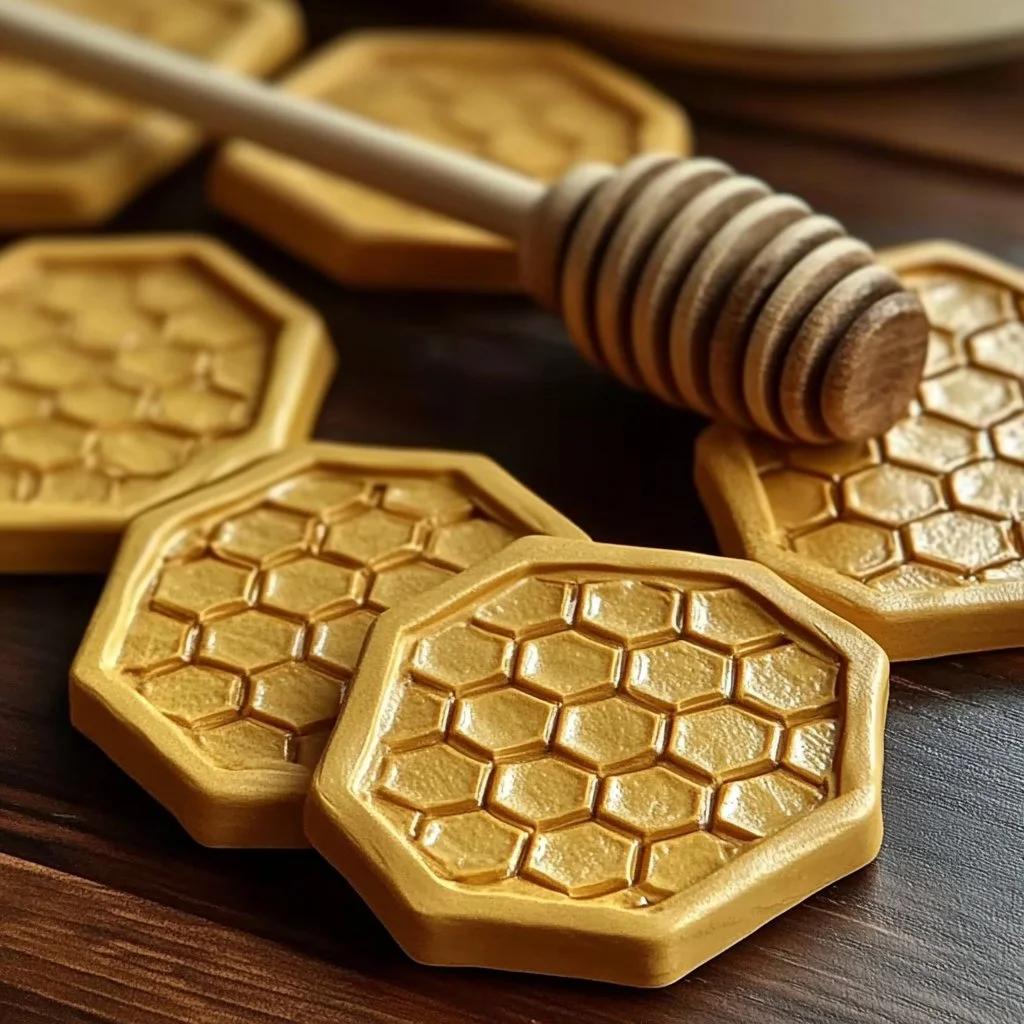
Creating your own honeycomb clay coasters is a fun and rewarding DIY project that combines creativity with functionality. These unique coasters not only protect your surfaces from unsightly water rings but also add a charming aesthetic to your home decor. With a few simple materials and a bit of time, you can craft beautiful coasters that showcase your individuality and enhance your living space. This guide will walk you through the process, from gathering supplies to customizing your finished product. Whether you’re an experienced artist or a crafty beginner, this project is a delightful way to spend your afternoon while impressing friends and family with your handmade creations.
Why You’ll Love This DIY Honeycomb Clay Coasters
- Unique Design: Each set can be personalized with various colors and patterns.
- Simple Process: No complicated techniques required, making it accessible for crafters of all skill levels.
- Functional Art: Protect your surfaces while showcasing your creative flair.
- Eco-Friendly: Use natural materials, promoting sustainability and reducing waste.
- Perfect Gifts: Handmade coasters make thoughtful gifts for housewarmings, weddings, or birthdays.
Materials
- Air-dry clay (white or colored)
- Honeycomb stencil or template
- Rolling pin
- Craft knife or clay cutter
- Acrylic paint or clay paint (optional)
- Clear sealant spray (optional)
- Sanding paper (optional)
Step-by-Step Instructions
Step 1: Prepare Your Workspace
Set up a clean, flat area to work. Gather all your materials within easy reach.
Step 2: Roll Out the Clay
- Use a rolling pin to flatten the air-dry clay to about 1/4 inch thick.
- Ensure an even thickness to allow for uniform drying.
Step 3: Cut Out Coasters
- Place your honeycomb stencil on the rolled-out clay.
- Use a craft knife to cut around the stencil, creating your coaster shape.
- Remove excess clay and smooth any rough edges.
Step 4: Let the Coasters Dry
- Place the coasters on a flat surface and let them dry completely, following the manufacturer’s instructions (usually 24 hours).
Step 5: Paint and Seal (Optional)
- Once dry, use acrylic paint to add color or design.
- Apply a clear sealant to protect your artwork and enhance durability.
Tips & Variations
- Customize Shapes: Use different stencils for various geometric designs.
- Mix Colors: Blend different colors of paint for unique patterns.
- Add Texture: Incorporate stamps or textured tools to add dimension to your coasters.
- Alternative Materials: Experiment with Fimo or polymer clay for different effects.
Frequently Asked Questions
Can I use polymer clay instead of air-dry clay?
Yes! Polymer clay requires baking but can provide a more durable finish.
How do I clean my coasters if they get dirty?
Gently wipe with a damp cloth. Avoid soaking in water to preserve the finish.
What if my coasters are sticky after drying?
Ensure they are completely dry. If not, allow more time to dry out. If painted, double-check the paint type for proper drying.
Can I use food-safe paint or sealant?
Make sure to choose paints and sealants that are labeled as food-safe if you intend to use them with food items.
Serving Suggestions or Pairings
Pair your honeycomb coasters with:
- A refreshing iced coffee or tea.
- Brightly colored cocktails for a summer gathering.
- A plate of artisanal cheeses or snacks during casual get-togethers.
Final Thoughts
Creating your own honeycomb clay coasters is a satisfying and artistic experience. Not only do they serve a practical purpose, but they also add a personal touch to your home. We’d love to see your creations! Feel free to share your versions or leave a comment below to inspire others in their DIY journey. Happy crafting!
Print
DIY Honeycomb Clay Coasters
- Total Time: 1440 minutes
- Yield: 4 coasters
- Diet: N/A
Description
Create unique and functional honeycomb clay coasters that add charm to your home decor.
Ingredients
- Air-dry clay (white or colored)
- Honeycomb stencil or template
- Rolling pin
- Craft knife or clay cutter
- Acrylic paint or clay paint (optional)
- Clear sealant spray (optional)
- Sanding paper (optional)
Instructions
- Prepare Your Workspace: Set up a clean, flat area to work and gather all materials.
- Roll Out the Clay: Use a rolling pin to flatten the air-dry clay to about 1/4 inch thick.
- Cut Out Coasters: Place your honeycomb stencil on the rolled-out clay and cut around the stencil to create coaster shapes.
- Let the Coasters Dry: Place the coasters on a flat surface and let them dry completely, typically 24 hours.
- Paint and Seal (Optional): Once dry, use acrylic paint for color or design and apply a clear sealant if desired.
Notes
Customize your coasters using different stencils, colors, and textures. Ensure all materials are eco-friendly.
- Prep Time: 10 minutes
- Cook Time: 0 minutes
- Category: DIY Craft
- Method: Crafting
- Cuisine: N/A
Nutrition
- Serving Size: 1 coaster
- Calories: 0
- Sugar: 0g
- Sodium: 0mg
- Fat: 0g
- Saturated Fat: 0g
- Unsaturated Fat: 0g
- Trans Fat: 0g
- Carbohydrates: 0g
- Fiber: 0g
- Protein: 0g
- Cholesterol: 0mg

