Introduction
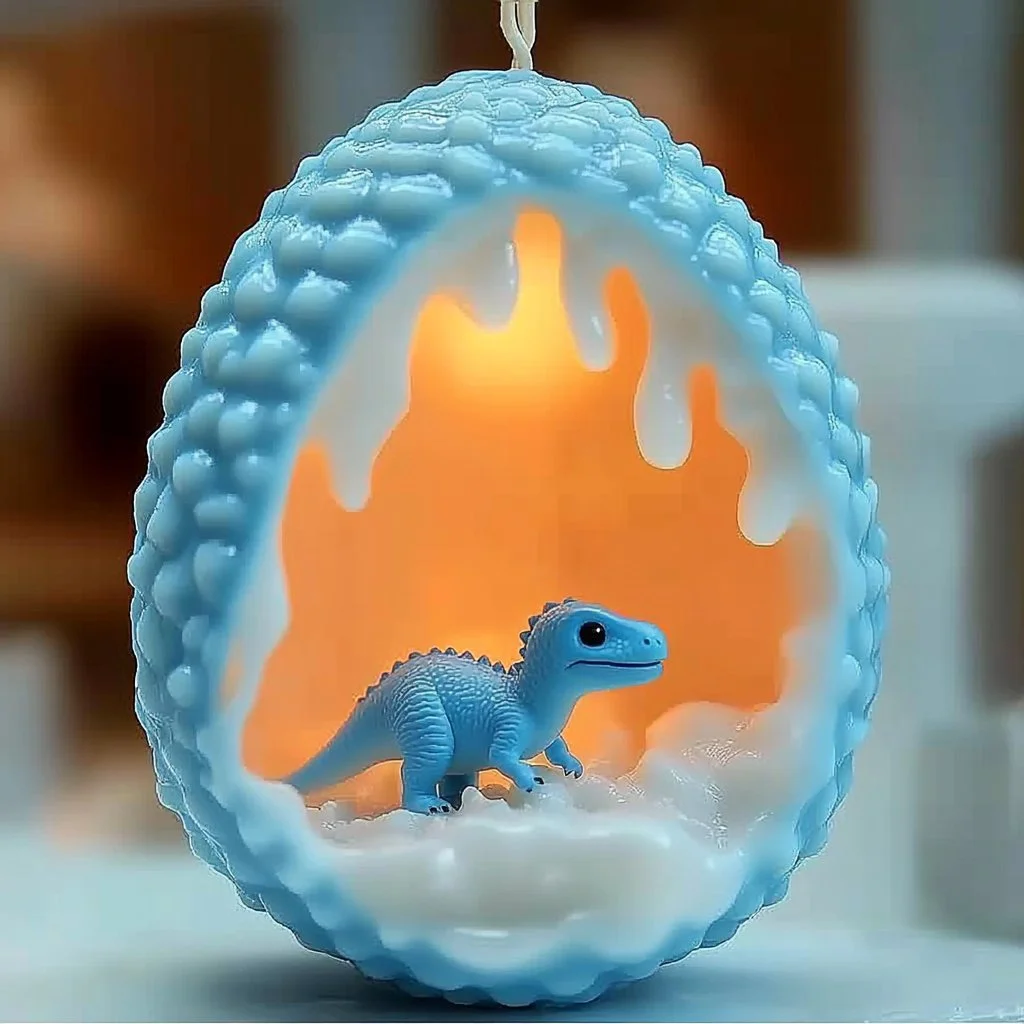
Creating DIY baking soda dinosaur eggs is an exciting and educational activity for both kids and adults. This hands-on project not only fosters creativity but also allows for a bit of science experimentation. As the steps unfold, you’ll witness the transformation from a simple mixture into fossil-like treasures. The thrill of discovering what’s hidden inside adds an element of surprise and adventure. Perfect for birthday parties, rainy days, or educational purposes, these baking soda dinosaur eggs are sure to leave a lasting impression. Join in the fun and embark on this prehistoric journey that blends creativity, learning, and a little bit of magic!
Why You’ll Love This Baking Soda Dinosaur Eggs
- Fun Learning Experience: Introduces basic concepts of science and chemistry.
- Creativity Unleashed: Personalize the colors and dinosaur figures.
- Interactive Discovery: Kids enjoy the excitement of breaking open the eggs.
- Affordable Activity: Uses common household ingredients and materials.
- Customizable: Easily swap out figures or colors for unique creations.
- Enhances Motor Skills: The process of shaping and breaking reinforces fine motor skills.
Materials
- 1 cup baking soda
- 1/2 cup water
- 1/4 cup cornstarch
- 1 teaspoon vinegar
- Food coloring (optional)
- Plastic dinosaur toys
- Mixing bowl
- Baking tray
- Parchment paper (optional)
- Optional: Glitter for added sparkle
Step-by-Step Instructions
Prepare the Mixture
- Combine Dry Ingredients: In a mixing bowl, combine the baking soda and cornstarch.
- Create a Paste: Gradually add water and stir slowly. The mixture should have a thick, paste-like consistency.
- Add Vinegar: Carefully incorporate the vinegar. The mixture will fizz, which is normal. Stir until well combined.
- Color it Up: If you want colorful eggs, add a few drops of food coloring and mix until evenly distributed.
Shape Your Eggs
- Prepare the Molds: Line a baking tray with parchment paper or just keep it ungreased for easy removal.
- Form the Eggs: Take small scoops of the mixture and mold them around your plastic dinosaur toys. Shape back into an egg form, ensuring the figure is fully enclosed.
Dry and Set
- Let Them Dry: Place the eggs on the baking tray. Allow them to dry for 24-48 hours, or until they’re hard.
- Final Touches: Once dry, you can dust them with glitter for extra sparkle, if desired.
Tips & Variations
- Change the Figures: Use different dinosaur figures or even other small toys for customizing the eggs.
- Experiment with Colors: Mix different food colorings for multi-colored eggs.
- Add Scent: A few drops of essential oils can provide a pleasant smell.
- Make Mini Eggs: Adjust the size of the eggs by changing the amount of mixture used.
Frequently Asked Questions
1. Can I use other types of toys besides dinosaurs?
Yes! You can use any small, non-plastic toys that will fit within the egg structure.
2. How can I speed up the drying process?
If you need them to dry quickly, consider using a low-temperature oven to dry them out (around 200°F for about an hour). Keep a close eye to avoid burning.
3. What should I do if the mixture is too crumbly?
Add a little more water, one tablespoon at a time, until the consistency is thick and moldable.
4. Can I store these eggs for later use?
If properly dried, they can be stored in a cool, dry place. For maximum freshness, use them within a few weeks.
Serving Suggestions or Pairings
Pair these dinosaur eggs with a fun themed drink, like a vibrant fruit punch or a lemonade. Consider serving them alongside a colorful vegetable platter or dinosaur cupcakes for a complete party experience.
Final Thoughts
Baking soda dinosaur eggs are not just an activity—they’re an opportunity for exploration and creativity. Whether you’re creating them for a party or just for fun, these eggs will spark joy and curiosity. We’d love to hear about your creations! Share your versions or leave a comment below with your thoughts and experiences!
Print
Baking Soda Dinosaur Eggs
- Total Time: 1440 minutes
- Yield: Varies based on size, approx. 6-8 eggs
- Diet: N/A
Description
Experience the excitement of creating DIY baking soda dinosaur eggs that combine fun and science. Ideal for kids and adults alike!
Ingredients
- 1 cup baking soda
- 1/2 cup water
- 1/4 cup cornstarch
- 1 teaspoon vinegar
- Food coloring (optional)
- Plastic dinosaur toys
- Mixing bowl
- Baking tray
- Parchment paper (optional)
- Optional: Glitter for added sparkle
Instructions
- In a mixing bowl, combine the baking soda and cornstarch.
- Gradually add water and stir slowly until you achieve a thick, paste-like consistency.
- Carefully incorporate the vinegar and stir until well combined. Expect some fizzing.
- If desired, add food coloring and mix until evenly distributed.
- Line a baking tray with parchment paper or keep it ungreased.
- Take small scoops of the mixture and mold them around your plastic dinosaur toys, shaping them back into an egg form.
- Place the eggs on the tray and allow them to dry for 24-48 hours, or until hard.
- If desired, dust with glitter once dry for extra sparkle.
Notes
Customize by using different toys or scents. To speed up drying, consider a low-temperature oven.
- Prep Time: 15 minutes
- Cook Time: 0 minutes
- Category: Craft
- Method: DIY Crafting
- Cuisine: Educational
Nutrition
- Serving Size: 1 egg
- Calories: 50
- Sugar: 0g
- Sodium: 0mg
- Fat: 0g
- Saturated Fat: 0g
- Unsaturated Fat: 0g
- Trans Fat: 0g
- Carbohydrates: 13g
- Fiber: 0g
- Protein: 0g
- Cholesterol: 0mg

