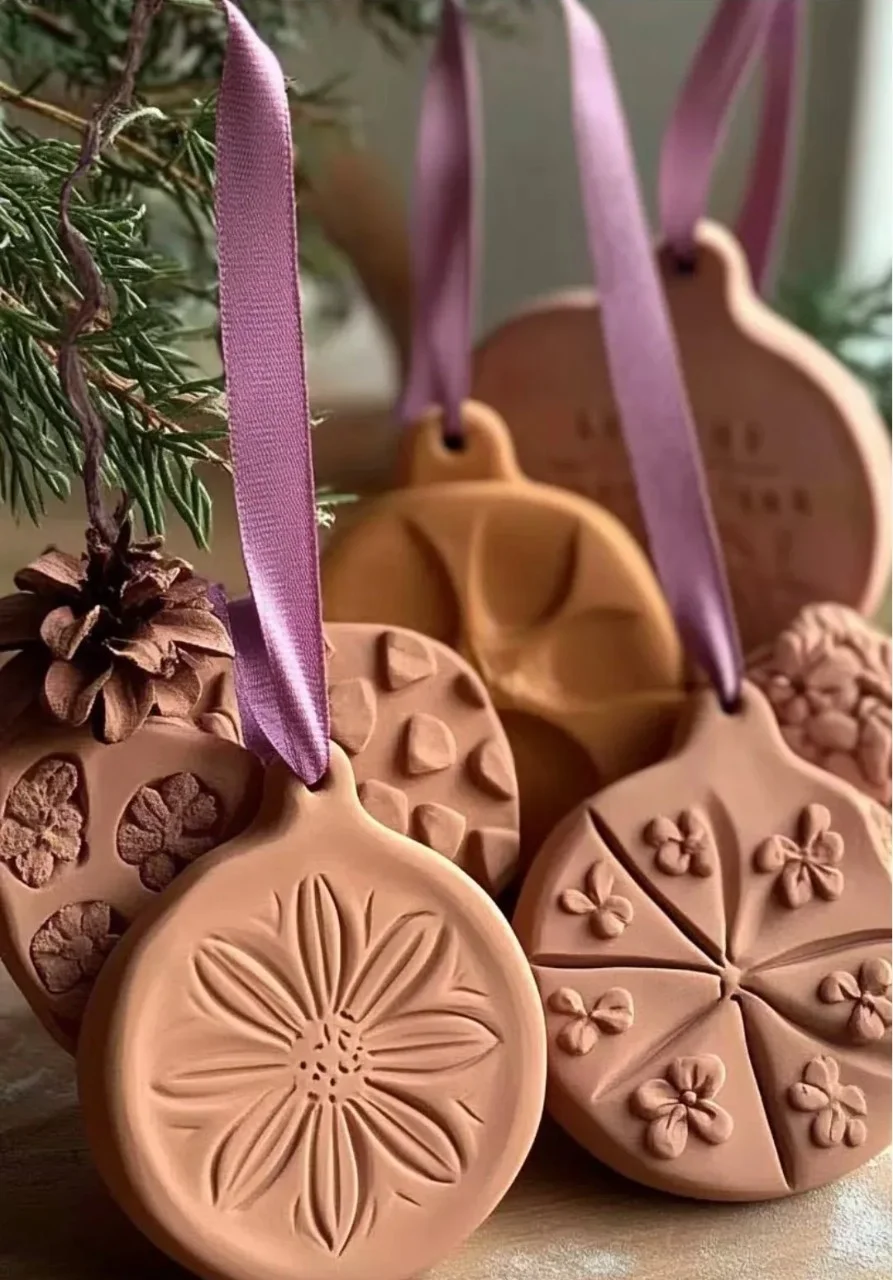
Scented clay fresheners are a delightful way to enhance the ambiance of your space while indulging your creative side. These DIY air fresheners not only add a pleasing fragrance to your home but also bring a touch of rustic charm to your decor. With just a few simple materials, you can create unique shapes, infuse them with your favorite essential oils, and let your personality shine through the designs. Whether you’re looking to eliminate odors or simply refresh your environment, these scented clay fresheners make an eco-friendly and aesthetically pleasing solution. Let’s dive into why you’ll love making your own scented clay fresheners and how to do it!
Why You’ll Love This Scented Clay Fresheners:
- Eco-Friendly: Made from natural ingredients, these fresheners are a safer alternative to commercial products.
- Customizable: Choose your favorite scents and colors to match your decor.
- Creative Expression: Design unique shapes that reflect your personality or seasonal themes.
- Long-lasting Fragrance: The aroma can last for weeks, refreshing your space without constant maintenance.
- Child and Pet Friendly: Made with non-toxic materials, making them safe for families.
Materials
- Air-Dry Clay: 1 package (white or colored)
- Essential Oils: Your choice (such as lavender, lemon, or eucalyptus)
- Rolling Pin: For flattening the clay
- Cookie Cutters: For shaping the clay
- Straw: To make holes for hanging (if desired)
- Acrylic Paint: Optional for decoration
- Sealant Spray: Optional to protect the finish
- Baking Sheet: For drying (if applicable)
Full Step-by-Step
Step 1: Prepare Your Workspace
- Clear a flat surface and gather all necessary materials.
- Lay down a protective layer (like parchment paper) to avoid mess.
Step 2: Roll Out the Clay
- Use the rolling pin to flatten the air-dry clay to about 1/4 inch thickness.
- Ensure an even thickness for uniform drying.
Step 3: Cut Out Shapes
- Choose your cookie cutters and press them firmly into the clay to create your desired shapes.
- Carefully lift the shapes and place them on a baking sheet lined with parchment paper.
Step 4: Create Hanging Holes
- If you wish to hang your fresheners, use a straw to punch holes at the top of each shape.
Step 5: Add Fragrance
- Poke several holes into the clay (if it’s not shaped).
- Drip a few drops of your chosen essential oil over the surface and into the holes.
- For stronger scent, press the oil more into the clay.
Step 6: Dry the Clay
- Let the shapes air-dry for 1-2 days, or follow specific package instructions if using a different type of clay.
- Ensure they are completely dry before handling.
Step 7: (Optional) Paint and Seal
- Paint your fresheners with acrylic paint, if desired, for added color.
- Once dry, spray with sealant to protect your designs.
Tips & Variations
- Customize Scents: Experiment with blends of essential oils for a unique aroma.
- Color Options: Mix a few drops of food coloring into the clay before rolling it out for colored fresheners.
- Shape Variations: Use seasonal cookie cutters (like hearts for Valentine’s Day or leaves for fall) to create themed fresheners.
- Add Embellishments: Incorporate glitter or beads before the clay dries for a fun touch.
Frequently Asked Questions
1. How long do these scented clay fresheners last?
Typically, they can last several weeks to months, depending on the essential oil used and the environment.
2. Can I use any type of clay?
While air-dry clay works best for this project, you can experiment with other types like polymer clay that require baking for a firmer finish.
3. What can I do if the scent fades?
Reapply essential oil to the surface of the freshener or, if needed, soak them in a diluted oil solution to refresh the scent.
4. Are these safe for children and pets?
Yes, if you use non-toxic materials, these fresheners are safe for both kids and pets.
Suggestions
- Display your scented clay fresheners on a decorative dish or hang them in a closet or car for a subtle fragrance.
- Gift them as personalized presents for birthdays, anniversaries, or holidays with a custom scent for each recipient.
- Use them to scent drawers, bathrooms, or any small space where you want a pleasant aroma.
Final Thoughts
Creating your own scented clay fresheners is not just a practical project; it’s a wonderful way to express your creativity and fill your home with delightful scents. We encourage you to share your versions or any unique scents you’ve created in the comments below! Happy crafting!
Print
Scented Clay Fresheners
- Total Time: 2895 minutes
- Yield: Several fresheners (varies with size)
- Diet: N/A
Description
Create delightful scented clay fresheners with natural ingredients to enhance your home’s fragrance and decor.
Ingredients
- 1 package Air-Dry Clay (white or colored)
- Your choice of Essential Oils (such as lavender, lemon, or eucalyptus)
- Rolling Pin
- Cookie Cutters
- Straw
- Acrylic Paint (optional)
- Sealant Spray (optional)
- Baking Sheet
Instructions
- Prepare Your Workspace by gathering materials and laying down parchment paper.
- Roll Out the Clay to about 1/4 inch thickness using the rolling pin.
- Cut Out Shapes with cookie cutters and place them on a lined baking sheet.
- Create Hanging Holes using a straw at the top of each shape.
- Add Fragrance by dripping essential oils into holes and onto the surface.
- Dry the Clay for 1-2 days, ensuring they are completely dry.
- (Optional) Paint and Seal by decorating with acrylic paint and using sealant.
Notes
Customize scents and colors, and experiment with various shapes for different occasions.
- Prep Time: 15 minutes
- Cook Time: 2880 minutes
- Category: Craft
- Method: Crafting
- Cuisine: N/A
Nutrition
- Serving Size: N/A
- Calories: 0
- Sugar: 0g
- Sodium: 0mg
- Fat: 0g
- Saturated Fat: 0g
- Unsaturated Fat: 0g
- Trans Fat: 0g
- Carbohydrates: 0g
- Fiber: 0g
- Protein: 0g
- Cholesterol: 0mg

