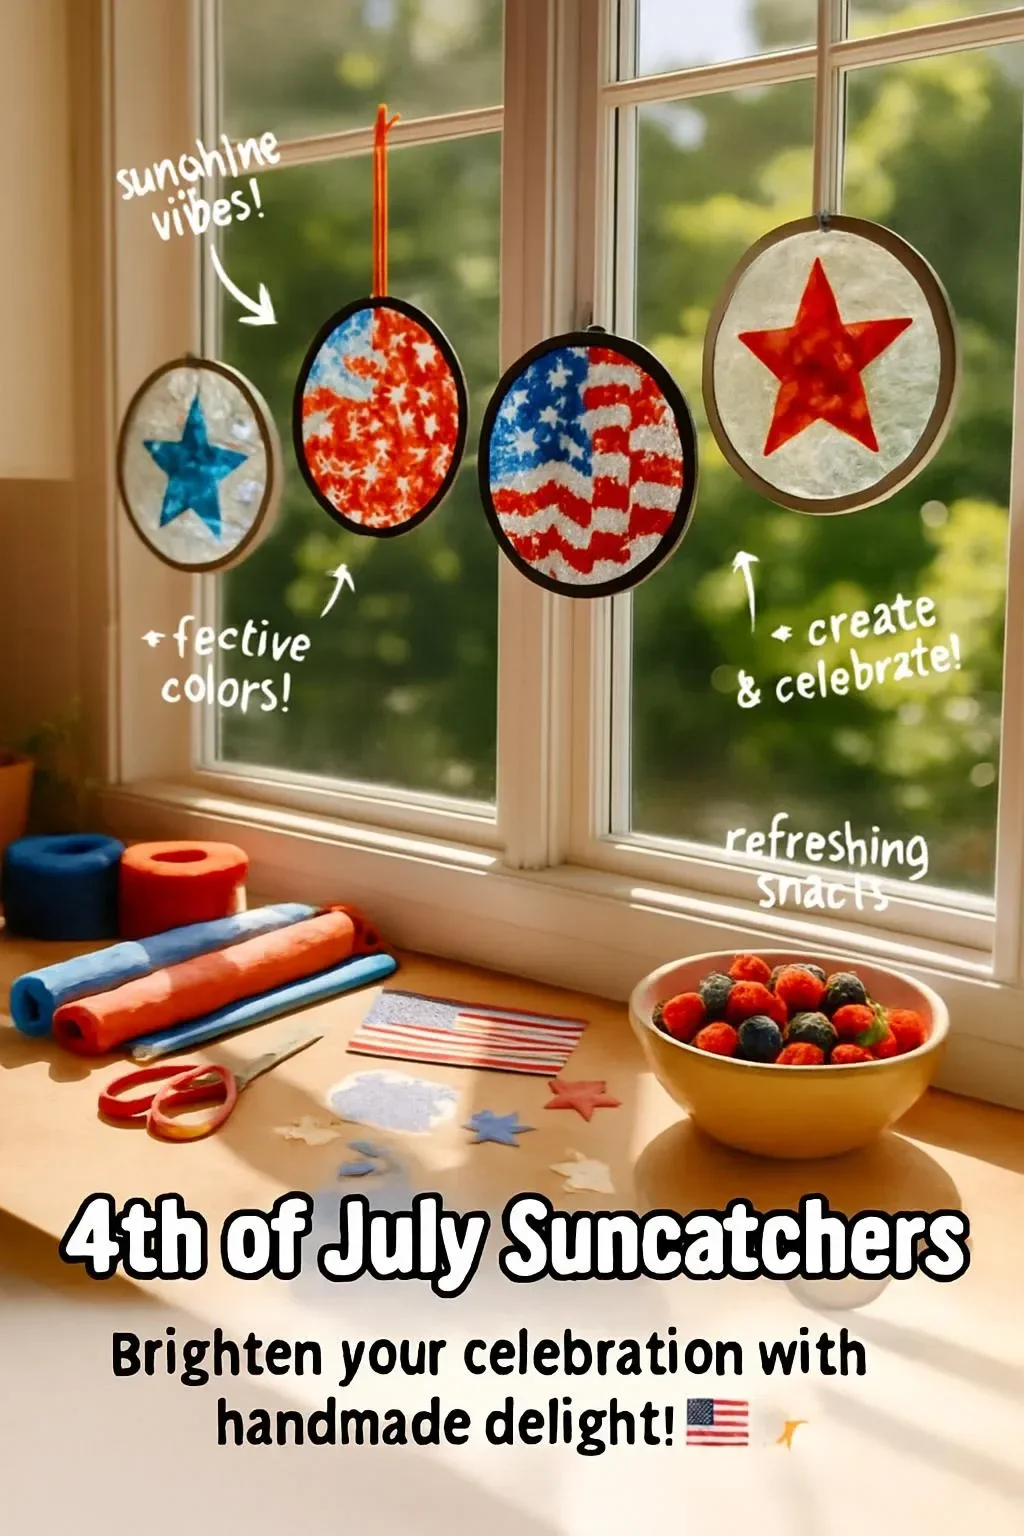
Creating festive decorations is a wonderful way to celebrate holidays, and what better way to add some sparkle this 4th of July than with vibrant suncatchers? These colorful crafts will not only brighten your windows but also infuse your space with the patriotic spirit of independence. Suncatchers are fun for all ages, making them a fantastic way to gather friends and family in crafting. With their dazzling colors and unique designs, these suncatchers will create stunning reflections and shadows, adding a cheerful touch to your holiday festivities. Plus, they serve as a great learning experience for kids to explore colors, shapes, and light. Get ready to unleash your creativity and enjoy a delightful afternoon crafting these lovely 4th of July suncatchers!
Why You’ll Love This 4th of July Suncatchers:
- Festive Colors: Bright reds, whites, and blues capture the essence of independence.
- Customizable Designs: Available for personal touches, allowing for unique creations.
- Sensory Experience: Engaging in tactile activities is both fun and therapeutic.
- Easy and Fun: Suitable for all skill levels and ages.
- Great for Groups: Perfect for family gatherings or community events.
- Sustainable Crafting: Utilizes recyclable materials, promoting eco-friendliness.
Materials:
- Clear contact paper or transparency sheets
- Tissue paper in red, white, and blue
- Scissors
- Black permanent marker (optional)
- String or ribbon for hanging
- Paper towel or plain white paper (for backing)
Full Step-by-Step:
Preparation:
- Choose Your Design: Decide whether you want stars, flags, or any creative shape for your suncatcher. Sketch it lightly on a piece of paper to guide you.
Cutting the Tissue Paper:
- Tissue Paper Pieces: Cut the red, white, and blue tissue paper into small squares or shapes. This will make it easier to work with when placing them on the suncatcher.
Creating the Suncatcher:
- Base Layer: Cut a piece of contact paper or transparency sheet to your desired size.
- Placement: Lay the sticky side of the contact paper facing up. If using a transparency sheet, you’ll need to attach the shapes later with glue.
- Design Assembly: Arrange the tissue paper pieces onto the contact paper base, filling the spaces with your chosen colors. You can create a random mosaic or a patterned design. Let your creativity flow!
Final Touches:
- Cover: Once all pieces are in place, cut another piece of contact paper to cover the top, sealing in the tissue paper. Press carefully to avoid bubbles.
- Trim Edges: Cut around the edges to remove any excess contact paper, giving it a neater finish.
Hanging:
- Cut a Length of String: About 10-12 inches works well.
- Attach: Use tape or glue to securely attach the string to the top of the suncatcher for easy hanging.
Tips & Variations:
- Custom Shapes: Use cookie cutters to cut the tissue paper into fun shapes for an added flair.
- Different Materials: Experiment with colors of cellophane, or try adding glitter for extra sparkle.
- Stained Glass Look: Utilize black permanent markers to outline the edges of your shapes for a stained glass effect.
Frequently Asked Questions:
Q: Can I use regular paper instead of tissue paper?
A: While tissue paper works best for transparency, you can use regular paper, but it won’t allow as much light to shine through.
Q: What if I don’t have contact paper?
A: Transparency sheets can work as an alternative, but you may need glue to secure the tissue paper.
Q: How do I hang my suncatcher?
A: You can use string, ribbon, or even suction cups to hang your suncatcher in windows.
Q: Can this be done outdoors?
A: While it’s best to do this craft indoors to avoid wind and debris, you can hang it outside once you’re finished.
Suggestions:
- Pair this craft with a holiday-themed picnic or barbecue.
- Create a suncatcher contest with friends and family to see who can make the most creative one.
- Use your suncatchers as festive decorations for future holidays by changing colors to suit the occasion.
Final Thoughts
Making these 4th of July suncatchers is a delightful and creative way to celebrate the holiday. They brighten up your home and allow everyone to express their artistic side. We’d love to hear about your own creations! Share your versions, tips, or leave a comment to let us know how your crafting session went! Happy crafting and happy Independence Day!
Print
4th of July Suncatchers
- Total Time: 30 minutes
- Yield: 1 suncatcher
- Diet: N/A
Description
Create vibrant 4th of July suncatchers to celebrate independence with colorful reflections and shadows.
Ingredients
- Clear contact paper or transparency sheets
- Tissue paper in red, white, and blue
- Scissors
- Black permanent marker (optional)
- String or ribbon for hanging
- Paper towel or plain white paper (for backing)
Instructions
- Choose your design and sketch it lightly on paper.
- Cut the red, white, and blue tissue paper into small squares or shapes.
- Cut a piece of contact paper or transparency sheet to your desired size.
- Lay the sticky side of the contact paper facing up and arrange the tissue paper pieces.
- Cover with another piece of contact paper to seal in the tissue paper.
- Trim the edges for a neater finish.
- Cut a length of string about 10-12 inches and attach it to the top of the suncatcher for hanging.
Notes
Consider using cookie cutters for fun shapes and experimenting with different materials for a stained glass effect.
- Prep Time: 30 minutes
- Cook Time: 0 minutes
- Category: Craft
- Method: Crafting
- Cuisine: American
Nutrition
- Serving Size: N/A
- Calories: 0
- Sugar: 0g
- Sodium: 0mg
- Fat: 0g
- Saturated Fat: 0g
- Unsaturated Fat: 0g
- Trans Fat: 0g
- Carbohydrates: 0g
- Fiber: 0g
- Protein: 0g
- Cholesterol: 0mg

