Introduction
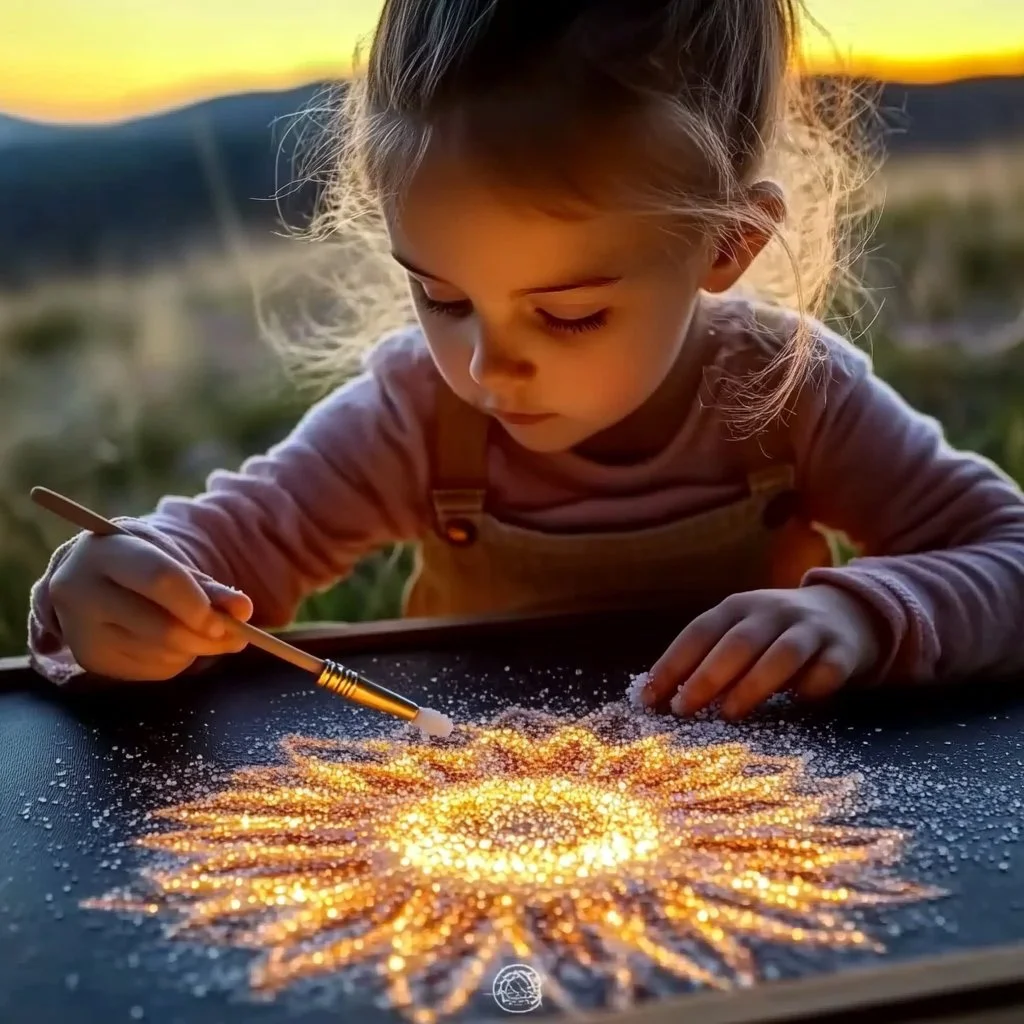
Salt painting is a delightful art project that combines creativity with a bit of science. It’s a fun way for both kids and adults to express themselves while engaging in a sensory-rich experience. By using simple materials and techniques, you can create beautiful, textured designs that come to life with the addition of watercolors. This project is perfect for rainy days, school activities, or as a therapeutic pastime. Not only will you create unique artwork, but you’ll also discover the fascinating reactions between salt and watercolors. Whether you’re a seasoned artist or just looking for a simple DIY project, salt painting is sure to inspire your imagination and provide hours of engaging fun.
Why You’ll Love This Salt Painting Project
- Creative Outlet: Perfect way to express your artistic side.
- Sensory Experience: Engages touch, sight, and even smell with the materials used.
- Easy and Affordable: Utilizes everyday household items.
- Educational: Teaches kids about absorption and color mixing.
- Endless Variations: Customize your designs with different colors and patterns.
Materials
- White glue (PVA glue)
- Table salt
- Watercolor paints
- Water
- Paintbrushes
- Cardstock or heavy paper
- Plastic tray or shallow bowl
- Optional: Liquid food coloring
Step-by-Step Instructions
Step 1: Prepare the Base
- Draw Your Design: Use a pencil to lightly sketch your desired pattern or image on cardstock.
Step 2: Apply Glue
- Trace the Design: Carefully apply the white glue over your pencil outline. The glue should be thick enough to hold the salt.
Step 3: Add Salt
- Sprinkle Salt: While the glue is still wet, generously sprinkle salt over the glued areas. Allow it to rest briefly, then gently shake off the excess salt.
Step 4: Prepare Watercolors
- Mix Colors: In a plastic tray, dilute watercolor paints with a little water to enhance their fluidity for painting.
Step 5: Paint with Watercolors
- Apply Color: Using a paintbrush, dab watercolors onto the salted areas. Watch as the color spreads and interacts with the salt — a mesmerizing effect!
Step 6: Let It Dry
- Drying Time: Allow your artwork to dry completely. This may take several hours; the salt will absorb some color and create an interesting texture.
Tips & Variations
- Color Mixing: Experiment with mixing watercolors to create new shades.
- Material Swap: Try using liquid food coloring instead of traditional watercolors for a different effect.
- Layering: After the first layer dries, add more glue and salt for a 3D effect.
- Seasonal Themes: Create artwork based on holidays or seasons, like snowflakes for winter or flowers for spring.
Frequently Asked Questions
Q1: Can I use other types of glue?
A1: While white school glue is best, you can experiment with other glues, but be aware that it may affect the texture.
Q2: What can I use instead of cardstock?
A2: Heavy watercolor paper or thick cardboard can work as substitutes.
Q3: How long does this project take?
A3: The whole process takes about 1 to 2 hours, plus drying time which could take several hours.
Q4: Can I make this project larger?
A4: Yes! Just scale your materials and space accordingly. Larger designs may need extra time to dry.
Serving Suggestions or Pairings
Enjoy this project alongside some refreshing lemonade or a warm cup of tea. It could also pair nicely with light snacks like popcorn or fresh fruit while your creations dry!
Final Thoughts
Salt painting is not just an artistic endeavor; it’s an opportunity to learn and explore together. We encourage you to dive into this project, experiment with colors, and most importantly, have fun! Don’t forget to share your versions or leave a comment about your experience—we’d love to hear from you! Happy painting!
Print
Salt Painting
- Total Time: 120 minutes
- Yield: 1 artwork
- Diet: N/A
Description
A delightful art project that combines creativity with science, allowing both kids and adults to express themselves through colorful, textured designs.
Ingredients
- White glue (PVA glue)
- Table salt
- Watercolor paints
- Water
- Paintbrushes
- Cardstock or heavy paper
- Plastic tray or shallow bowl
- Optional: Liquid food coloring
Instructions
- Prepare the Base: Lightly sketch your desired pattern or image on cardstock.
- Apply Glue: Carefully apply white glue over your pencil outline, ensuring it’s thick enough to hold the salt.
- Add Salt: While the glue is wet, sprinkle salt generously over the glued areas. Allow to rest briefly, then shake off excess salt.
- Prepare Watercolors: In a plastic tray, dilute watercolor paints with a little water.
- Paint with Watercolors: Dab watercolors onto the salted areas and watch the color spread.
- Let It Dry: Allow the artwork to dry completely, which may take several hours.
Notes
Experiment with different colors and materials, and have fun creating layered effects or seasonal themes.
- Prep Time: 30 minutes
- Cook Time: 0 minutes
- Category: Arts & Crafts
- Method: Crafting
- Cuisine: N/A
Nutrition
- Serving Size: 1 artwork
- Calories: 0
- Sugar: 0g
- Sodium: 0mg
- Fat: 0g
- Saturated Fat: 0g
- Unsaturated Fat: 0g
- Trans Fat: 0g
- Carbohydrates: 0g
- Fiber: 0g
- Protein: 0g
- Cholesterol: 0mg

