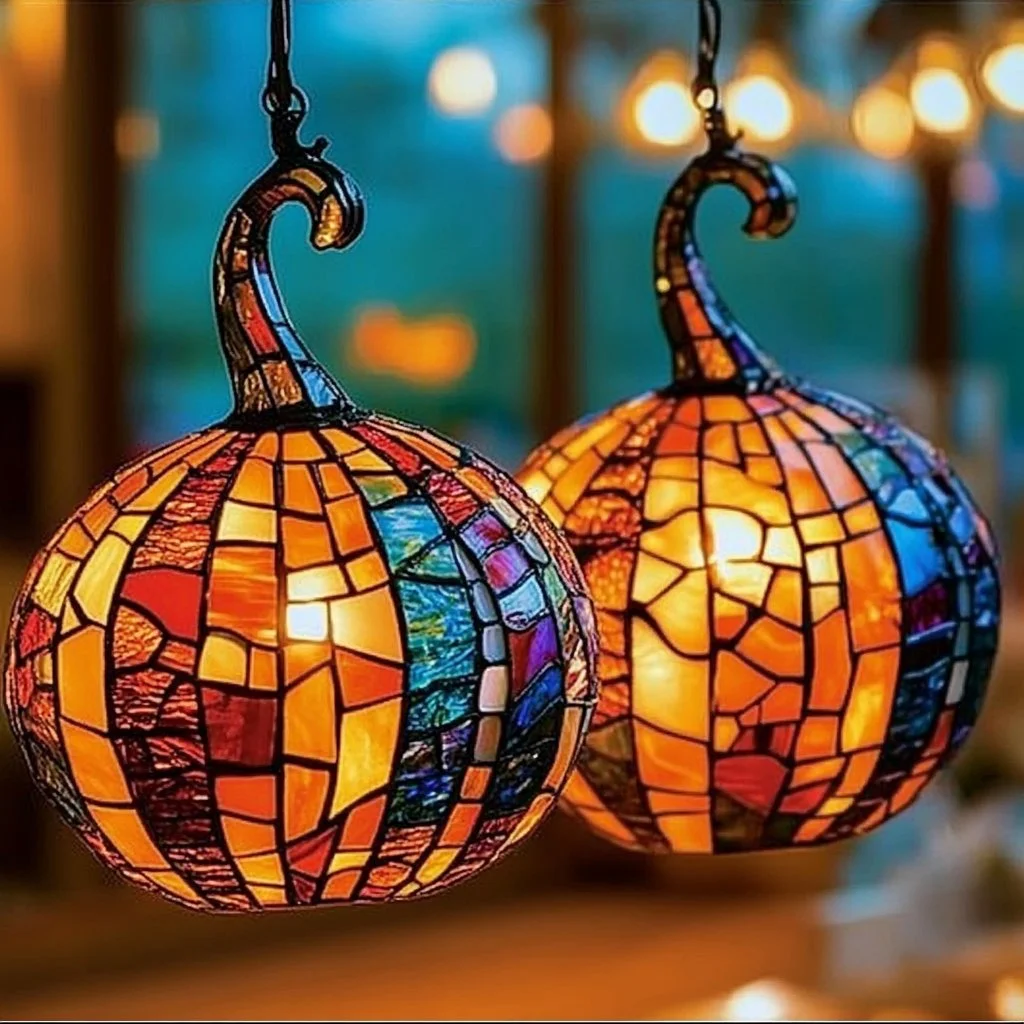
As autumn arrives, transforming our spaces into cozy havens is a delightful way to celebrate the season. One charming way to enhance your home decor is by creating glowing pumpkin suncatchers. These DIY masterpieces not only brighten your rooms but also capture the enchanting spirit of fall. With flickering candlelight or the warm glow of sunlight, these suncatchers will become a focal point that brings a touch of magic to your surroundings. Plus, they offer a fun project for families and friends alike, allowing creativity to flourish. Let’s dive into this engaging craft and discover how easy it is to bring the warmth of the season into your home.
Why You’ll Love This Glowing Pumpkin Suncatchers
- Easy and Fun: A simple project that’s perfect for all ages.
- Affordable Materials: Use items commonly found around your home.
- Creative Expression: Personalize your suncatchers with colors and designs.
- Seasonal Decor: Brighten up your space for fall.
- Perfect for Any Space: Ideal for windows, porches, or as a centerpiece.
- Sustainable Crafting: Recycle materials to create something beautiful.
Materials
- Orange and yellow tissue paper
- Black construction paper
- Clear plastic sheets or transparency film
- Scissors
- Glue or Mod Podge
- A paintbrush (for applying glue)
- LED tealight candles (optional for safety)
- Black marker
Step-by-Step Instructions
1. Prepare the Base
- Cut a piece of clear plastic or transparency film to your desired size; a square about 8×8 inches works well.
- This will serve as the canvas for your pumpkin design.
2. Create the Pumpkin Shape
- Using black construction paper, cut out a pumpkin shape and a leafy top.
- Make sure it fits well within your clear plastic base.
3. Tear Tissue Paper
- Tear orange and yellow tissue paper into small pieces for a textured effect.
- The varying sizes add dimension and interest.
4. Assemble Your Suncatcher
- Apply a thin layer of glue to the clear plastic sheet with your paintbrush.
- Start placing tissue paper pieces, layering them to create a glowing look.
- Once satisfied, place the pumpkin shape over the dried tissue paper.
5. Finishing Touches
- Use a black marker to outline the pumpkin or add details.
- Allow everything to dry completely before hanging.
6. Display
- Place your suncatcher in a window or use an LED tealight candle behind it for a warm glow.
Tips & Variations
- Color Palette Swap: Try different colors of tissue paper for unique effects—think whites and purples for a spooky vibe or reds and golds for a harvest theme.
- Shapes and Sizes: Experiment with different shapes—ghosts, leaves, or even more pumpkins.
- Layering Techniques: Use multiple layers of tissue paper to create a more ethereal glow.
- Personal Touch: Add stamped designs or personal messages to your suncatchers for customized accents.
Frequently Asked Questions
1. Can I use real pumpkins instead of paper?
While real pumpkins are charming, using paper allows for more flexibility and less mess.
2. What if I don’t have transparency film?
You can use any clear plastic, such as packaging or old CD covers, as a substitute.
3. How do I store these after the holiday season?
Store in a flat, dry place. Avoid folding to keep the shape intact.
4. Can I hang these outdoors?
These are best suited for indoors; moisture can damage the tissue paper.
Serving Suggestions or Pairings
Pair your glowing pumpkin suncatchers with cozy autumn beverages like spiced apple cider or hot chocolate. They also make great companions for pumpkin-themed snacks, like pumpkin spice cookies or roasted pumpkin seeds.
Final Thoughts
Creating glowing pumpkin suncatchers is a delightful way to celebrate the autumn season. This DIY project invites creativity and provides a warm ambiance to your space. We hope you enjoy making your version of this craft! Please share your creations or leave a comment with your thoughts; we would love to hear from you!
Print
Glowing Pumpkin Suncatchers
- Total Time: 30 minutes
- Yield: 1 suncatcher
- Diet: N/A
Description
Create charming glowing pumpkin suncatchers that brighten your space and celebrate the spirit of fall. A fun and easy DIY project for all ages!
Ingredients
- Orange and yellow tissue paper
- Black construction paper
- Clear plastic sheets or transparency film
- Scissors
- Glue or Mod Podge
- A paintbrush (for applying glue)
- LED tealight candles (optional for safety)
- Black marker
Instructions
- Cut a piece of clear plastic or transparency film to your desired size; a square about 8×8 inches works well.
- Using black construction paper, cut out a pumpkin shape and a leafy top.
- Tear orange and yellow tissue paper into small pieces for a textured effect.
- Apply a thin layer of glue to the clear plastic sheet with your paintbrush, then layer the tissue paper pieces on top.
- Place the pumpkin shape over the dried tissue paper.
- Use a black marker to outline the pumpkin or add details, then allow everything to dry completely.
- Display your suncatcher in a window or place an LED tealight candle behind it for a warm glow.
Notes
Consider different color palettes and shapes for unique effects. Store flat and dry after the season to maintain shape.
- Prep Time: 30 minutes
- Cook Time: 0 minutes
- Category: Craft
- Method: DIY Crafting
Nutrition
- Serving Size: N/A
- Calories: 0
- Sugar: 0g
- Sodium: 0mg
- Fat: 0g
- Saturated Fat: 0g
- Unsaturated Fat: 0g
- Trans Fat: 0g
- Carbohydrates: 0g
- Fiber: 0g
- Protein: 0g
- Cholesterol: 0mg

