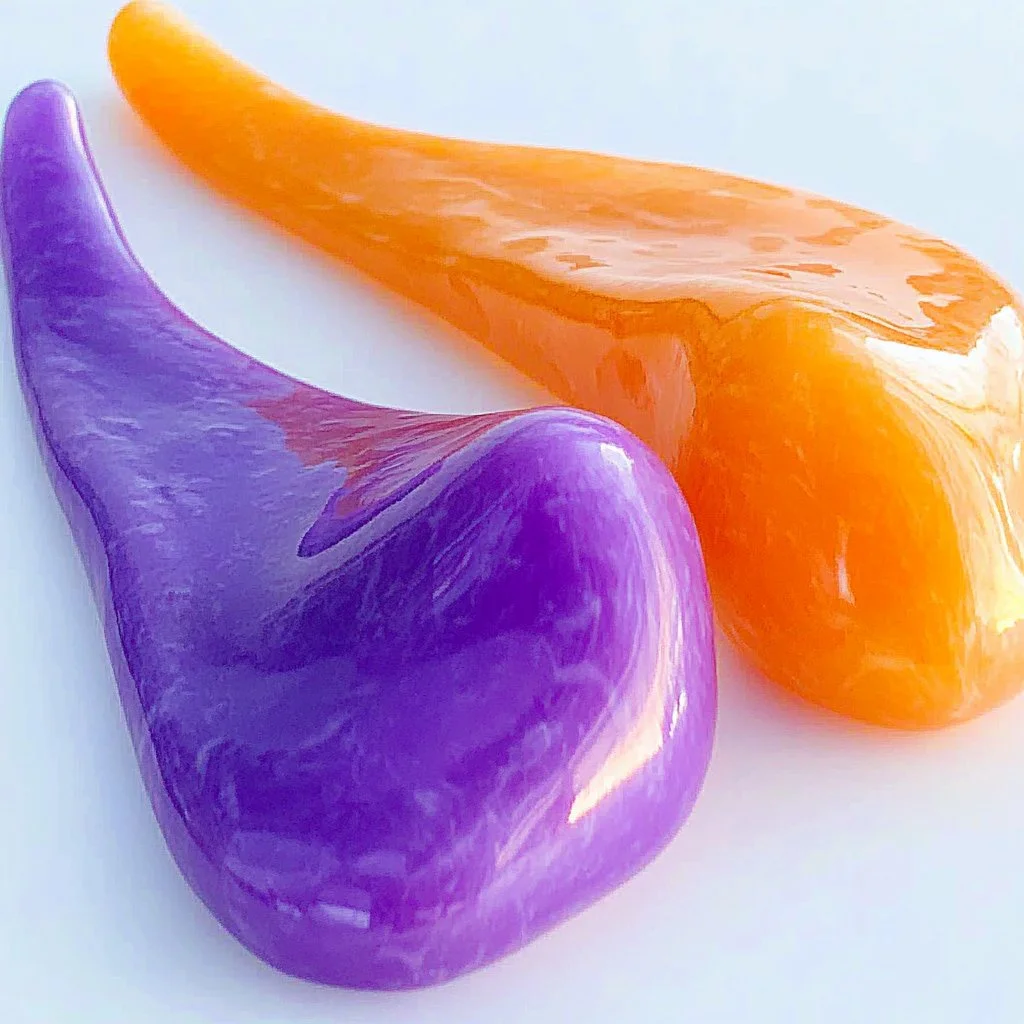
Color changing slime is not just an entertaining DIY project; it’s a sensory experience that delights both children and adults alike. The magical transformation of colors as you stretch and knead the slime is captivating and provides an excellent way to explore science concepts such as polymers and chemical reactions. Not only does it stimulate creativity, but it also enhances fine motor skills in young ones. Additionally, this activity can be a great bonding experience for families as everyone can get involved in the fun and crafting process.
This simple recipe combines easy-to-find ingredients, making it accessible for everyone. Whether you’re hosting a birthday party, a playdate, or simply looking for a rainy day activity, making color changing slime is sure to be a hit. Get ready to unleash your inner artist and enjoy a colorful adventure with this fantastic DIY slime!
Why You’ll Love This Color Changing Slime
- Sensory Fun: Engage your senses with the unique texture and color transformations.
- Educational: Teaches kids about scientific concepts like viscosity and polymers.
- Customizable: Easily modify colors and ingredients to suit personal preferences.
- Creative Outlet: Encourages artistic expression and imaginative play.
- Quality Time: A fun activity for families and friends to enjoy together.
- Stress Relief: Squishing and stretching slime can be calming and therapeutic.
Materials
- White school glue (1 cup)
- Baking soda (1 teaspoon)
- Contact lens solution (2 tablespoons)
- Food coloring (optional, to customize colors)
- Liquid watercolor (optional, for vibrant colors)
- Mixing bowl
- Spoon or spatula
Step-by-Step Instructions
Step 1: Mix Glue and Baking Soda
- In a mixing bowl, pour 1 cup of white school glue.
- Add 1 teaspoon of baking soda and stir until completely combined. The baking soda will help give the slime its stretchy texture.
Step 2: Add Color
- If you’d like to customize the color, add a few drops of food coloring or liquid watercolor to the glue mixture.
- Stir well to evenly distribute the color throughout the glue.
Step 3: Activate the Slime
- Pour 2 tablespoons of contact lens solution into the mixture.
- Stir continuously. You will notice the mixture beginning to thicken and pull away from the sides of the bowl.
Step 4: Knead the Slime
- Once it becomes difficult to mix, use your hands to knead the slime.
- This is where the fun begins! Feel the texture transform as it becomes less sticky and more pliable.
Step 5: Enjoy the Color Change
- Stretch and pull the slime to observe the color change! The blending of colors adds an exciting visual dynamic.
Tips & Variations
- Glow in the Dark: Add glow-in-the-dark paint for a nighttime twist!
- Scented Slime: Mix in a few drops of essential oil or fragrance for a delightful smell.
- Different Colors: Create multiple small batches with different colors and combine them for a multi-colored slime.
- Add Glitter: Enhance your slime’s sparkle by mixing in some glitter.
Frequently Asked Questions
1. Can I use other types of glue?
Yes, you can experiment with different types of glue, such as clear glue or glitter glue. The texture may vary slightly.
2. What if my slime is too sticky?
If your slime is too sticky, try adding a bit more contact lens solution, kneading it thoroughly after each addition.
3. How long does homemade slime last?
When stored in an airtight container, homemade slime can last for several weeks. Be sure to keep it away from heat and direct sunlight.
4. Can I make this without contact lens solution?
Yes! You can substitute with liquid starch or a saline solution, but the final texture may differ slightly.
Serving Suggestions or Pairings
To enhance the slime-making experience, pair it with refreshing lemonade or fruity punch to sip while creating. For a full sensory experience, consider preparing a platter of colorful snacks like fruit skewers or vegetable sticks to enjoy during slime play.
Final Thoughts
Making color changing slime is more than just a fun activity; it’s an excellent way to stimulate creativity and science exploration. Whether you’re creating vibrant swirls of colors or enjoying the unique texture, this DIY project is a fantastic way to bond with others.
We would love to see your versions of the slime! Please share your experiences or leave a comment below with your unique creations or any variations you tried!
Print
Color Changing Slime
- Total Time: 5 minutes
- Yield: 1 batch 1x
- Diet: N/A
Description
Create fun and colorful slime that changes colors as you stretch and knead it. A perfect sensory activity for kids and adults!
Ingredients
- 1 cup white school glue
- 1 teaspoon baking soda
- 2 tablespoons contact lens solution
- Food coloring (optional)
- Liquid watercolor (optional)
- Mixing bowl
- Spoon or spatula
Instructions
- In a mixing bowl, pour 1 cup of white school glue.
- Add 1 teaspoon of baking soda and stir until completely combined.
- Add food coloring or liquid watercolor if desired, and stir well.
- Pour 2 tablespoons of contact lens solution into the mixture and stir continuously until thickened.
- Knead the slime with your hands until it becomes less sticky and more pliable.
- Stretch and pull the slime to observe the color change!
Notes
Store slime in an airtight container away from heat and sunlight. Slime can last for several weeks.
- Prep Time: 5 minutes
- Cook Time: 0 minutes
- Category: DIY Crafts
- Method: Mixing
- Cuisine: N/A
Nutrition
- Serving Size: 1 batch
- Calories: 50
- Sugar: 0g
- Sodium: 100mg
- Fat: 0g
- Saturated Fat: 0g
- Unsaturated Fat: 0g
- Trans Fat: 0g
- Carbohydrates: 12g
- Fiber: 0g
- Protein: 0g
- Cholesterol: 0mg

