

The Heart Behind This DIY
As sunlight dances across the room, illuminating the soft textures of your favorite materials, a calming sense envelops you. The simple act of creating connects you to nature, entwining your energy with the environment around you. This moment, surrounded by warm colors and gentle sounds, welcomes a project that transforms ordinary tin cans into delightful hanging flower planters. Whimsical hanging tin can flower planters recycle cans into charming floral decorations for your garden. This act of making invites you to slow down, breathe, and find joy in the process, reminding you of the beauty found in both the creation and the final blooming display.
A Gentle Look at the Process
Taking the time to create these whimsical hanging planters offers an invitation to engage in mindful making. As you gather your materials, anticipate the pleasant sounds of the scissors cutting through soft paper or the gentle clink of metal. Each step holds the promise of transformation, where simple cans, with their smooth surfaces and sturdy shapes, become something lively and vibrant. Imagine filling these planters with colorful blooms, the varied textures of leaves and petals contrasting against the cool metal. This creative flow allows you to focus on each element, enveloping you in a rhythm of deliberate movement and intention.
Simple Supplies for This DIY
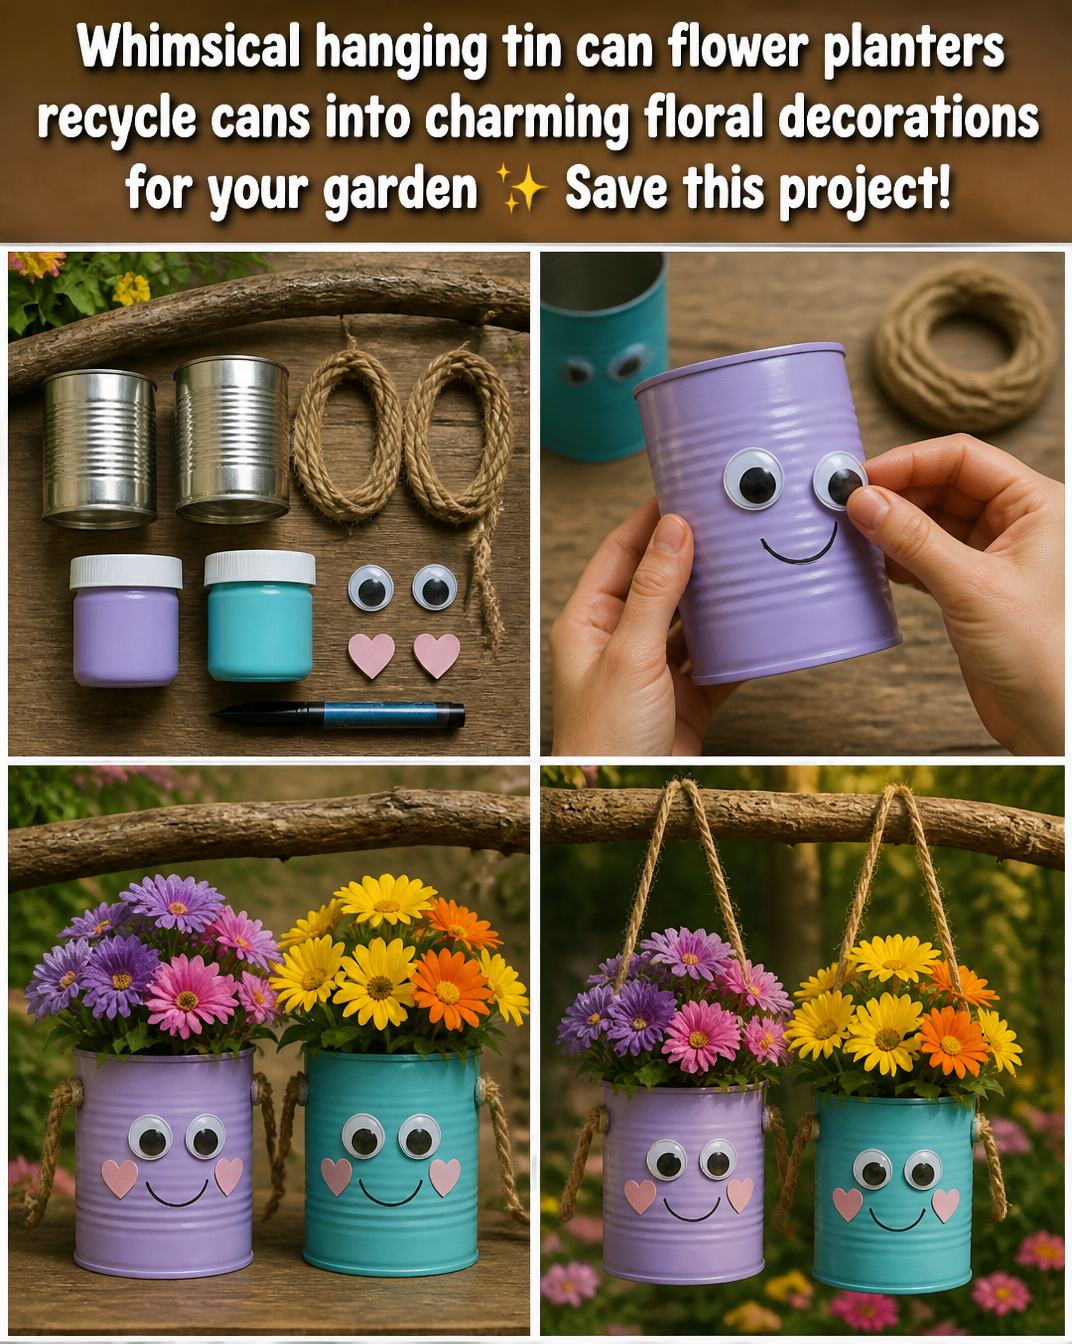
Gathering materials for this project feels like preparing for a delightful adventure. Here’s what you’ll need:
- Empty tin cans (clean and dried)
- Potting soil (light and fluffy)
- Flower seedlings or seeds (your choice of blooms)
- Paint (outdoor-safe if planning for long-term use)
- Paintbrushes (medium-sized for easy coverage)
- Wire or twine (for hanging)
- Scissors or a can opener (be careful with sharp edges)
- Small drill or hammer (for drainage holes)
- Optional: decorative embellishments (like ribbons or stickers)
These materials are easy to find, and each element adds a personal touch to your whimsical planters. Allow your creativity to guide you as you choose colors and decorations.
Step-by-Step Directions
-
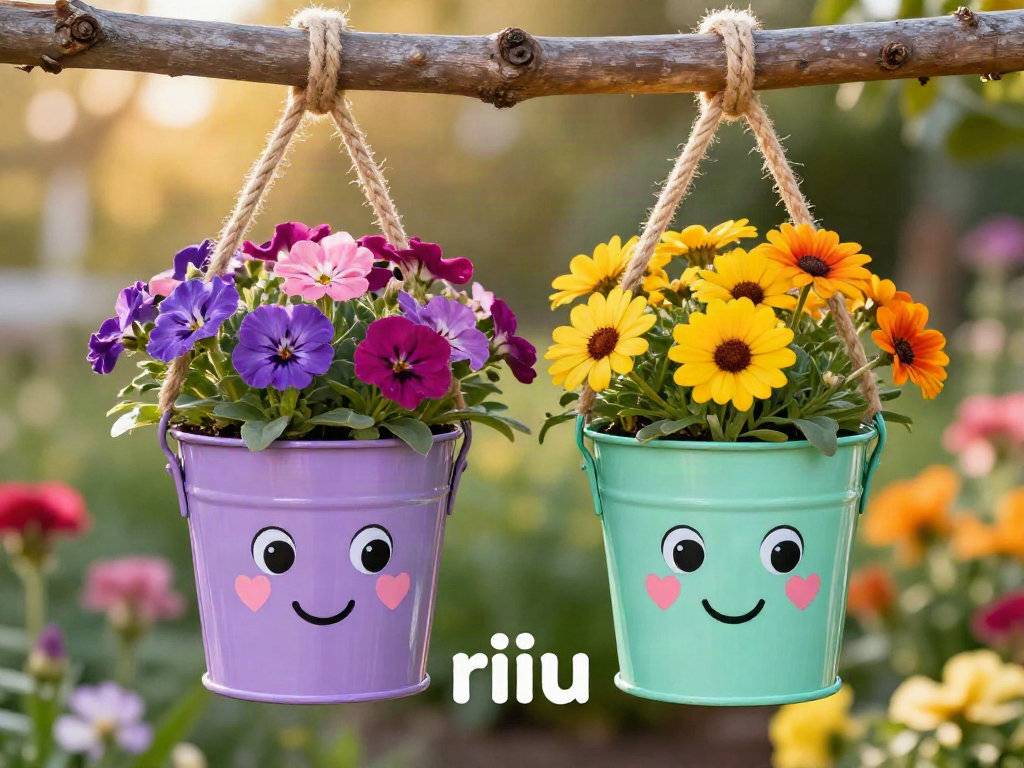
Begin with the empty tin cans. Make sure they are clean and dry. Use a can opener to remove any sharp edges, creating a safe space for your hands to explore.
-
Decide how you want the drainage holes. Using a drill or a hammer, create 2-3 small holes at the bottom of each can. This lets water escape and encourages healthy roots.
-
If you’re painting your cans, be mindful of the texture and color. Apply an even coat of outdoor-safe paint. Let each layer dry completely, surrounding yourself with the warmth of creativity.
-
As the paint dries, fill each can with potting soil. Feel the light, fluffy texture as you press the soil down gently.

-
If you’re planting seeds, sprinkle them in the soil according to the instructions. For seedlings, create small holes for the roots and place each plant carefully, covering them with soil.
-
Once the plants are snug in their new homes, water them gently. Listen to the soft trickle of water on soil, encouraging life and growth.
-
Cut appropriate lengths of wire or twine. Attach them securely to the top of each can, ready for hanging. Imagine the delightful moment of seeing them swaying slightly in a warm breeze.
-
Choose the perfect spot for your new planters. Hang them at varying heights to create a charming display that adds joy to your space.
Enjoying the Finished Piece
These whimsical hanging tin can flower planters do so much more than beautify your space. They breathe life into otherwise ordinary areas in your garden, porch, or home. Once you see your flowers bloom, the colors and textures create a stunning visual feast, enchanting anyone who glances their way. The gentle sway of the planters in the breeze adds a soothing element, creating a peaceful rhythm that draws you in. Cherish the small moments spent tending to them, watering their roots, and admiring their growth. This connection fosters mindfulness, inviting you to pause and appreciate the essence of life.
How to Store or Reuse Whimsical Hanging Tin Can Flower Planters
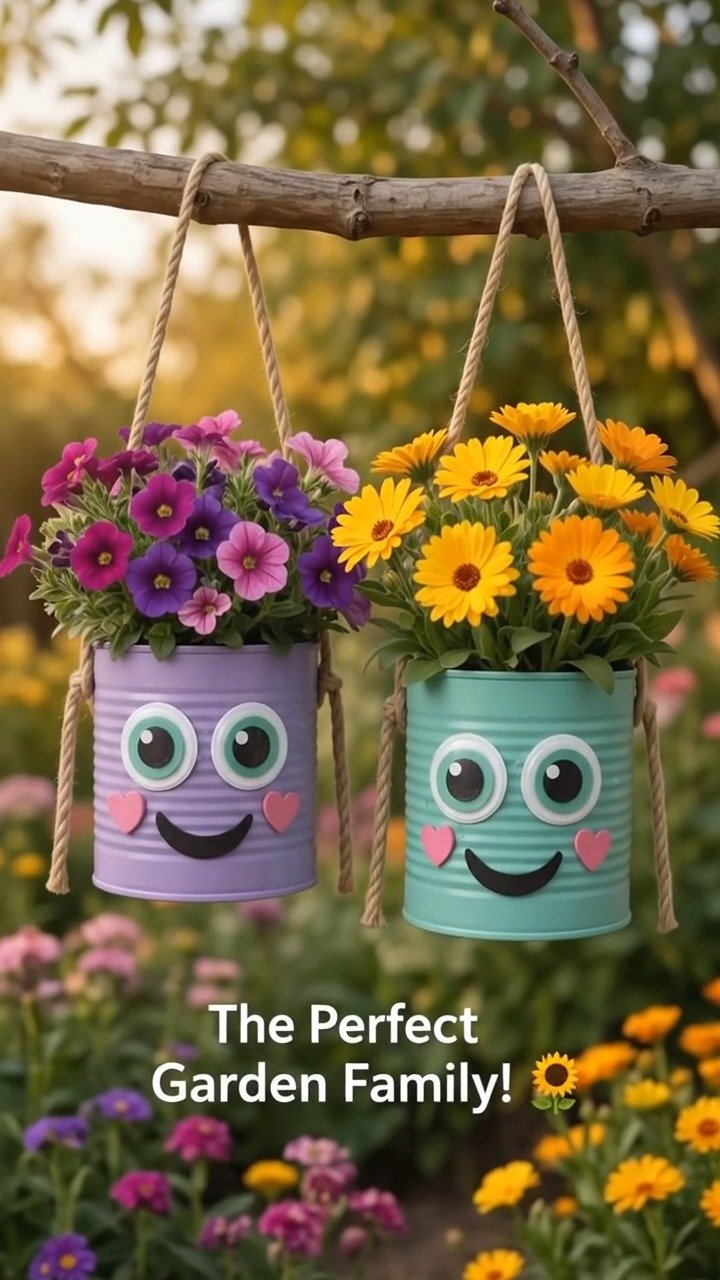
While you may display your whimsical tin can flower planters for all to see, consider ways to keep them fresh for seasons to come. If you need to move them indoors for winter, gently remove the plants from their cans. You can store the cans in a cool, dry place, saving them for the next planting season. Alternatively, keeping the cans filled with soil and hardy plants can create a cozy indoor garden during colder months. When spring returns, simply re-hang or relocate these enchanting pieces, bringing life back to your favorite outdoor spaces.
Calm Customization Ideas
As you settle into the rhythm of creating your whimsical hanging planters, consider ways to personalize them:
- Add a touch of your favorite colors with paint or decoupage. You can wrap twine around the cans for a rustic touch, too.
- Use different-sized cans to create a tiered effect. Varying heights can add visual interest and charm.
- Experiment with different plants. Consider herbs for a fragrant twist or colorful flowers that attract butterflies.
- Write uplifting words or quotes on the cans with a permanent marker, creating thoughtful reminders as you enjoy the blooms.
- Use colorful beads or natural materials like twigs and shells to embellish.
Let your creativity flow wherever your heart desires. Each unique idea makes your project even more meaningful.
FAQs About Whimsical Hanging Tin Can Flower Planters
Can I use any type of can?
Yes, feel free to use any clean metal can. Soup cans, coffee cans, or even larger cans give you a variety of sizes.
How should I hang them?
Choose a durable spot for hanging. You can use hooks, nails, or a sturdy branch, ensuring that whatever supports them can handle the weight of the soil and plants.
What if I forget to water?
Life can sometimes be busy. To combat this, consider setting reminders on your phone or a weekly schedule to ensure your plants get the care they need.
What flowers grow well in planters?
Consider easy-to-grow flowers like petunias, marigolds, or impatiens. They thrive beautifully in containers and add vibrant colors to your space.
Can I reuse the planters each year?
Absolutely! Clean them each season, refresh the soil, and plant new flowers. You’ll enjoy the creative process all over again.
A Gentle Note Before You Go
As your heart finds peace in crafting, remember that each step of this journey holds its own value. The act of creating whimsical hanging tin can flower planters recycles materials, nurtures your spirit, and fosters a connection with nature. Allow yourself the grace to enjoy every moment spent working with your hands, and appreciate the joy of slowing down. Each flower that blooms reminds you of the beauty found in patience and care, enriching both your space and your heart.
Print
Whimsical Hanging Tin Can Flower Planters
- Total Time: 15 minutes
- Yield: 4 planters
- Diet: N/A
Description
Transform ordinary tin cans into charming hanging flower planters, inviting creativity and connection with nature.
Ingredients
- Empty tin cans (clean and dried)
- Potting soil (light and fluffy)
- Flower seedlings or seeds (your choice of blooms)
- Paint (outdoor-safe if planning for long-term use)
- Paintbrushes (medium-sized for easy coverage)
- Wire or twine (for hanging)
- Scissors or a can opener (be careful with sharp edges)
- Small drill or hammer (for drainage holes)
- Optional: decorative embellishments (like ribbons or stickers)
Instructions
- Begin with the empty tin cans. Make sure they are clean and dry. Use a can opener to remove any sharp edges.
- Decide how you want the drainage holes. Using a drill or a hammer, create 2-3 small holes at the bottom of each can.
- If you’re painting your cans, apply an even coat of outdoor-safe paint and let each layer dry completely.
- As the paint dries, fill each can with potting soil, pressing the soil down gently.
- If you’re planting seeds, sprinkle them in the soil according to the instructions.
- Once the plants are snug in their new homes, water them gently.
- Cut appropriate lengths of wire or twine and attach them securely to the top of each can.
- Choose the perfect spot for your new planters and hang them at varying heights.
Notes
These planters can be reused year after year. Consider adding different embellishments for customization.
- Prep Time: 15 minutes
- Cook Time: 0 minutes
- Category: Gardening
- Method: Crafting
- Cuisine: N/A