

A gentle light flickers and dances as you lean in closer to examine your creation. The soft glow of your glowing flower gently illuminates the surrounding space, casting warm hues that feel alive and inviting. It serves as a reminder of the beauty in simple moments of making, where imagination meets the tactile world. This simple glowing flower experiment combines color, light, and science for a playful project kids can explore. Perfect for your next craft day, it invites everyone to slow down and engage with the magic of their hands and the joy of exploration.
The Heart Behind This DIY
Creating something with your hands can feel like a comforting ritual. This glowing flower experiment embodies that spirit beautifully. As you gather materials and start to work, you allow your mind to quieten and your senses to awaken. The smoothness of the paper, the coolness of the paint, and the soft glow of the lights all create a sensory landscape that calms and inspires.
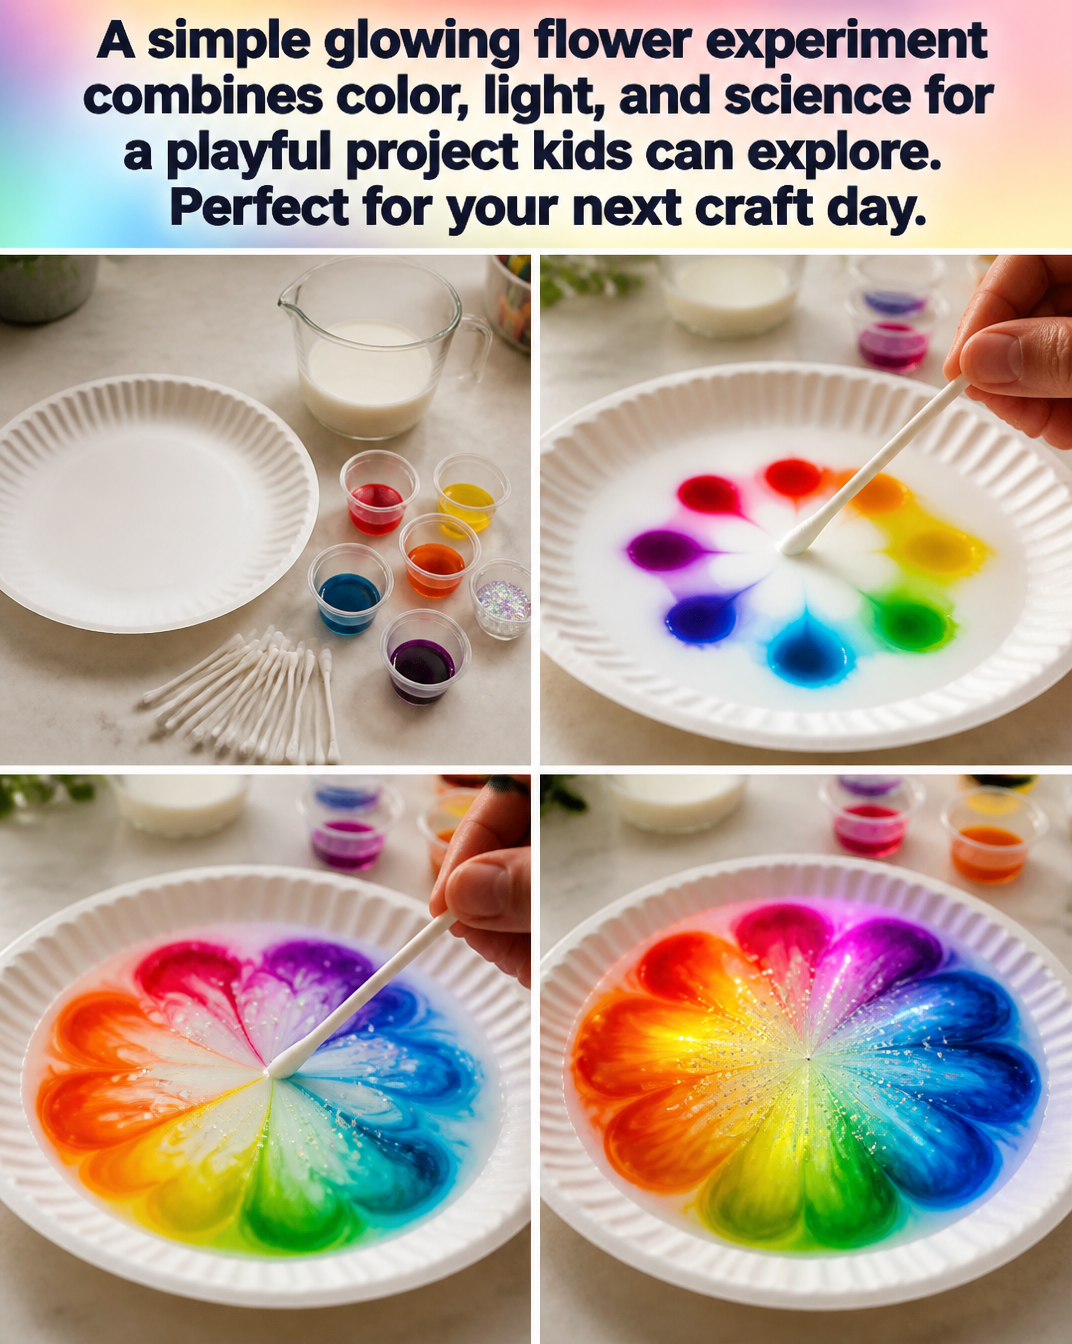
This project connects you deeply with the act of making. It serves as a gentle reminder that creativity does not need to be perfect; rather, it thrives in exploration and the beauty of surprise. You can adapt and adjust with every choice you make, crafting something uniquely yours. The process encourages patience and curiosity. Each step offers a chance to breathe and immerse yourself fully in the moment, nurturing your sense of self and the joy of discovery.
A Gentle Look at the Process
The enchanting journey of making a glowing flower begins simply. You can visualize the flow as colors blend and shapes emerge. Imagine the soft rustling of paper as you cut, the light brush of paint as it meets the canvas, and the gentle tug of string as you secure your creation. Each movement becomes a note in a quiet symphony of creation.
Before you embark on this journey, take a moment to imagine the vibrant colors and soft lights mingling together, producing an artwork that will glow softly in the twilight. This experiment brings together the joy of crafting with the wonder of science, creating a captivating experience for both kids and adults.
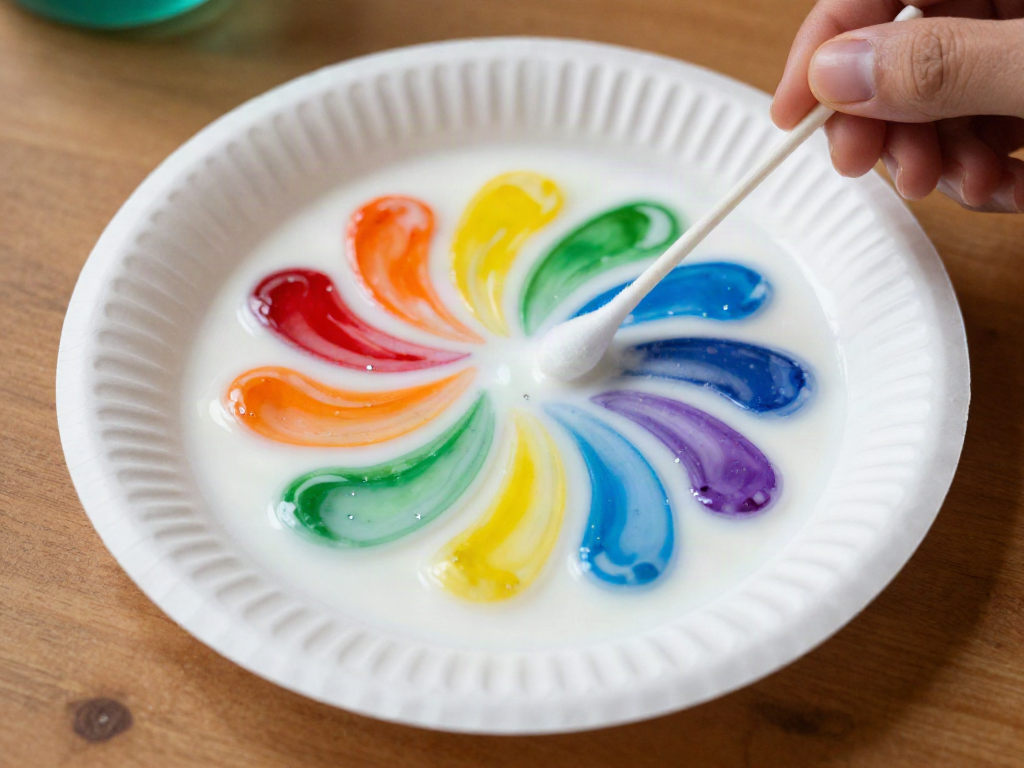
Materials You’ll Need
To create your glowing flower, gather the following materials:
- Colorful tissue paper or crepe paper (easy to find in craft stores)
- LED tealight candles (safe and battery-operated)
- Scissors
- Clear plastic cups or small glass jars (substitute-friendly with any clear container)
- Craft glue or a glue stick
- Optional: wire or string to create a hanging flower
These materials invite exploration. Each item has its own texture and feel, waiting for your touch.
Step-by-Step Directions
-
Prepare Your Workspace: Create a calm crafting space by laying out your materials. Consider playing soft music to enhance the serene atmosphere.

-
Cut the Paper: Take your colorful tissue or crepe paper and cut it into petal shapes. Each petal can vary in size and shape, inviting your creativity to take flight.
-
Form the Flower: Gently layer the cut petals together, experimenting with different colors. Overlap them snugly at the base to create the flower shape.
-
Secure the Base: Use a small amount of craft glue or a glue stick where the petals meet. Allow it to set; this moment can bring a satisfying stillness to the process.
-
Create the Stem: If using wire or string, cut a desired length and secure it to the base of the flower. This step adds a tactile element and can make the flower feel more complete.
-
Prepare the Container: Take your clear container and place the LED tealight candle at the bottom. The soft glow will illuminate your flower beautifully.
-
Place the Flower: Position your flower on top of the tealight, adjusting as needed so it looks just right. Watch as the light shines through the petals, creating enchanting patterns and colors.
-
Enjoy the Glow: Turn on the tealight and relish in the gentle illumination of your flower. Take a moment to appreciate all the textures, colors, and efforts poured into your creation.
Enjoying the Finished Piece
Once you’ve completed your glowing flower, it has a special way of fitting into your everyday life. Light it during quiet evenings or place it where it can catch the first light of dawn. Its gentle glow can create a soothing ambiance in your space, enhancing the coziness of any room.
With a simple flick of a switch, your flower transforms the environment around you. It serves as a beacon of creativity, illuminating your thoughts and inviting reflection. Every time you glance at it, let it remind you of the calm that comes from creating, reflecting, and being present.
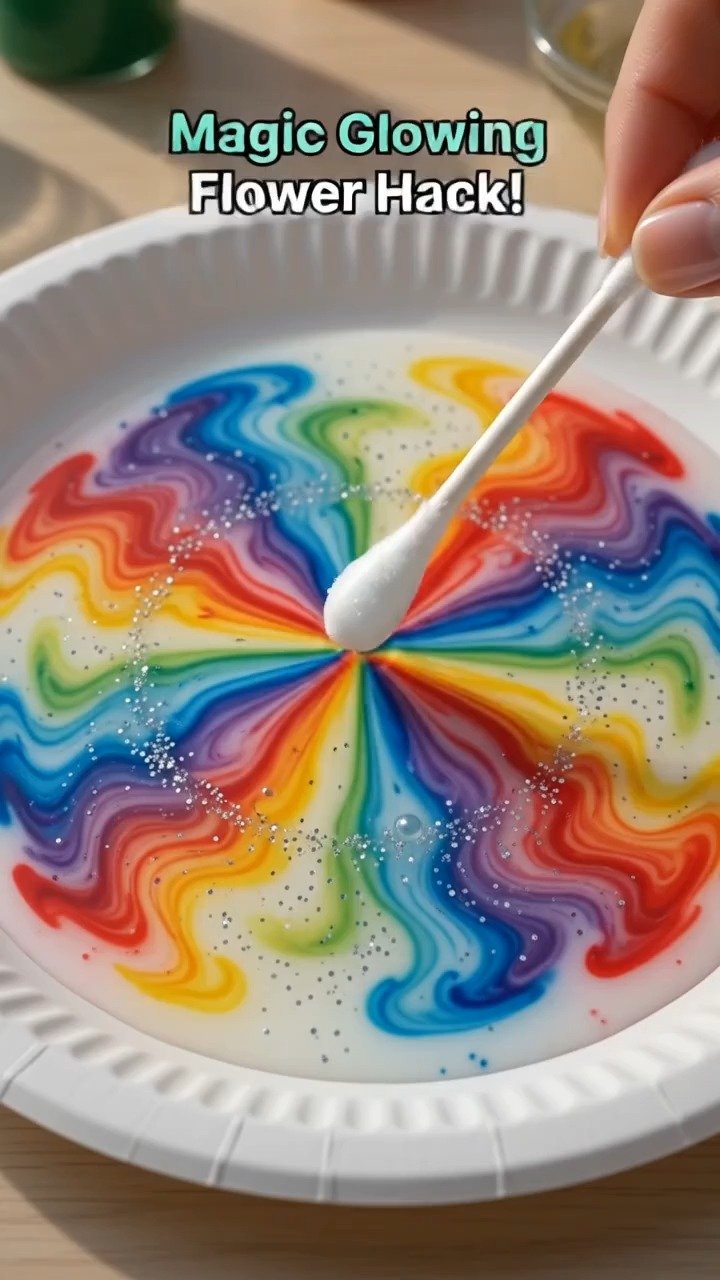
Keeping It for Later
Storing your glowing flower doesn’t require much effort. When you’re not using it, place it in a soft, safe space away from direct sunlight, which can fade the colors over time. If you have used a clear plastic cup or jar, it can easily be repurposed for other projects or decorations.
Consider wrapping it gently in tissue paper, allowing your flower to rest, ready for its next moment to shine. This thoughtful care keeps the project feeling cherished, preserving the memory of the joyful making experience.
Gentle Tips & Variations
As you embrace the creativity of this glowing flower, consider these gentle invitations to make it your own:
-
Experiment with Colors: Try layering different shades of tissue paper. Each combination offers a unique glow and mood.
-
Add Accents: Incorporate glitter or other embellishments on the petals to enhance texture and sparkle.
-
Create a Garden: Make several flowers in different sizes and colors. Arrange them in a grouping for a vibrant display that sparks joy.
-
Seasonal Themes: Tailor your flowers to the seasons. Soft pastels for spring, rich autumn tones, or frosty blues and whites for winter can all evoke different feelings.
FAQs About A simple glowing flower experiment combines color, light, and science for a playful project kids can explore. Perfect for your next craft day.
Q: Can I use other kinds of paper?
A: Absolutely! You can use wrapping paper, old magazines, or even scrap fabric. Each material brings a different texture and feel, enhancing the sensory experience.
Q: Is this project safe for younger children?
A: Yes, with supervision. Using LED tealights keeps it safe, and the crafting involves materials that are soft and manageable.
Q: How long does the glue need to set?
A: It typically takes a few minutes for the glue to bond properly. Allowing time for this step fosters a sense of patience.
Q: Can I hang the flowers?
A: Yes! If you incorporate string or wire, you can hang them as decorations. This adds a different dimension to your glowing creations.
Q: How can I clean the flower if it gets dusty?
A: To clean, use a soft, dry cloth to gently wipe the petals. Avoid using water, as it can affect the look of the paper.
A Gentle Note Before You Go
As you step back from your crafting journey, allow yourself a moment of reflection. This glowing flower is more than just a project; it represents a beautiful pause in life’s rush. Wherever you decide to place it, let it serve as a gentle reminder of the joy found in creating. Embrace the uniqueness of every piece and the calm arising from the process.
In the end, it is not just about what you made but about the memories and moments shared while making. May your hands keep creating, your spirit keep exploring, and your heart keep finding light in every new project.
Print
Glowing Flower Experiment
- Total Time: 15 minutes
- Yield: 1 flower
- Diet: N/A
Description
A playful project that combines color, light, and science to create a glowing flower, perfect for kids and adults alike.
Ingredients
- Colorful tissue paper or crepe paper
- LED tealight candles
- Scissors
- Clear plastic cups or small glass jars
- Craft glue or a glue stick
- Optional: wire or string
Instructions
- Prepare your workspace: Create a calm crafting space by laying out your materials.
- Cut the paper: Cut the colorful tissue or crepe paper into petal shapes.
- Form the flower: Layer the cut petals together in various colors.
- Secure the base: Apply a small amount of glue where the petals meet.
- Create the stem: Cut and secure wire or string to the flower base.
- Prepare the container: Place the LED tealight candle at the bottom of your clear container.
- Place the flower on top of the candle, adjusting as needed.
- Enjoy the glow: Turn on the tealight and appreciate the illumination.
Notes
Store your glowing flower in a soft, safe space away from direct sunlight when not in use.
- Prep Time: 15 minutes
- Cook Time: 0 minutes
- Category: Craft
- Method: Crafting
- Cuisine: N/A