
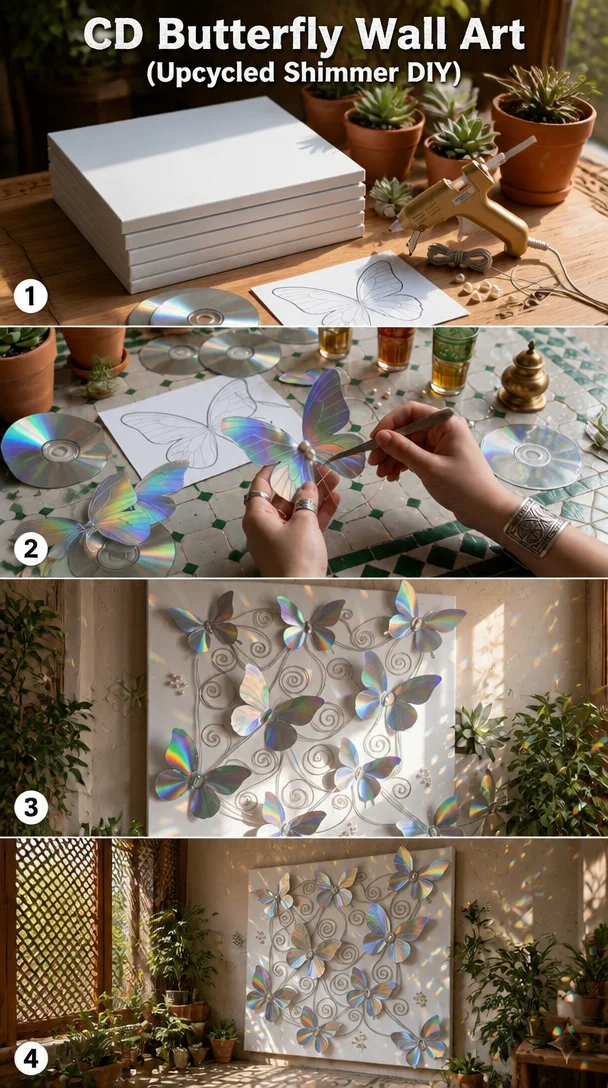
Creating a CD Butterfly Wall Art piece feels like stepping into a gentle, sunlit room where the air shimmers with possibilities. The moment you hold a shiny, old CD, its mirrored surface catches the light just right, reminding you of fleeting moments. This is more than a craft; it is an invitation to slow down, to appreciate the tactile connection between your hands and these materials. As you work, the rhythmic sound of scissors gliding through paper—and the occasional whisper of wings flitting nearby—becomes a soft soundtrack to your creative journey.
The Heart Behind This DIY
The process of making CD Butterfly Wall Art engages your senses in a way that nurtures calm and mindfulness. You begin to see the beauty hidden in discarded objects, turning them into something new and joyful. Each cut, each placement, and each color you choose invites introspection. You pause and breathe, feeling the soft textures of the materials as you thoughtfully arrange them.
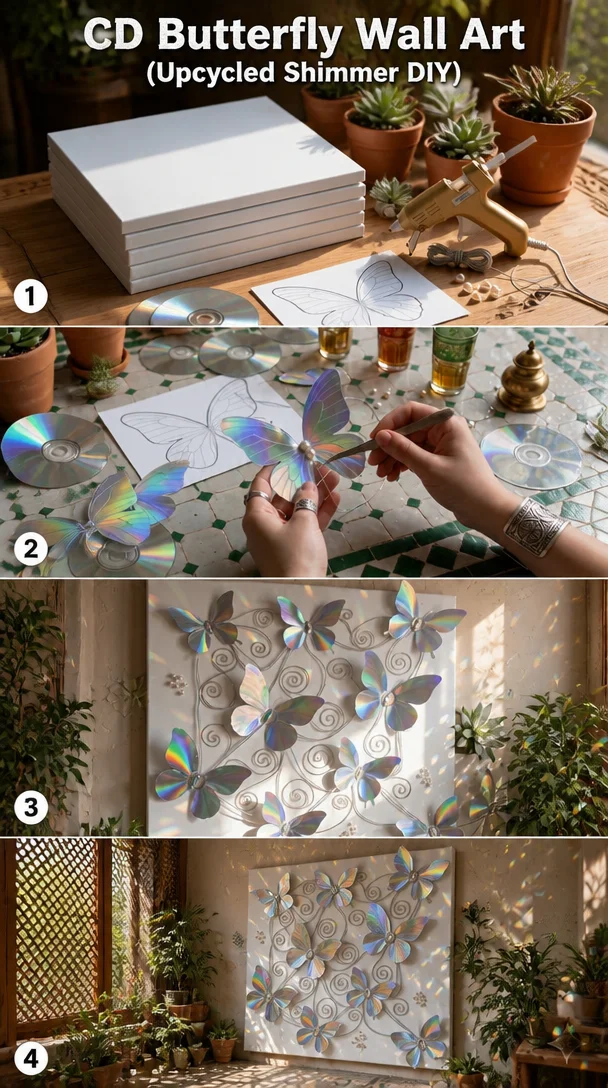
Engaging with your hands brings you back to the present, away from life’s noise. The simple act of creating something bright and whimsical can shift your mood, offering a moment of peace. As you craft, you immerse yourself in this sensory moment, discovering joy in the transformation that occurs not just in materials, but within yourself.
A Gentle Look at the Process
With the sound of paper rustling and the flicker of light from the CDs, the process unfolds in a rhythm that feels natural and nurturing. You’ll begin by gathering your materials, creating a little sanctuary to work in. Each component connects you deeper into the experience.
As you cut and shape your butterflies, take notice of the colors and patterns that emerge. The shimmering surfaces of the CDs reflect light beautifully, giving each piece a unique shimmer. Allow your hands to move gently, enjoying the soft tactile nature of the materials. This is not just about completing a project; it’s about enjoying the flow of creativity.
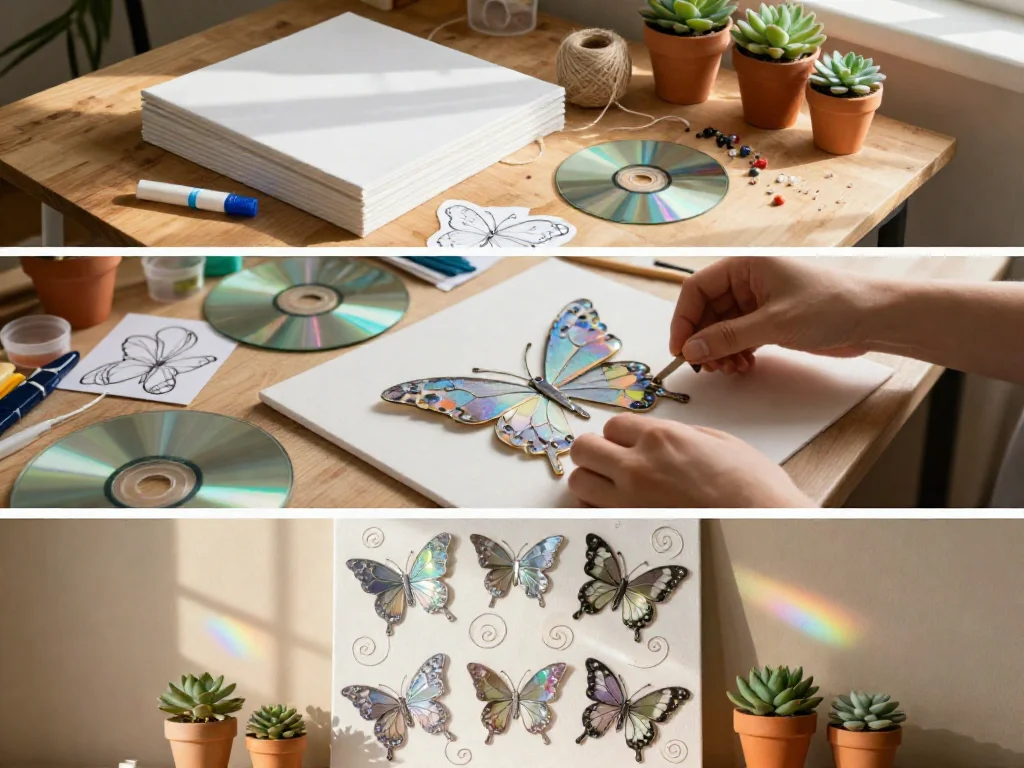
Materials You’ll Need
- Old CDs or DVDs (easy to find around the house)
- Colorful paper or cardstock (choose your favorites)
- Scissors (sharp for precise cuts)
- Craft glue (optional but helps with securing layers)
- Wire or string (for hanging, if desired)
- Markers or paint (for adding details if you choose)
- Optional embellishments (like glitter or stickers) to personalize
Step-by-Step Directions
-
Find a quiet space where you feel comfortable. Lay out your materials, letting the colors inspire you.
-
Take a CD and hold it up to the light. Notice its shine and texture. Decide how you want to transform it into a butterfly.
-
Cut your colorful paper into wing shapes. Let your hand guide the scissors, feeling the paper’s smooth surface as you create.

-
Place the cut wings against the CD. Experiment with different positions until they feel right.
-
When satisfied with the arrangement, secure the wings to the CD with craft glue. Press gently, allowing the layers to bond.
-
Use markers or paint if you wish to add details to the wings. Allow your imagination to flow as you create patterns or swirls.
-
Once the glue dries, attach a string or wire to the top of your butterfly if you wish to hang it.
-
Take a moment to appreciate your creation. Observe the light reflecting off the glossy surfaces, celebrating your work.
Using CD Butterfly Wall Art (Upcycled Shimmer DIY) in Everyday Life
Imagine your finished CD Butterfly Wall Art softly glowing in a sunbeam, bringing warmth and whimsy to your space. Perhaps you hang it in a window where it can dance in the morning light or place it on a shelf as part of a calm vignette.
This piece serves as a daily reminder of your creative journey. Each time you see it, you recall the gentle movement of your hands and the joy that came from breathing life into old materials. Use it as a focal point in a cozy reading corner or as part of a little gallery wall that reflects the love and energy of your home.
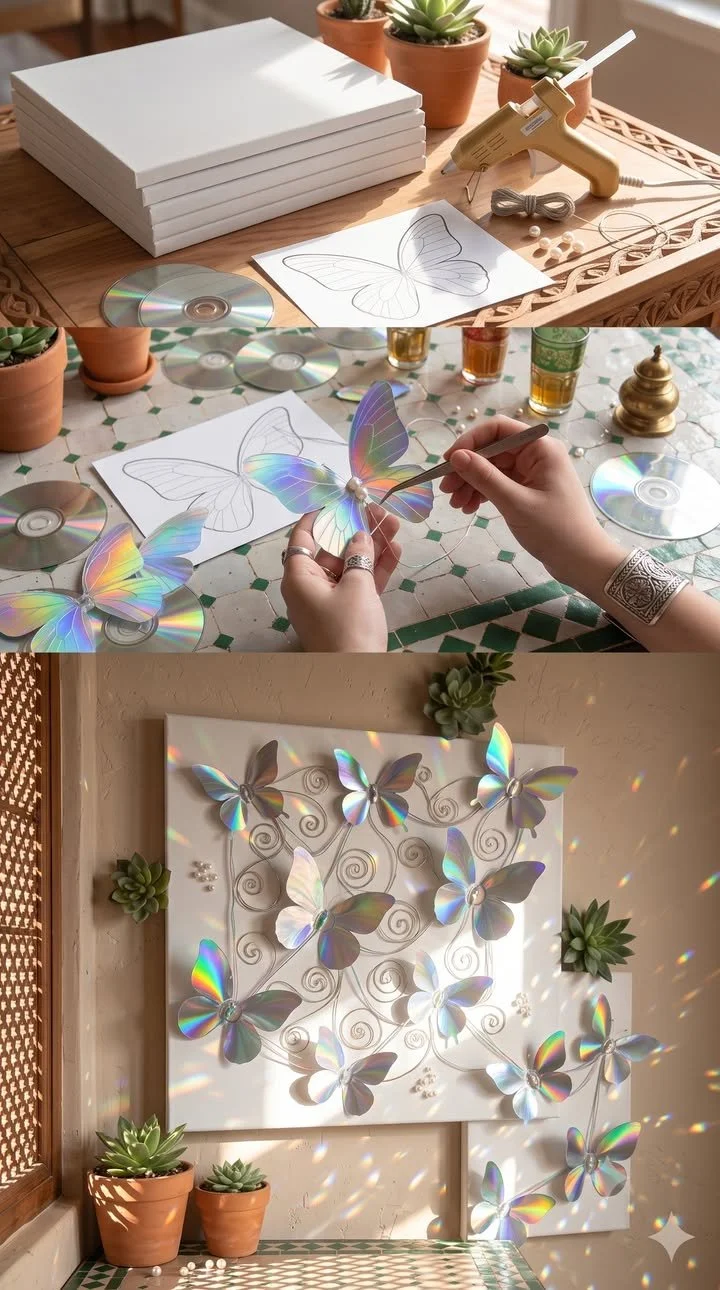
Making This DIY Last
To keep your CD Butterfly Wall Art looking vibrant, store it in a protective space when not displayed. A shallow box or a soft cloth can help prevent scratches or dust accumulation.
When caring for your piece, consider the environment it hangs in. Avoid direct sunlight for long periods to prevent fading. If you wish to revitalize it, gently clean the surface with a soft, dry cloth.
This allows the shimmering effect to shine through, creating a lasting joy in your home for seasons to come.
Small Ways to Make It Your Own
As you craft your butterflies, feel free to explore these gentle invitations:
-
Play with different color combinations for the wings. Choose colors that resonate with your mood or create a theme based on the season.
-
Experiment with varying sizes of butterflies. A collection of small and large pieces can create a delightful visual balance.
-
Try using textured paper or fabrics for the wings. The soft feel adds a tactile dimension that draws the eye.
-
Decorate the bodies of the butterflies with tiny embellishments like beads or sequins to give them a unique touch.
-
Share this activity with friends or family. Having a joint creative session brings shared joy and new ideas to your space.
FAQs About CD Butterfly Wall Art (Upcycled Shimmer DIY)
What’s the best way to cut the CDs?
Using sturdy scissors or specialized cutter tools can help you get clean cuts. Just be gentle and patient; moving slowly keeps your hands safe.
Can I use other materials besides CDs?
Absolutely! You can use cardboard, plastic lids, or any other discs you have. Just ensure they are light enough to hang or display easily.
How do I display my butterflies?
You can use adhesive hooks on the wall, a small easel, or even attach them to natural branches for a whimsical display.
What if I want to change it later?
Simply remove your butterfly with care. The nature of upcycled materials allows you to repurpose them for other projects whenever you like.
Is this project suitable for children?
Yes, with supervision. Children can enjoy cutting and gluing but may need help with scissors, especially if they are not very familiar with crafting.
Final Reflections on Making CD Butterfly Wall Art (Upcycled Shimmer DIY)
As you set down your tools and admire your shimmering creations, remember that this journey was as meaningful as the product you crafted. Each butterfly now holds not only visual beauty but also the essence of the time spent creating it.
Embrace the tranquility this DIY project brings and allow it to remind you of the gentle art of slowing down. Whether you hang your butterflies proudly or quietly reflect on your creativity, may it always encourage you to enjoy the calm of the present moment.
Print
CD Butterfly Wall Art
- Total Time: 35 minutes
- Yield: 1 butterfly
- Diet: N/A
Description
Transform old CDs into beautiful butterfly wall art, combining creativity and mindfulness in a simple DIY project.
Ingredients
- Old CDs or DVDs
- Colorful paper or cardstock
- Sharp scissors
- Craft glue
- Wire or string (for hanging)
- Markers or paint
- Optional embellishments (glitter or stickers)
Instructions
- Find a quiet space where you feel comfortable. Lay out your materials.
- Take a CD and hold it up to the light. Decide how to transform it into a butterfly.
- Cut your colorful paper into wing shapes.
- Place the cut wings against the CD. Experiment with different positions.
- When satisfied with the arrangement, secure the wings to the CD with craft glue.
- Use markers or paint to add details to the wings.
- Once the glue dries, attach a string or wire to hang your butterfly.
- Take a moment to appreciate your creation.
Notes
This project allows for playful experimentation with colors and sizes. Suitable for all ages with supervision.
- Prep Time: 5 minutes
- Cook Time: 30 minutes
- Category: Craft
- Method: Crafting
- Cuisine: N/A