

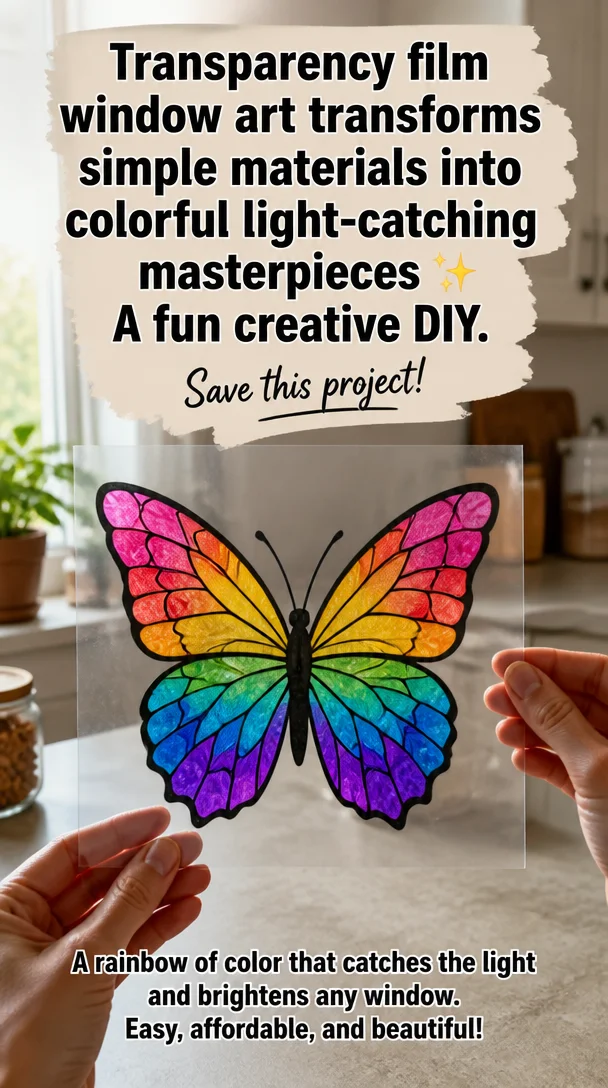
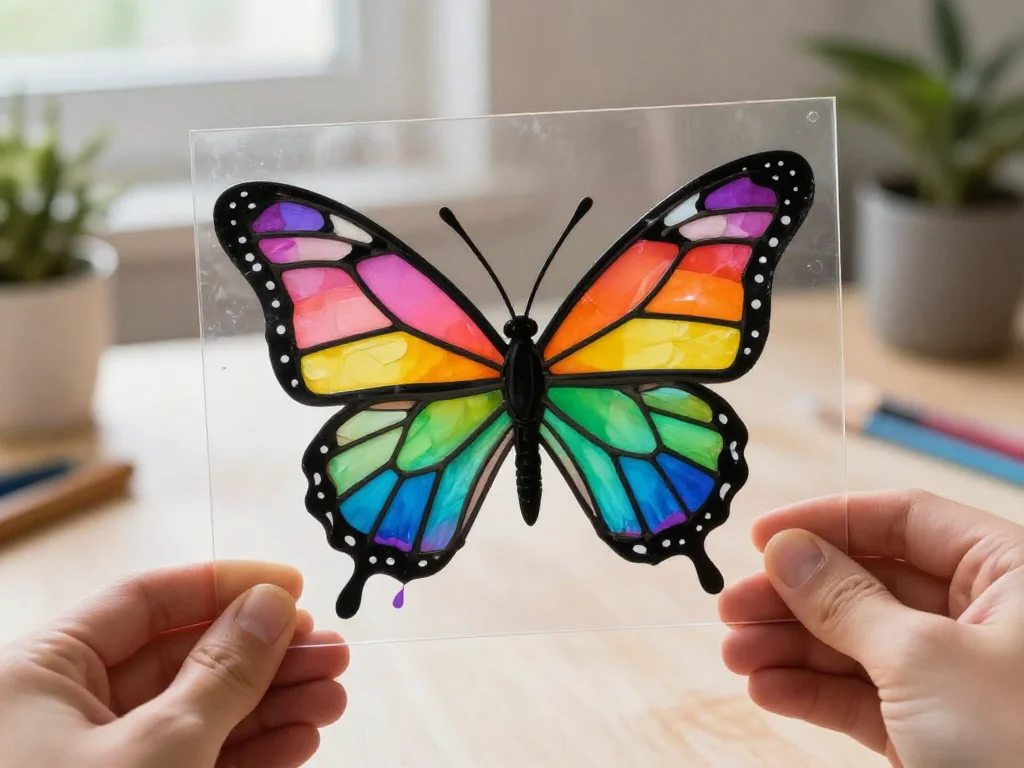
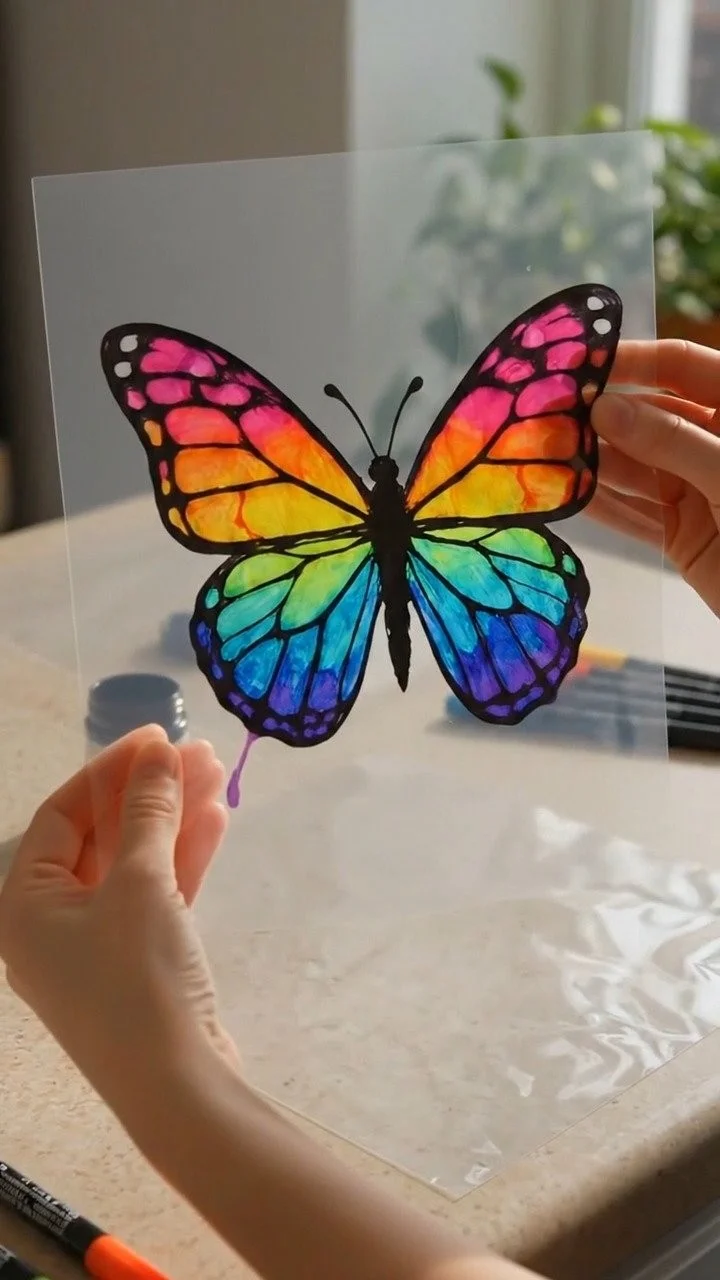
Transparency film window art transforms simple materials into colorful light-catching masterpieces. A fun creative DIY to save this project unfolds in soft sunlight filtering through glass. As the light plays off vibrant colors, it creates a dance of hues that gently fills a room with warmth. This moment brings a sense of calm yet ignites creativity, inviting you to explore the simple materials that can transform your space into a celebration of color and light. By engaging in this hands-on project, you’ll discover the joy of creation while fostering an atmosphere of comfort and mindfulness in your environment.
The Heart Behind This DIY
Engaging in the art of making, especially something as immersive as transparency film window art, offers more than just a finished piece. It opens a space for reflection, stillness, and a gentle focus that often feels lost in everyday life. When you sit quietly with your materials, the tactile sensations become part of the experience. The smoothness of the transparency film, the pop of a bright marker, or the quiet rustling of paper invoke a sense of connection to the present moment.
This project invites you to slow down. Each cut, each color choice, allows you to express yourself while fostering an atmosphere that feels both comfortable and creatively fulfilling. Crafting with care lets you embrace the rhythm of your own hands, encourages mindful breathing, and creates an environment where calmness blossoms.
The Flow of Making Transparency Film Window Art
The process of creating transparency film window art is as rewarding as it is enjoyable. You start with basic materials and gradually build layers of color, texture, and light. The gentle rhythm of cutting and placing pieces allows you to enter a tranquil state of mindfulness.
As you select your colors, consider how they work together. Will you opt for soft pastels that evoke serenity or bold primary colors that radiate energy? Each choice subtly influences your emotional landscape and brings personality to your creation.
When you begin, the act of holding scissors feels empowering. The soft clicks as the scissors cut through the film resonate lightly, and you can enjoy the sounds of your surroundings—perhaps a quiet chirp outside or the gentle rustling of leaves. Your focus shifts from the world outside to the colorful, tactile journey before you.
Materials You’ll Need
To create your own vibrant transparency film window art, gather the following materials, which are easy to find and offer approachable chances for creativity:
- Transparency film sheets (clear or colored)
- Permanent markers or acrylic paints
- Scissors
- A cutting mat or sturdy surface
- Tape or glue (optional, for securing pieces)
- A window or another flat surface for display
Each item serves a purpose in your tactile creation, allowing you to explore color and light with a gentle touch. If you are unable to find transparency film sheets, consider using old overhead projector film or even plastic packaging as substitutes.
Step-by-Step Directions
-
Prepare Your Workspace: Choose a flat, clean surface where you can spread out your materials comfortably. Settle in and take a moment to breathe.
-
Cut the Transparency Film: Using scissors, cut the transparency film into various shapes. Consider circles, squares, or free-form designs. Enjoy the soft crunch of the film as you make your cuts.
-
Add Color: Take your markers or paints and decorate each piece of transparency film. Choose color combinations that speak to you—mix and layer colors as you go. Allow the colors to blend softly.
-
Create Your Composition: Lay your decorated film pieces out on a window or a light surface. Experiment with their arrangement before committing to a design. Allow your intuition to guide you.
-
Secure Your Art: If desired, use tape or glue to hold the pieces in place, ensuring they don’t shift with the breeze. This final touch adds a sense of completion and connection to your creation.
-
Enjoy the Light: Position the completed artwork where light shines through it. Stand back and witness how the light transforms your colors, creating a joyful play of hues on surrounding surfaces.
Enjoying the Finished Piece
Once your transparency film window art is set, take a moment to enjoy its impact. The colors will shift subtly with the changing light throughout the day, weaving a journey of transformation right within your space.
Positioning your artwork near a window invites natural light to illuminate your creation. As the sun casts its glow, you’ll find enchanting shadows dance across your room, adding a layer of intrigue to the atmosphere.
The finished piece serves not just as decoration but also as a gentle reminder of your creative journey. Each time you glance at it, let it anchor you to the moment, inviting joy and appreciation for the beauty that surrounds us.
How to Store or Reuse Transparency Film Window Art
The longevity of your transparency film window art can enhance its value even further. If you wish to store your artwork for later display, consider a few gentle practices. Carefully place your finished pieces between sheets of tissue paper or craft paper to protect them from scratches or creases.
When not in use, store them flat in a drawer or a dedicated art box. This gentle care preserves their vibrant colors and playful shapes. Should you ever wish to change or refresh your display, simply remove them from storage and find a new window where the light can engage with your artwork anew.
Small Ways to Make It Your Own
As you engage with this creative process, here are a few gentle invitations to customize your transparency film window art:
-
Experiment with Layering: Try placing transparent shapes on top of one another. This approach creates depth and intriguing shadows, allowing colors to interact uniquely.
-
Incorporate Natural Elements: Consider adding dried leaves or flower petals between the transparency layers. This simple addition brings a touch of nature into your colorful scene.
-
Use Textures: Layer textured materials, such as fabric scraps or lace, behind your transparency film pieces. This effect introduces another sensory experience and enhances the visual depth.
-
Engage with Seasonal Themes: Customize your window art to suit the seasons or holidays. Incorporate colors and symbols that resonate with different times of the year for a continuously evolving display.
FAQs About Transparency Film Window Art
Can I use regular paper instead of transparency film?
While regular paper won’t have the same light-catching properties as transparency film, you can definitely experiment with colored paper for a different effect. If using paper, consider placing it in a lighted space to see how it holds up to sunlight.
What if I waste materials while cutting?
Crafting is all about exploration. If you cut a piece and it doesn’t turn out as you hoped, try transforming it into something new. Each cut is part of the creative process, and wasted pieces can lead to unexpected delights.
Can children help with this project?
Yes, this project can be a joyful activity for children under supervision. Tailor the complexity based on their age and skill level, allowing them the space to express their creativity while guiding them gently through the process.
How do I keep my artwork looking fresh?
Position your finished pieces away from direct sunlight when they are not displayed. This strategy helps preserve the vibrancy of the colors and minimizes fading over time.
What if I want to change my artwork later?
Feel free to refresh your display whenever you wish! The beauty of transparency film is that you can easily change the arrangement or create new pieces to swap out, allowing for variation and continuous creativity.
A Gentle Note Before You Go
Creating transparency film window art offers a delightful way to explore color, light, and texture in a meaningful manner. As you engage in this calming process, let your creativity flow naturally, and remind yourself that the act of making is just as important as the final piece. Embrace the feelings and moments of peace it brings as you bring a touch of your unique spirit into your living space. There’s beauty in each creation, and the journey remains yours to shape. As you step away from the project, let the sense of calm carry through your day, inspiring moments of reflection and joy.
Print
Transparency Film Window Art
- Total Time: 15 minutes
- Yield: 1 artwork
- Diet: N/A
Description
Transform simple materials into colorful light-catching masterpieces with this engaging DIY project that fosters creativity and mindfulness.
Ingredients
- Transparency film sheets (clear or colored)
- Permanent markers or acrylic paints
- Scissors
- A cutting mat or sturdy surface
- Tape or glue (optional, for securing pieces)
- A window or another flat surface for display
Instructions
- Prepare your workspace: Choose a flat, clean surface where you can spread out your materials comfortably. Settle in and take a moment to breathe.
- Cut the transparency film: Using scissors, cut the transparency film into various shapes. Consider circles, squares, or free-form designs.
- Add color: Take your markers or paints and decorate each piece of transparency film, mixing and layering colors as you go.
- Create your composition: Lay your decorated film pieces out on a window or light surface. Experiment with their arrangement.
- Secure your art: Use tape or glue to hold the pieces in place, ensuring they don’t shift.
- Enjoy the light: Position your completed artwork where light shines through it and witness how the light transforms your colors.
Notes
Feel free to refresh your display whenever you like; it’s easy to change arrangements or create new pieces.
- Prep Time: 15 minutes
- Cook Time: 0 minutes
- Category: Craft
- Method: Crafting
- Cuisine: N/A