

There’s a gentle pleasure in watching soft petals, once vibrant and alive, now pressed between layers of glass, transforming into an ethereal suncatcher. When the sunlight streams through, it brings forth moments of color and light that dance across the room. Each flower’s shape tells a story, a delicate reminder of nature’s beauty, frozen in time. The calm craft of creating a pressed flower suncatcher invites us to slow down, savor textures, and appreciate each step of the process, while grounding us in a moment of creativity.
Why Pressed Flower Suncatcher Feels Comforting to Create
Creating a pressed flower suncatcher allows us to reconnect with nature in a gentle, intimate way. As we prepare flowers, we engage our senses. We feel the soft edges of petals, hear the delicate crinkle of paper, and witness the gentle transformation of nature into art. This process encourages a slow, mindful approach that helps to quiet busy thoughts.
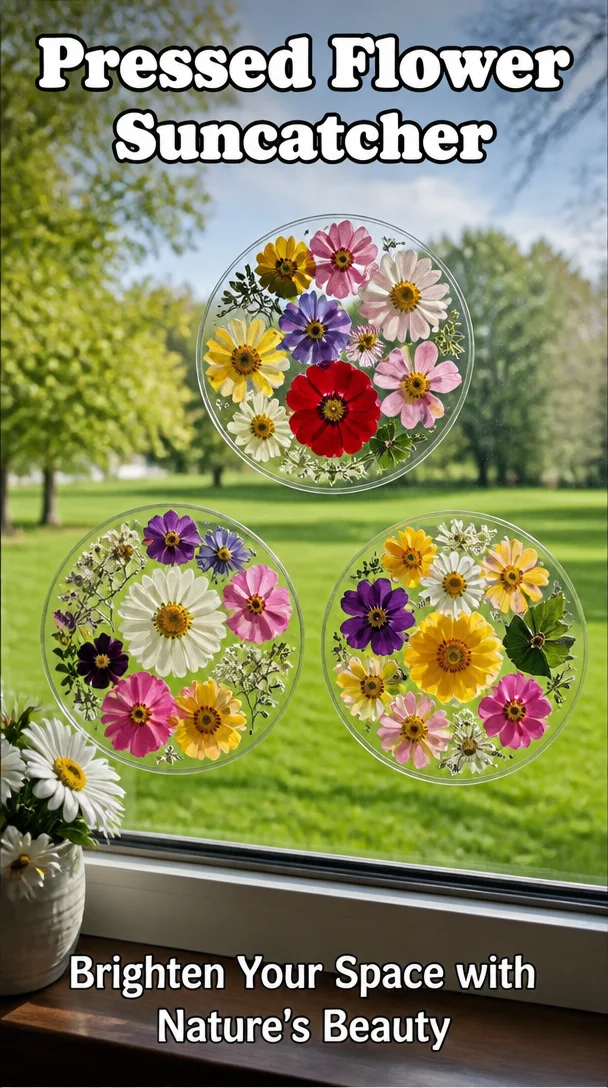
Working with natural materials invites calm into our space. It provides a moment where we can let go of distractions, focusing solely on the task at hand. The colors and textures of the flowers elicit a warmth that wraps around you like a cozy blanket. It becomes a ritual—a soothing series of motions that bring comfort and grounding feelings. Even during the busiest days, carving out time to create can bring a sense of fulfillment and joy.
A Gentle Look at the Process
Before diving into the materials, take a moment to imagine the unfolding process of making your pressed flower suncatcher. Start by choosing flowers that resonate with you. The aroma of fresh blooms fills the air, and you might hear the gentle rustle of leaves as you handle them.
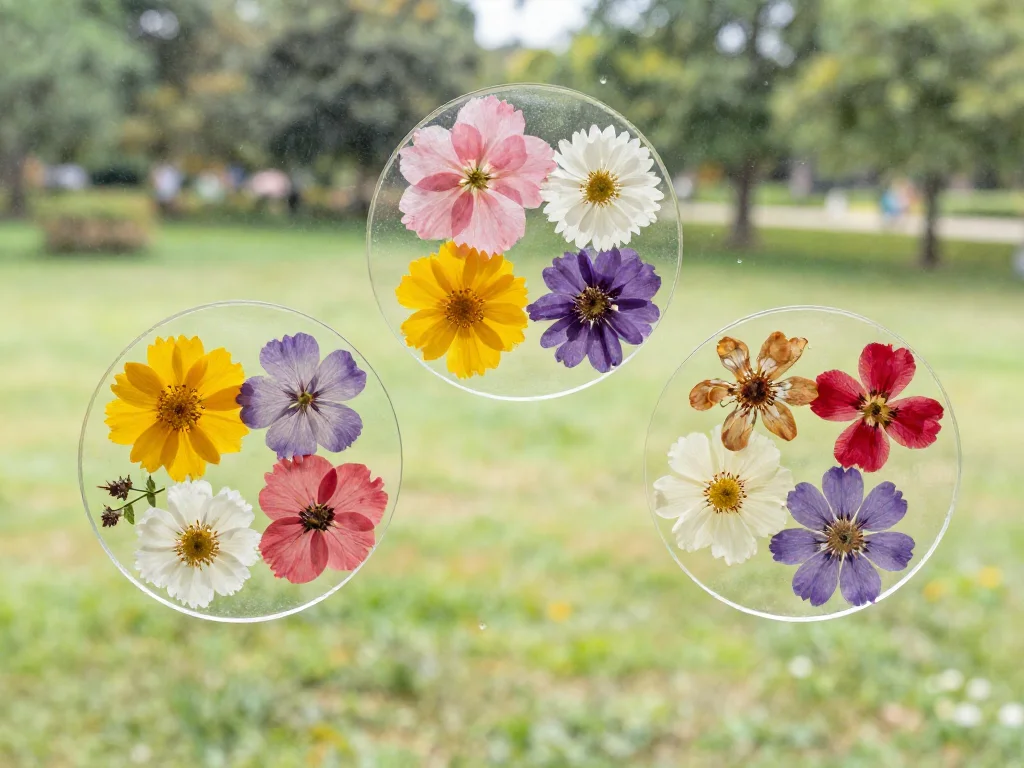
Once gathered, the act of pressing flowers becomes a calming ritual in itself. As you place each petal or leaf carefully in between soft tissue paper, you caress them gently to remove excess moisture. After they are fully dried, you can arrange them in a beautiful pattern. Think of this as a dance where every delicate flower becomes a note in a harmonious melody, preparing your space for the final piece.
The moment you frame your pressed flowers is where the magic happens. As glass and light meet, the suncatcher transforms from a collection of colors to a window of warmth that brightens your space. This rhythmic flow of creating becomes a soothing experience, connecting you deeply to both the materials and the process.
Materials You’ll Need
Gather your materials with intention and care. Here’s what you’ll need to bring your pressed flower suncatcher to life:
- Fresh flowers (choose small, flat blooms like pansies, daisies, or violets)
- Heavy books or a flower press (for pressing the flowers)
- Contact paper or clear adhesive sheets (for creating the suncatcher)
- Scissors (to trim the flowers and contact paper)
- A piece of string or ribbon (for hanging)
- Optional: Decorative frames or wood (if you want to give it a border)
All these items are easy to find or may already be waiting in your craft corner. Each material plays a part in creating something truly unique, allowing you to express your own creativity.
Step-by-Step Directions
-
Begin by selecting your flowers. Look for blooms that inspire you, enjoying their colors and shapes. Take a moment to appreciate their beauty.
-
Carefully rinse the flowers in cool water to remove any dirt. Lay them gently on a soft towel and pat them dry. Notice the textures of each petal as you do this.
-
Press the flowers. Lay them in between two sheets of heavy paper, then place them in a heavy book. Alternatively, use a flower press. Check on them after a few days to see if they have dried fully.
-
Once dried, choose your favorite flowers and cut them to the desired size. Feel the crispness of the petals, and shape them to fit your design.
-
Cut a piece of contact paper. It should be larger than your design. Peel off one side, and place it sticky-side up on your workspace.
-
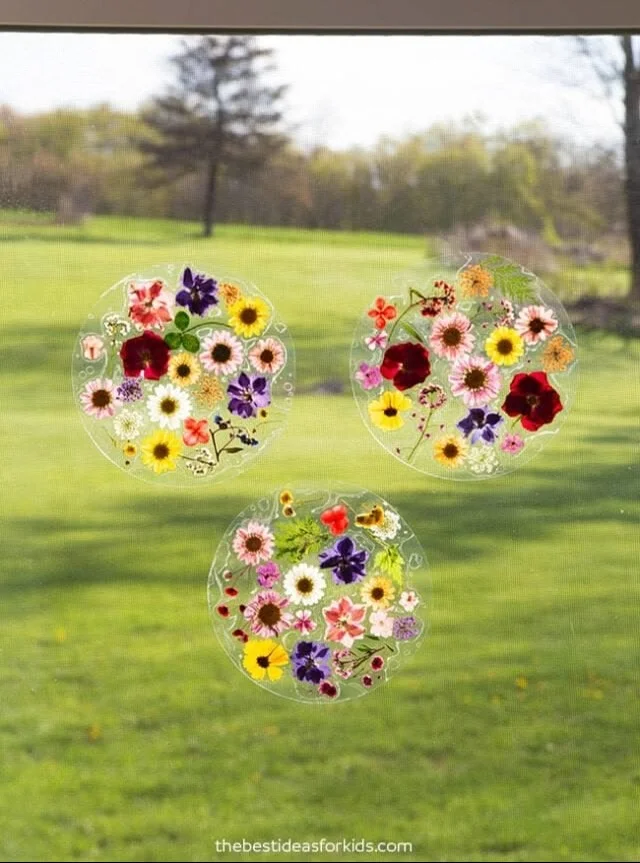
Arrange your dried flowers on the adhesive surface, playing with the colors and placements. Let your creativity guide you, noticing how each flower interacts with the others.
-
Once satisfied with your arrangement, carefully place another sheet of contact paper over the flowers, sealing them in. Smooth out any air bubbles, feeling the coolness of the adhesive.
-
Cut around your design, leaving a small border of contact paper for stability.
-
Create a small hole at the top, and tie a piece of string or ribbon through it for hanging. As you tie the string, savor the softness of the material and the satisfaction of finishing the piece.
-
Find a sunny window or a special spot to hang your suncatcher. Watch as the light filters through, transforming your room with a warm, colorful glow.
Enjoying the Finished Piece
Once your pressed flower suncatcher hangs proudly, take a moment to admire your handiwork. As sunlight passes through the flowers, it creates a tapestry of colors that shifts with the day. Each moment reveals a new hue, inviting a sense of peace into your space.
This suncatcher can be a beautiful reminder of nature’s delicate beauty. It effortlessly connects you to the world outside your window, inviting the beauty of the changing seasons into your home.
Whether placed in a bright window, suspended in a doorway, or hung near a cozy reading nook, your suncatcher becomes a new focal point in your space. Each time you pass by, pause for a moment to feel the warmth of the sun’s rays and to appreciate the beauty you created with your own hands.
Making This DIY Last
To prolong the life of your pressed flower suncatcher, store it away from direct sunlight when not in use. This helps to maintain the colors and integrity of the dried flowers. If dust accumulates, gently wipe the surface with a soft, dry cloth; be careful not to disturb the petals, as they are delicate.
Consider seasonal changes when displaying your suncatcher. You may choose to swap out flowers for different seasons, creating an evolving art piece that reflects the time of year. This way, your project continues to bring joy and light into your home throughout the changing seasons.
Gentle Tips & Variations
-
Experiment with different flowers, colors, and shapes. Each variety will change the overall look, bringing a fresh perspective with every creation.
-
If you have children, invite them to create their own designs. This can deepen the connection to nature and open up avenues for discussion about plants and colors.
-
Consider adding a frame or border to your suncatcher to give it a more polished look. You could even paint the frame in a calm shade that complements your flowers.
-
Use specific themes with your pressed flowers, such as colors for different seasons or special occasions, enhancing the emotional connection with each piece.
-
Don’t hesitate to explore other base materials. You might find that wood or canvas can serve as a unique backdrop, adding to the texture and visual interest of your display.
FAQs About Pressed Flower Suncatcher
Can I use any flowers for this project?
While most flowers will work, avoid those with a lot of moisture and thicker petals. Opt for flat blooms like violets, daisies, or dried herbs for the best results.
How long do the flowers last in the suncatcher?
Dried flowers can last for years if stored correctly away from direct sunlight. The colors may fade slightly, but the natural beauty will remain.
What if my flowers lose their color?
Over time, many dried flowers may lose vibrancy when exposed to sunlight. To minimize this, ensure your suncatcher is displayed in a spot that doesn’t receive constant direct light.
Can I personalize my suncatcher with notes or other materials?
Absolutely! Feel free to include small notes or other decorative elements like sprigs of greenery, though remember that these may affect transparency.
Is this project suitable for beginners?
Yes, this project caters to all skill levels. The focus is on gentle, mindful creation, making it an ideal choice for anyone seeking a calming activity.
A Gentle Note Before You Go
As you step into your day, carry a piece of this crafting moment with you. Making a pressed flower suncatcher isn’t just about the final product; it’s about the serene journey of creation. Embrace the rhythmic flow of your hands, the textures of the materials you select, and the beauty that emerges from this gentle process.
Allow yourself to feel every step, every detail, and let your creativity be a soothing balm in your day. Whether this becomes a cherished part of your home or a thoughtful gift for someone special, remember that the heart of this DIY lies in the moments shared with nature and the joy discovered in the act of making.
Print
Pressed Flower Suncatcher
- Total Time: 15 minutes
- Yield: 1 suncatcher
- Diet: N/A
Description
Craft your own beautiful pressed flower suncatcher, reconnecting with nature and creating a colorful piece of art for your home.
Ingredients
- Fresh flowers (e.g., pansies, daisies, violets)
- Heavy books or a flower press
- Contact paper or clear adhesive sheets
- Scissors
- A piece of string or ribbon
- Optional: Decorative frames or wood
Instructions
- Select your flowers, choosing blooms that inspire you.
- Rinse the flowers gently under cool water and pat them dry.
- Press the flowers between heavy paper and place them in a heavy book or use a flower press.
- Check the flowers after a few days to ensure they are fully dried.
- Cut the dried flowers to your desired size.
- Cut a piece of contact paper larger than your design.
- Arrange the dried flowers on the sticky side of the contact paper.
- Seal the flowers by placing another sheet of contact paper over them.
- Cut around your design, leaving a small border for stability.
- Create a hole at the top and tie a string or ribbon through it for hanging.
- Hang your suncatcher in a sunny window and enjoy the light as it filters through.
Notes
Store away from direct sunlight when not in use to preserve colors. Swap out flowers seasonally for a fresh look.
- Prep Time: 15 minutes
- Cook Time: 0 minutes
- Category: Craft
- Method: Crafting
- Cuisine: N/A