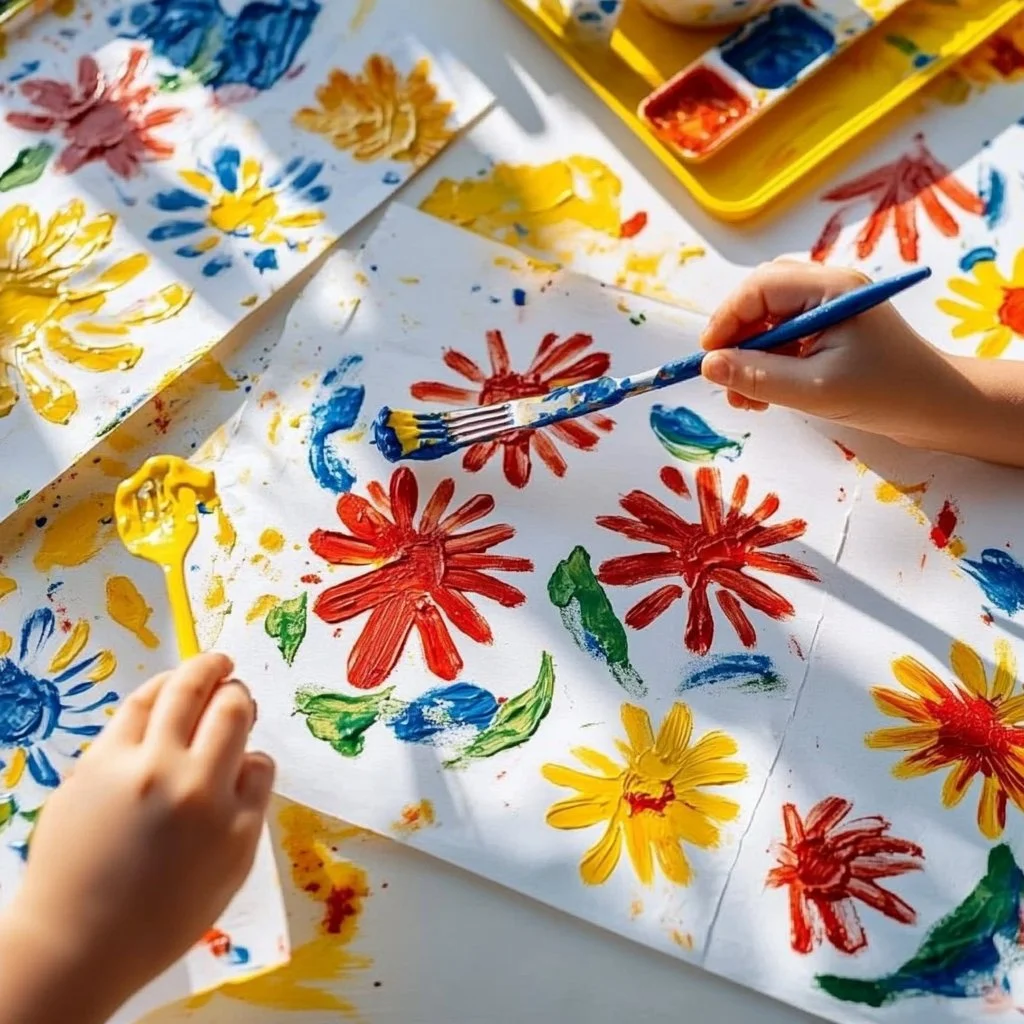
DIY Fork Paint Craft
Growing up, my summers were painted in vibrant colors and filled with the laughter of my family. One particular season, I remember sitting in my grandmother’s sunny kitchen, surrounded by rows of fresh fruits and vegetables. She taught me how to create art from the simple objects we had around us. One of my favorite memories is making colorful prints with forks, an activity that was not only fun but spurred my creative spirit. This DIY Fork Paint Craft is a delightful excursion into artistic expression that is perfect for a sunny afternoon or a cozy indoor day. Whether you’re looking to engage your kids in a lovely hands-on project or bring a touch of nostalgia to your home, this craft is the perfect mix of creativity and family bonding.
Why You’ll Love This DIY Fork Paint Craft
- Kid-approved: Always a hit for family activities or school projects.
- Easy and quick: No advanced skills needed, suitable for all ages.
- Eco-friendly: Reuse items around your house, reducing waste.
- Customizable: Use any colors and styles to suit your taste.
- Memorable: Create new family traditions or revisit old ones.
Ingredients
- 4-5 plastic or metal forks
- 1 cup of washable paint (any colors you like)
- Heavyweight paper or canvas fabric
- Paper plates or mixing trays
- An old apron or clothes you don’t mind ruining
- Water for cleaning
Step-by-Step Instructions
Preparation
- Set the Scene: Lay out newspaper or a plastic tablecloth on your workspace to catch any spills.
- Gather Your Supplies: Place your forks, paint, and paper within reach.
Crafting Your Masterpiece
- Pour the Paint: On each paper plate or mixing tray, pour a small amount of the washable paint in different colors.
- Fork Dipping: Choose a fork and dip the tines in the paint, ensuring they’re well-coated.
- Printing: Press the fork firmly onto the paper or canvas, and pull it straight off. Repeat with different colors or in various patterns to create beautiful prints.
- Drying Time: Once you’ve completed your artwork, set it aside to dry completely.
Cleanup
- Wash Up: Clean your forks with warm soapy water right after use to prevent paint from drying on them.
Tips & Variations
- Textures: Use different types of forks (e.g., a salad fork for wider prints).
- Layering: Experiment by layering colors or creating patterns for unique designs.
- Themed Crafts: Customize colors for holidays or events, like red and green for Christmas or pastels for Easter.
- Use Other Objects: Get creative—use spoons, cotton swabs, or even your hands for diverse textures.
Storage Instructions
- For Wet Art: Allow your prints to dry completely, then store them flat in a portfolio or frame to protect them.
- Unused Paint: Seal leftover paint in plastic containers and store in a cool, dry place.
Nutritional Information
- Prep Time: 10 minutes
- Crafting Time: 30 minutes
- Total Time: 40 minutes
- Calories: Not applicable (creative activity)
- Servings: Depends on the number of prints created!
Frequently Asked Questions
Q1: Can I use non-washable paint?
A1: While non-washable paint offers vibrant colors, it can stain. It’s best to stick with washable options for easy cleanup.
Q2: How old should kids be to join this activity?
A2: Kids as young as three can participate with supervision, but it’s a fun project for all ages!
Q3: What if I don’t have forks?
A3: Use other utensils like spoons, combs, or anything that can create a print!
Q4: Can this be done outdoors?
A4: Absolutely! Just make sure to set up in a well-shaded area, especially if it’s bright and sunny.
Serving Suggestions or Pairings
Pair your crafting with fun snacks like fruit kabobs or nut butter and crispy crackers. Enjoy a refreshing lemonade or iced tea to keep you cool while you work!
Final Thoughts
The DIY Fork Paint Craft is more than just a fun project; it’s a way to create beautiful memories with your family. Whether you’re rekindling childhood memories or starting new traditions, I hope this simple yet delightful craft brings joy into your home.
I’d love to hear about your own fork prints! Share your creations in the comments or any variations you’ve tried. Happy crafting!

