Introduction
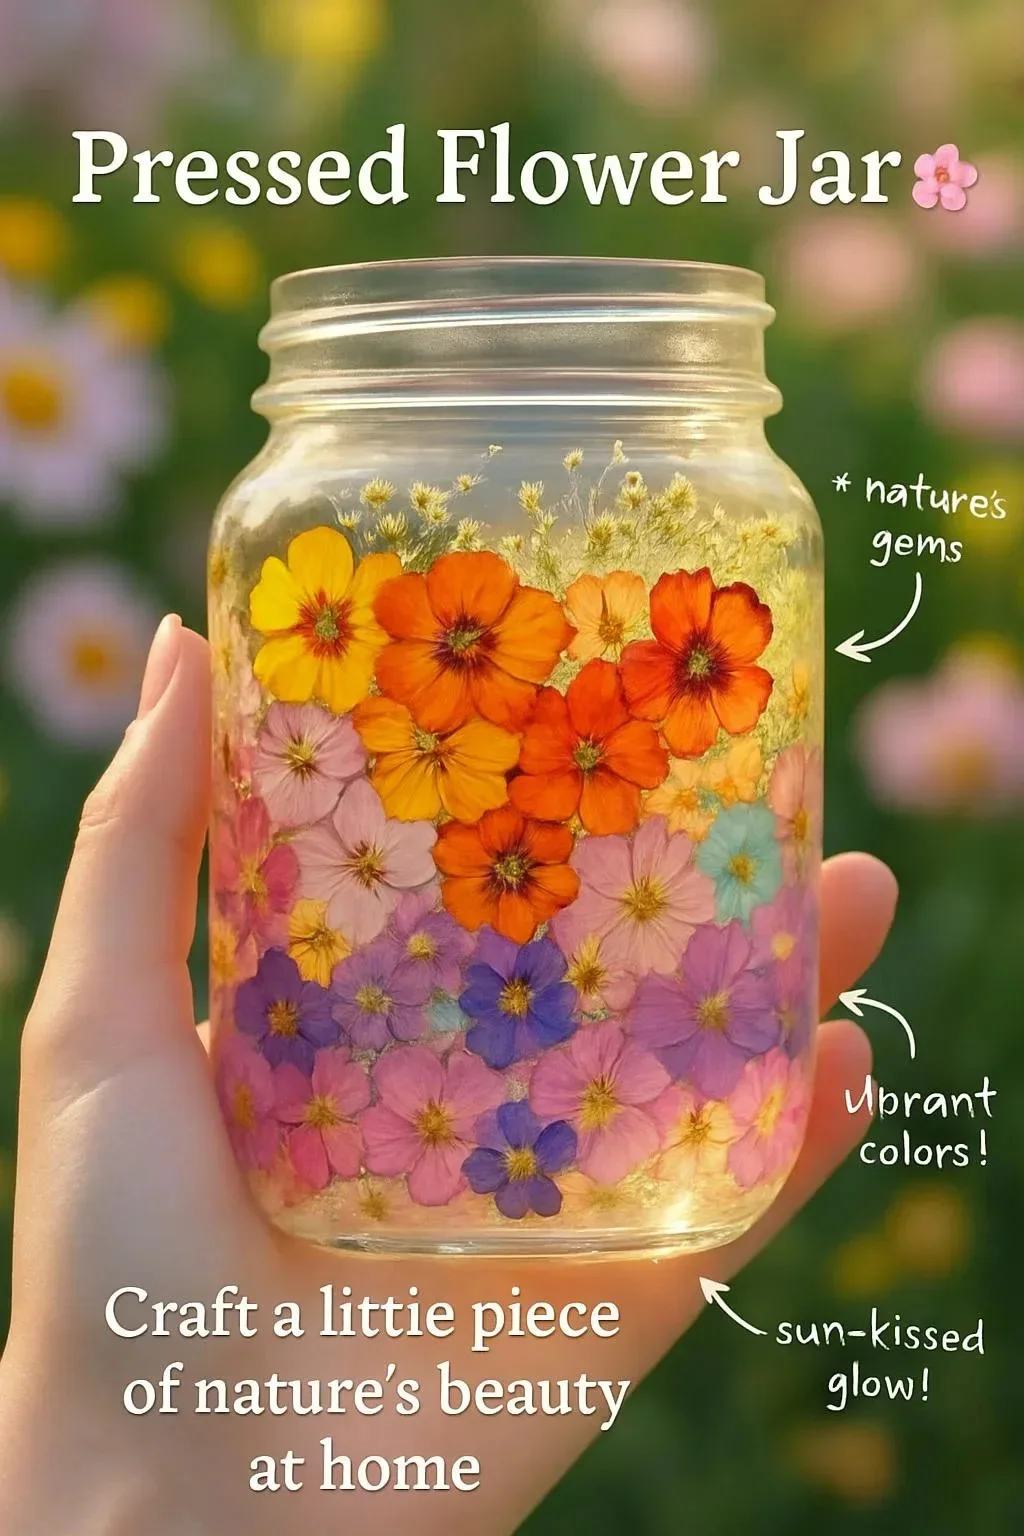
Pressed flower art is a timeless craft that captures the beauty of nature while allowing you to express your creativity. This delightful project not only transforms ephemeral blooms into lasting artwork but also offers a unique way to personalize your decor. Whether you’re looking to adorn your home, create thoughtful gifts, or simply enjoy the process of crafting, a pressed flower jar is perfect for infusing your space with natural beauty. With its simple steps and minimal materials, this craft is accessible for all skill levels, making it an enjoyable experience for families, friends, or solo crafters. Dive into the charming world of pressed flowers, and let your imagination bloom!
Why You’ll Love This Pressed Flower Jar:
- Simple and Fun: Easy enough for all ages to enjoy.
- Personalized Decor: Create unique pieces that reflect your style.
- Eco-Friendly: Makes use of natural materials from your garden or local surroundings.
- Thoughtful Gifts: Perfect for birthdays, anniversaries, or any special occasion.
- Relaxing Activity: A wonderful way to de-stress and connect with nature.
Materials
- Fresh flowers (small blooms work best)
- A heavy book or flower press
- Parchment paper or wax paper
- A clear glass jar with a lid
- Decorative elements (optional: ribbon, twine, or stickers)
- Tweezers (for handling delicate flowers)
- Glue (optional, for securing flowers)
Full Step-by-Step
Step 1: Prepare Your Flowers
- Select a variety of small, flat flowers.
- Remove any leaves and trim the stems to about an inch.
Step 2: Press the Flowers
- Place a layer of parchment paper in the heavy book or flower press.
- Arrange the flowers in a single layer on the parchment paper.
- Cover with another piece of parchment and press down firmly.
- Close the book or press and leave for at least a week.
Step 3: Prepare the Jar
- Once flowers are fully pressed, carefully remove them using tweezers.
- Clean your glass jar thoroughly to ensure it’s clear of dust or residue.
Step 4: Arrange Your Flowers
- Begin placing the pressed flowers inside the jar.
- Use glue to secure certain flowers in place if necessary.
- Create layers for a 3D effect or use various heights for visual interest.
Step 5: Seal and Decorate
- Close the jar tightly to preserve your arrangement.
- Add decorative elements like ribbon or twine to enhance its charm.
Tips & Variations
- Flower Choices: Experiment with different types of flowers and colors for varying effects. Dried herbs like lavender can also be beautiful additions.
- Container Options: Instead of a jar, consider using a shadow box or frame for a different presentation style.
- Glitter and Paint: Add a touch of sparkle or color by incorporating glitter or lightly painting parts of your jars.
Frequently Asked Questions
Q1: How long do I need to press the flowers?
A1: Typically, flowers should be pressed for about one to two weeks, depending on their thickness.
Q2: Can I use any type of flower?
A2: While many flowers work well, it’s best to choose flat, small ones like pansies, daisies, or violets for pressing.
Q3: What can I do if my flowers are too thick to press?
A3: Consider cutting them into flatter pieces or using a microwave flower press if you need quicker results.
Q4: How should I store my pressed flower jar?
A4: Keep your jar in a cool, dry place, away from direct sunlight to prevent fading.
Suggestions
- For a themed gift, incorporate flowers with personal significance.
- Pair your pressed flower jar with handmade cards for a heartfelt touch.
- Create a series of jars to display seasonal flowers throughout the year.
Final Thoughts
Making a pressed flower jar is not only a delightful craft but also a beautiful way to cherish nature’s blooms. We’d love to see your creative interpretations! Don’t hesitate to share your own versions or leave a comment below with your tips and experiences. Happy crafting!
Print
Pressed Flower Jar
- Total Time: 10095 minutes
- Yield: 1 jar
- Diet: N/A
Description
A delightful craft project that transforms fresh flowers into lasting artwork, perfect for personalized decor and thoughtful gifts.
Ingredients
- Fresh flowers (small blooms work best)
- A heavy book or flower press
- Parchment paper or wax paper
- A clear glass jar with a lid
- Decorative elements (optional: ribbon, twine, or stickers)
- Tweezers (for handling delicate flowers)
- Glue (optional, for securing flowers)
Instructions
- Select a variety of small, flat flowers and trim the stems.
- Place a layer of parchment in the heavy book or flower press, arrange flowers, and cover with another parchment layer. Press and leave for at least a week.
- Remove flowers using tweezers and clean the glass jar.
- Arrange the pressed flowers in the jar and use glue to secure if needed.
- Close the jar tightly and decorate with ribbon or twine.
Notes
Experiment with different flower types and consider using shadow boxes for a different presentation style.
- Prep Time: 15 minutes
- Cook Time: 10080 minutes
- Category: Craft
- Method: Crafting
- Cuisine: N/A
Nutrition
- Serving Size: 1 jar
- Calories: 0
- Sugar: 0g
- Sodium: 0mg
- Fat: 0g
- Saturated Fat: 0g
- Unsaturated Fat: 0g
- Trans Fat: 0g
- Carbohydrates: 0g
- Fiber: 0g
- Protein: 0g
- Cholesterol: 0mg

