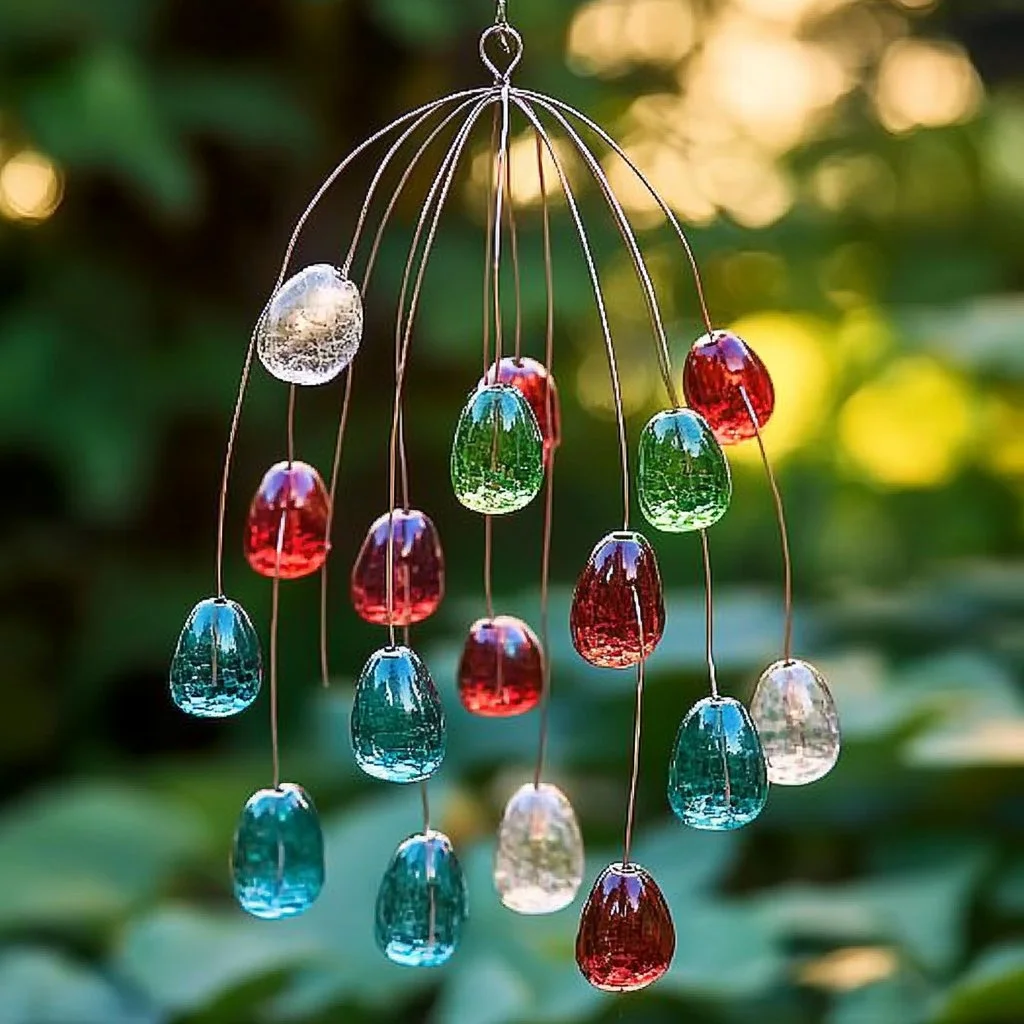
Creating your very own beaded garden sparkler is not only a delightful way to enhance your garden but also a rewarding craft project that bridges creativity and nature. These enchanting sparkler decorations can add vibrant colors and a touch of whimsy to your outdoor space. Whether you are a seasoned crafter or a beginner, this project allows you to unleash your artistic flair while upcycling materials. Plus, it’s a fantastic activity to do solo or with family and friends, fostering a sense of togetherness and shared accomplishment. Let’s dive into the joyful experience of making these beaded garden sparklers!
Why You’ll Love This Beaded Garden Sparkler:
- Easy DIY Project: Simple enough for all ages; enjoy crafting with kids or friends.
- Customizable: Personalize with different colors and bead shapes to match your garden theme.
- Eco-Friendly: Utilize recycled materials like wires and beads to minimize waste.
- Instant Gratification: Quick completion helps you see results immediately.
- Garden Glow: Adds a magical touch to any garden, especially when the sun hits the beads.
Materials:
- Beading wire (22-gauge)
- Assorted beads (glass, wooden, or acrylic)
- Wire cutters
- Needle-nose pliers
- Optional: Decorative charms or pendants
- Garden stakes or sticks (for attaching the sparklers)
Full Step-by-Step:
Step 1: Prepare the Wire
- Cut a length of beading wire to about 24 inches.
- Use the wire cutters for a clean edge.
Step 2: String the Beads
- Begin threading the beads onto the wire.
- Alternate colors and sizes to create a unique pattern.
- Leave a few inches of wire free at both ends.
Step 3: Create the Sparkler Shape
- Once satisfied with the bead arrangement, bend the wire into your desired shape (e.g., spiral, curve).
- Make sure the beads are secure and not slipping off.
Step 4: Secure the Ends
- Use needle-nose pliers to create loops at both ends of the wire to prevent beads from falling off.
- Make sure to tuck any sharp wire ends safely.
Step 5: Attach to Stakes
- If using garden stakes, thread the shaped sparkler onto the stake.
- Push it into the soil to secure it in place.
Tips & Variations:
- Color Themes: Choose a color scheme that complements your flowers for a harmonious look.
- Layering: Use multiple layers of different lengths for a fuller appearance.
- Seasonal Styles: Swap beads into seasonal colors to reflect holidays or changing seasons.
Frequently Asked Questions:
Q1: Can I use any kind of beads?
A1: Yes, you can use any beads you like. Just ensure they have a hole that fits the wire gauge.
Q2: What if I don’t have beading wire?
A2: You can also use sturdy floral wire or fishing line as alternatives.
Q3: How should I care for my garden sparkler?
A3: To maintain its vibrancy, occasionally wipe the beads with a damp cloth and store indoors during extreme weather.
Q4: Can I make this craft with children?
A4: Absolutely! Just supervise young children, especially when using wire and cutters.
Suggestions:
- Consider making themed sparklers for different occasions such as birthdays, holidays, or garden parties.
- Pair your sparklers with other outdoor decorations like lanterns or wind chimes for a cohesive look.
Final Thoughts:
Crafting beaded garden sparklers is an enjoyable way to express your creativity while enhancing the beauty of your outdoor spaces. We’d love to see your versions of this project! Please share your images or leave a comment about your experience, ideas, or any personalized twists you’ve added to your garden sparkler. Happy crafting!
Print
Beaded Garden Sparkler
- Total Time: 30 minutes
- Yield: 5 sparklers
- Diet: N/A
Description
Create personalized and eco-friendly beaded garden sparklers to enhance your outdoor space with colors and whimsy.
Ingredients
- Beading wire (22-gauge)
- Assorted beads (glass, wooden, or acrylic)
- Wire cutters
- Needle-nose pliers
- Optional: Decorative charms or pendants
- Garden stakes or sticks (for attaching the sparklers)
Instructions
- Prepare the Wire: Cut a length of beading wire to about 24 inches. Use the wire cutters for a clean edge.
- String the Beads: Begin threading the beads onto the wire. Alternate colors and sizes to create a unique pattern. Leave a few inches of wire free at both ends.
- Create the Sparkler Shape: Bend the wire into your desired shape (e.g., spiral, curve) once satisfied with the arrangement.
- Secure the Ends: Create loops at both ends of the wire with needle-nose pliers to prevent beads from falling off.
- Attach to Stakes: If using garden stakes, thread your sparkler onto the stake and push it into the soil to secure it.
Notes
Customize with different colors and bead shapes. Use eco-friendly materials and supervise children during crafting.
- Prep Time: 10 minutes
- Cook Time: 0 minutes
- Category: Crafts
- Method: Crafting
Nutrition
- Serving Size: 1 sparkler
- Calories: 0
- Sugar: 0g
- Sodium: 0mg
- Fat: 0g
- Saturated Fat: 0g
- Unsaturated Fat: 0g
- Trans Fat: 0g
- Carbohydrates: 0g
- Fiber: 0g
- Protein: 0g
- Cholesterol: 0mg

