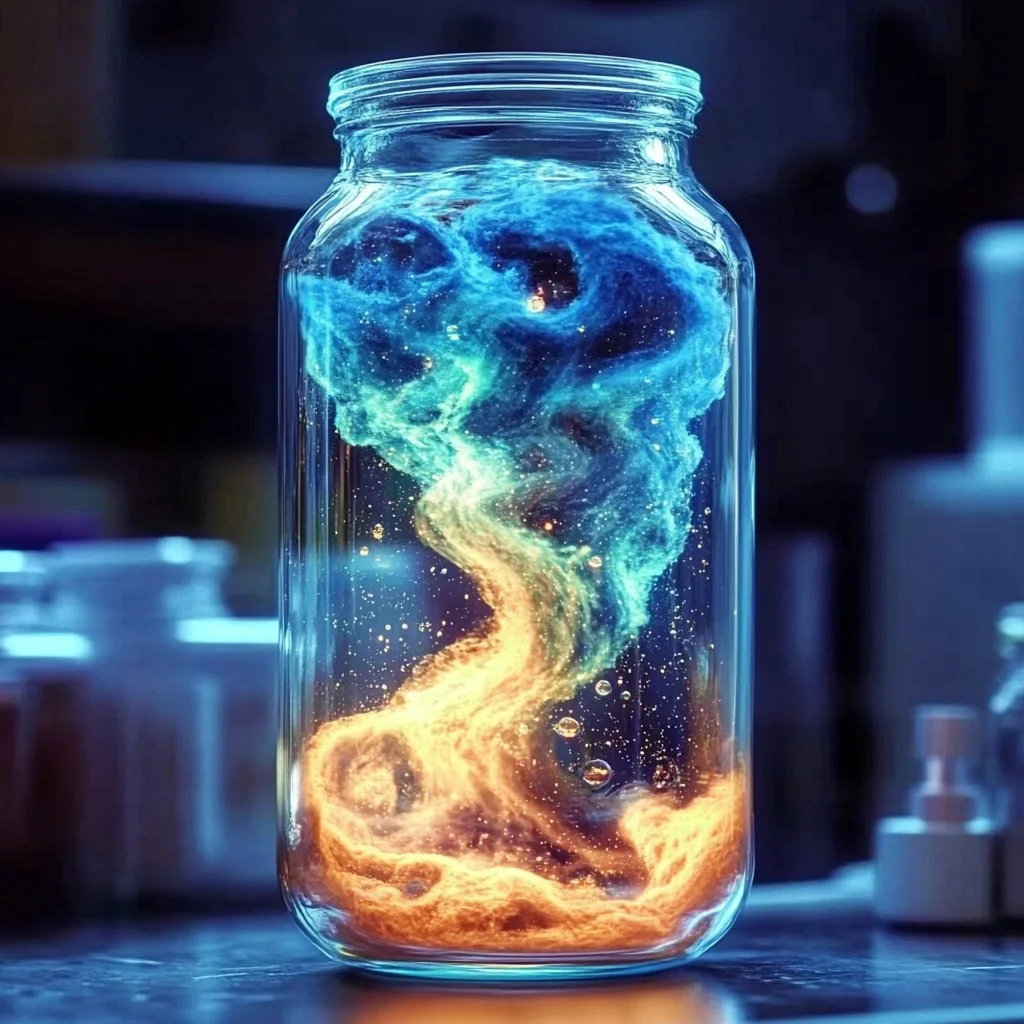
Looking for a fun and mesmerizing activity that combines science with art? The lava lamp experiment is the perfect choice! This DIY project not only entertains but also offers a fantastic way to explore principles of density and chemical reactions. As you watch the colorful blobs rise and fall, you’ll be amazed at how simple materials can create such beautiful and captivating visuals. Whether you’re a parent seeking engaging educational activities for your kids, a teacher looking to introduce science concepts, or simply someone who loves creative crafts, this lava lamp experiment will surely spark joy and curiosity.
In this guide, you’ll find everything you need to know, from materials required to step-by-step instructions to ensure your lava lamp comes to life. Let the bubbly fun begin!
Why You’ll Love This Lava Lamp Experiment:
- Engaging and Fun: A delightful visual display that captivates both kids and adults.
- Educational: Learn about density and chemical reactions while having fun.
- Customizable: Experiment with different colors and additives.
- Simple and Safe: Uses household materials, making it easy to set up.
- Stress Relief: Watching the flowing blobs can be therapeutic and calming.
Materials
- Clear plastic bottle or jar with a lid
- Vegetable oil (3/4 full)
- Water (1/4 full)
- Food coloring (any color)
- Alka-Seltzer tablets (or baking soda and vinegar for a variation)
- Optional: Glitter or small beads for added effect
Full Step-by-Step
Prepare Your Bottle
- Select Your Container: Choose a clear bottle or jar and ensure it is clean.
- Fill with Oil: Pour vegetable oil into the bottle until it’s about three-quarters full. Notice how the oil sits on top of any existing liquid—it’s less dense than water.
Add Water
- Pour the Water: Slowly add water to fill the remaining quarter of the bottle. Observe how the water and oil don’t mix, forming distinct layers.
Add Color
- Drop in Color: Add a few drops of food coloring into the mixture. Watch the color pearls drift down to mix with the water!
Create the Lava Effect
-
Fizz the Lamp: Break an Alka-Seltzer tablet into pieces and drop one piece into the bottle. Observe the bubbles forming as the tablet reacts with water.
-
Watch the Magic: Enjoy the lava lamp effect as colored blobs rise and fall.
Secure and Display
-
Seal the Cap: Once you’re satisfied with the flow, securely fasten the lid on the bottle.
-
Find a Spot: Place your lava lamp in a safe area where it can be admired.
Tips & Variations
- Color Combinations: Use multiple colors in different layers for a more vibrant look.
- Add Glitter: Sprinkle glitter in the oil for a twinkling effect.
- Experiment with Light: Shine a flashlight behind the bottle to illuminate the action.
- Alternative Reactions: Instead of Alka-Seltzer, you can use a small amount of baking soda followed by vinegar for a different fizz.
Frequently Asked Questions
Q1: Can I use different types of liquids?
A1: While vegetable oil works best, you can experiment with other oils. Just make sure they are not too thick!
Q2: What if I don’t have Alka-Seltzer?
A2: You can use baking soda combined with vinegar for a similar effect, but be ready for a stronger reaction!
Q3: How long does the lava lamp last?
A3: The effect typically lasts about 10-20 minutes, depending on the ingredients used.
Q4: Can I store the lamp for later use?
A4: Yes, you can store it, but the effect might weaken over time. Just add more Alka-Seltzer or vinegar to refresh it!
Suggestions
- Create themed lava lamps for different occasions (e.g., holiday colors).
- Use a variety of containers, like mason jars or clear vases, for unique designs.
- Try this activity during a science lesson or family craft night for maximum fun.
Final Thoughts
The lava lamp experiment is a fantastic blend of art and science that is sure to delight and inspire. Don’t forget to share your version or leave a comment with your experiences, tips, and color combinations! Whether it’s a calm evening or a lively crafting session, watching your creations bubble and flow will surely bring a smile. Happy crafting!
Print
DIY Lava Lamp Experiment
- Total Time: 25 minutes
- Yield: 1 lava lamp
- Diet: Not Applicable
Description
Engage in a captivating DIY lava lamp experiment that combines science, art, and fun for all ages!
Ingredients
- Clear plastic bottle or jar with a lid
- Vegetable oil (3/4 full)
- Water (1/4 full)
- Food coloring (any color)
- Alka-Seltzer tablets (or baking soda and vinegar for variation)
- Optional: Glitter or small beads for added effect
Instructions
- Select your container and ensure it is clean.
- Pour vegetable oil into the bottle until it’s about three-quarters full.
- Slowly add water to fill the remaining quarter of the bottle.
- Add a few drops of food coloring into the mixture.
- Break an Alka-Seltzer tablet into pieces and drop one piece into the bottle.
- Enjoy the lava lamp effect as colored blobs rise and fall.
- Seal the lid on the bottle once satisfied with the flow.
- Place your lava lamp in a safe area for display.
Notes
Experiment with different colors and additives for personalized lava lamps. Watching the bubbles can be therapeutic.
- Prep Time: 10 minutes
- Cook Time: 15 minutes
- Category: Crafts
- Method: DIY Science Experiment
- Cuisine: Not Applicable
Nutrition
- Serving Size: 1 lava lamp
- Calories: N/A
- Sugar: N/A
- Sodium: N/A
- Fat: N/A
- Saturated Fat: N/A
- Unsaturated Fat: N/A
- Trans Fat: N/A
- Carbohydrates: N/A
- Fiber: N/A
- Protein: N/A
- Cholesterol: N/A

