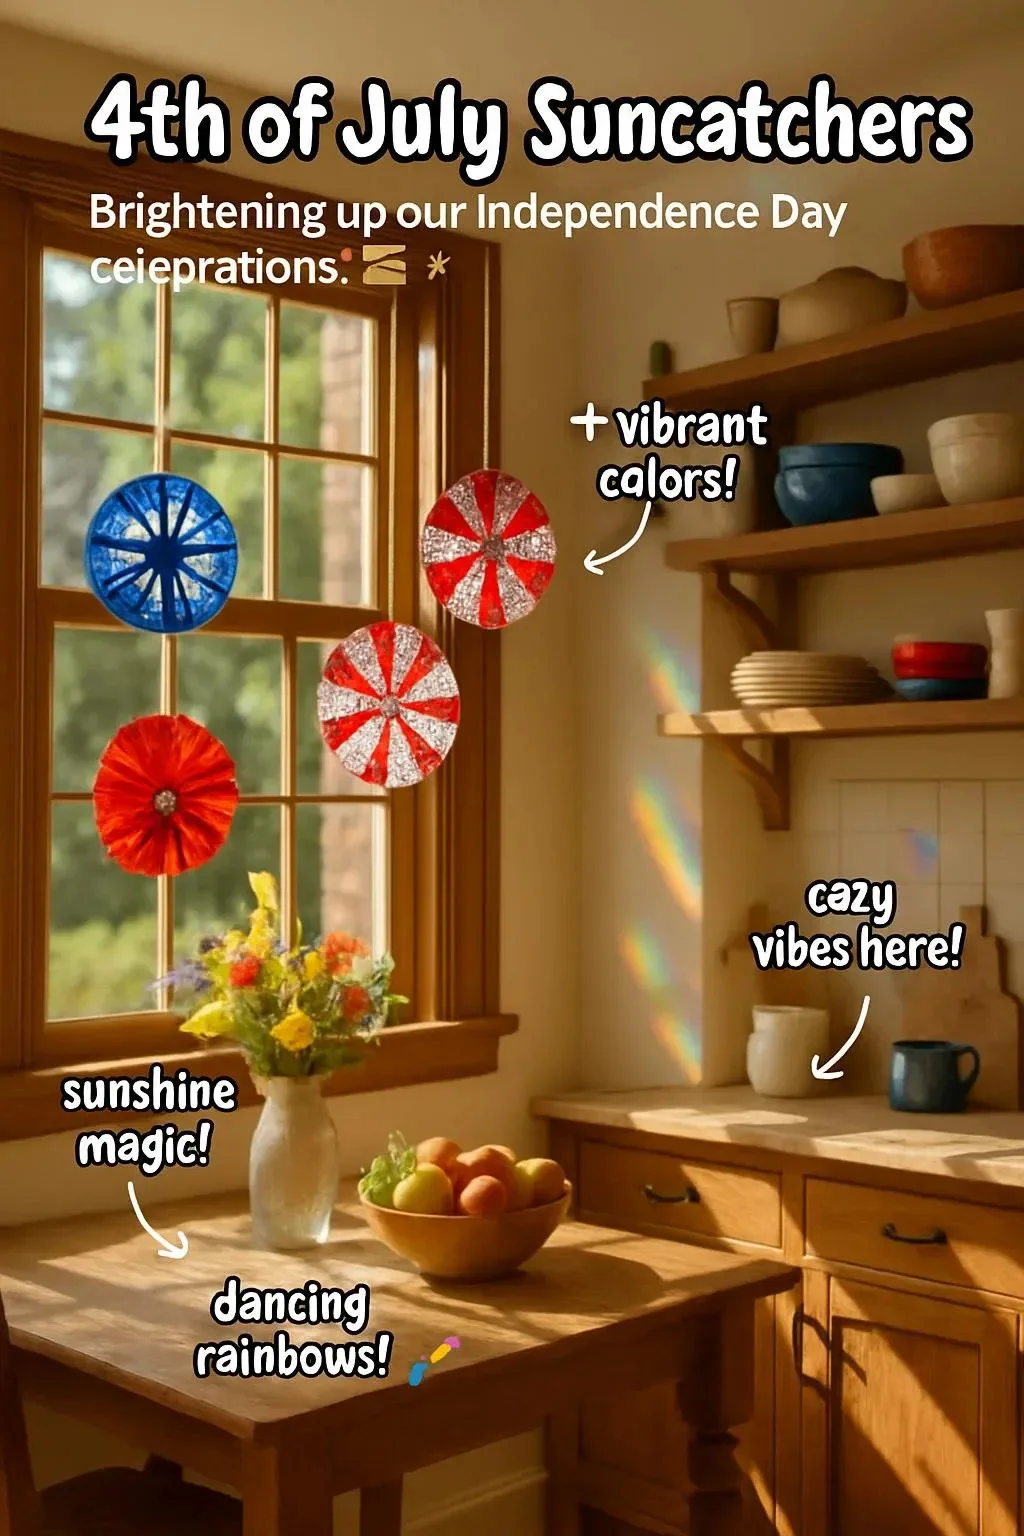
The 4th of July is a time for celebration, filled with fireworks, barbecues, and gatherings with friends and family. What better way to express your love for this vibrant holiday than by making your own 4th of July suncatchers? These colorful decorations not only add a festive touch to your home but also capture the spirit of independence through creativity. Using simple materials, you can create beautiful suncatchers that will sparkle in the sunlight, making them the perfect centerpiece for your holiday festivities. This craft is not only fun but also a great way to engage children, allowing them to express their artistic flair while learning a bit about colors and design. So grab your materials, gather your loved ones, and let’s brighten up this patriotic occasion with DIY suncatchers that radiate creativity!
Why You’ll Love This 4th of July Suncatchers:
- Easy to Make: Perfect for both kids and adults, ensuring everyone can join in the fun.
- Customizable: Use colors and designs that suit your personal taste or match your holiday decor.
- Festive Decor: Add a delightful sparkle to your home and outdoor spaces.
- Educational: A great opportunity to teach kids about colors, shapes, and fine motor skills.
- Sentimental Keepsakes: Create lasting memories as you craft together.
- Affordable: Requires minimal materials that you might already have at home.
Materials
- Clear plastic sheets (like transparencies)
- Permanent markers or glass paints in red, white, and blue
- Scissors
- A hole puncher
- String or yarn for hanging
- Optional: Glitter or sequins for added sparkle
Full Step-by-Step
Step 1: Design Your Suncatcher
- Start by sketching your design on paper. Consider using stars, stripes, or flags for a patriotic theme.
- Keep your design simple for younger children, focusing on shapes and bold outlines.
Step 2: Transfer Your Design
- Place the clear plastic sheet over your sketch to use it as a template.
- Use permanent markers or glass paints to fill in your design with red, white, and blue colors.
- If using glitter or sequins, sprinkle them on the paint before it dries for added effect.
Step 3: Let It Dry
- Allow your painted design to dry completely. This may take several hours depending on the materials used.
Step 4: Cutting and Finishing
- Once dry, carefully cut out your suncatcher shape using scissors.
- Use a hole puncher to create a hole at the top of your suncatcher.
Step 5: Hang with String
- Cut a piece of string or yarn and thread it through the hole.
- Hang your suncatcher in a sunny window or outside where it can catch the light.
Tips & Variations
- Customize Designs: Swap out colors to match your specific holiday theme or personal preference.
- Use Different Shapes: Try making stars, fireworks, or even a classic American flag shape.
- Layering: Create multiple layers of suncatchers for a 3D effect.
- Functional Decor: Use waterproof materials to hang them outdoors.
Frequently Asked Questions
Q1: Can I use regular markers instead of permanent ones?
A1: Regular markers may wash off when exposed to moisture, so it’s best to stick with permanent markers or glass paints for durability.
Q2: What should I do if I don’t have clear plastic sheets?
A2: You can use wax paper as an alternative, though it may not be as durable.
Q3: How can I make my suncatcher more colorful?
A3: Experiment with layering different colors or adding in extra embellishments like sequins or colored tissue paper.
Q4: What happens if my paint smudges?
A4: If you notice smudging, allow the paint to cure for a longer period. You can also apply a clear sealant once dry to protect your work.
Suggestions
- Consider pairing your suncatchers with other DIY crafts, such as painted flower pots or homemade banners, for a complete holiday look.
- Host a suncatcher-making party with friends and family to spread creativity and fun!
- Use your suncatchers as gifts for friends or neighbors who enjoy decorating for the holidays.
Final Thoughts
Creating 4th of July suncatchers is a delightful way to celebrate the holiday with artistry and spirit. The process is enjoyable, and the final product adds a beautiful touch to your holiday decor. We’d love to see your creations! Share your versions in the comments or tag us with your photos. Happy crafting, and enjoy the festivities!
Print
4th of July Suncatchers
- Total Time: 15 minutes
- Yield: Several suncatchers
- Diet: N/A
Description
Celebrate Independence Day by making colorful suncatchers that capture the spirit of the holiday. Perfect for both kids and adults, these DIY decorations are a fun way to engage in creativity.
Ingredients
- Clear plastic sheets (like transparencies)
- Permanent markers or glass paints in red, white, and blue
- Scissors
- A hole puncher
- String or yarn for hanging
- Optional: Glitter or sequins for added sparkle
Instructions
- Design Your Suncatcher: Sketch your design on paper, using stars, stripes, or flags.
- Transfer Your Design: Place the clear plastic sheet over your sketch and fill in with red, white, and blue colors.
- Let It Dry: Allow your painted design to dry completely for several hours.
- Cutting and Finishing: Carefully cut out your suncatcher shape and create a hole at the top.
- Hang with String: Thread a piece of string or yarn through the hole and hang where it can catch the light.
Notes
Customize your designs and experiment with shapes and layering for a more festive look.
- Prep Time: 15 minutes
- Cook Time: 0 minutes
- Category: Craft
- Method: DIY Crafting
- Cuisine: N/A
Nutrition
- Serving Size: 1 suncatcher
- Calories: 0
- Sugar: 0g
- Sodium: 0mg
- Fat: 0g
- Saturated Fat: 0g
- Unsaturated Fat: 0g
- Trans Fat: 0g
- Carbohydrates: 0g
- Fiber: 0g
- Protein: 0g
- Cholesterol: 0mg

