Introduction
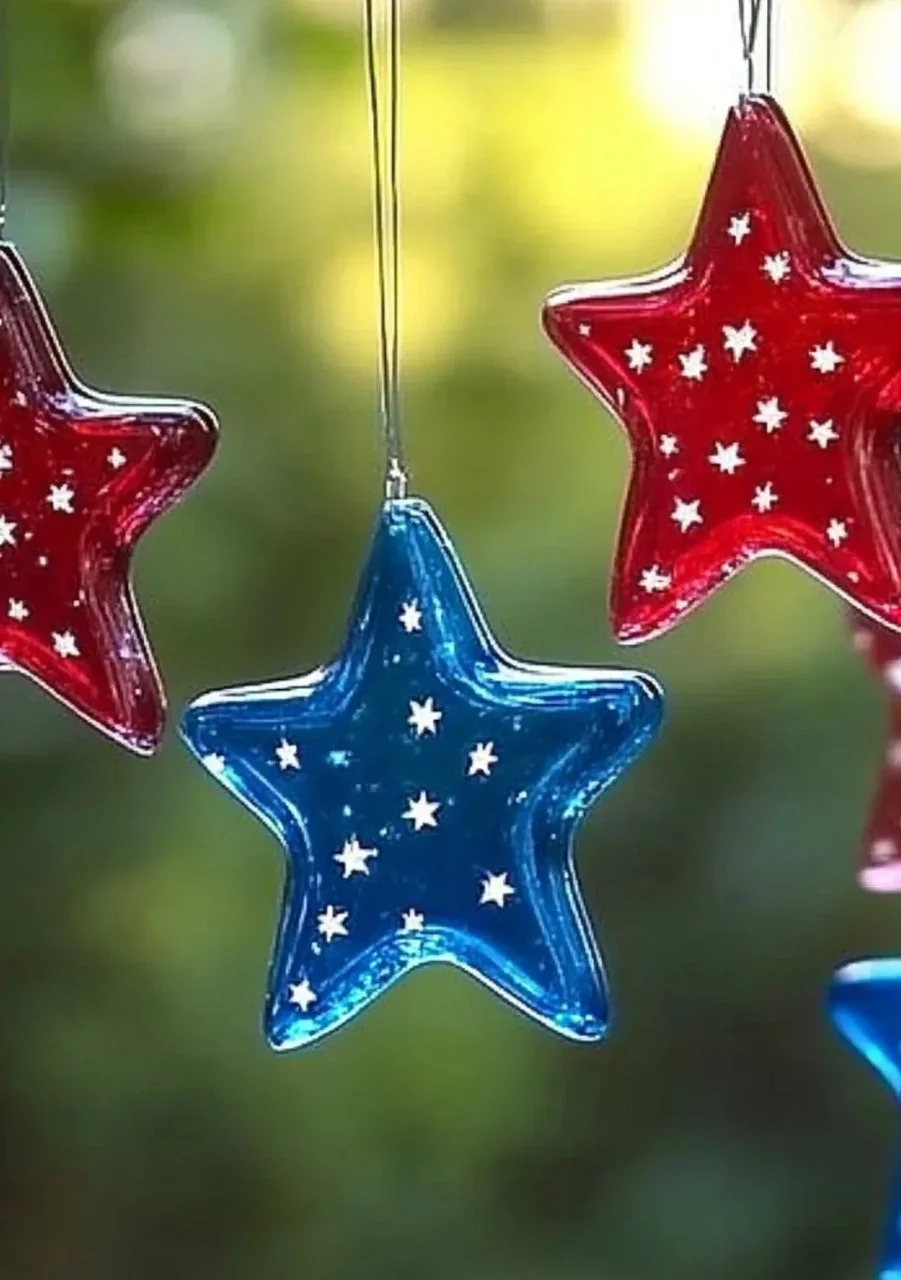
Crafting can be a delightful experience, especially when it combines creativity with vibrant colors. One such enchanting project is creating Crayon Star Sun Catchers. This engaging craft is perfect for children and adults alike, allowing you to transform ordinary crayons into stunning, colorful art pieces that catch the light and brighten any space. Not only does this project offer a meditative and enjoyable way to recycle old or broken crayons, but it also serves as a fantastic opportunity to discuss color theory, light refraction, and even the science of melting. Whether you are looking for a fun afternoon activity with the kids or a unique homemade gift, these sun catchers are sure to impress. Let’s dive into why you’ll love making these dazzling decorations!
Why You’ll Love This Crayon Star Sun Catchers:
- Vibrant Colors: Enjoy the beautiful hues created by melting crayons.
- Easy to Make: Simple steps make this a great project for all skill levels.
- Eco-Friendly: Recycle old crayons instead of throwing them away.
- Creative Expression: Customize shapes and colors to your heart’s content.
- Fun Learning Experience: Introduce kids to concepts of color mixing and light.
Materials
- Crayons (broken or old ones work beautifully)
- Silicone star molds (or any preferred shape)
- Baking sheet (optional, for easy transfer)
- Oven or heat source (like a sun or hot surface)
- Parchment paper (optional, for easy cleanup)
- Toothpick or skewer (for mixing colors)
Full Step-by-Step
Preparing the Crayons
- Gather Your Crayons: Collect old or broken crayons and remove any labels.
- Break Into Pieces: Chop or break the crayons into smaller bits, about 1-inch pieces.
Melting Process
- Preheat the Oven: Set your oven to 250°F (120°C).
- Fill the Molds: Place the crayon pieces into the silicone molds. Be creative—mix colors for a marbled effect!
- Bake: Place the molds on a baking sheet in the oven and bake for about 10-15 minutes, or until completely melted.
- Watch Closely: Keep an eye on the melting process; you want them to melt, not burn!
Finishing Touches
- Cool Down: Once melted, carefully remove the molds from the oven and let them cool completely.
- Unmold the Stars: Once cooled, gently pop the sun catchers out of the molds.
- Hanging: Use string or fishing line to hang your beautiful sun catchers in windows where the sunlight can shine through.
Tips & Variations
- Custom Shapes: Use different silicone molds to create various shapes—hearts, circles, or even holiday-themed designs.
- Color Combinations: Experiment with blending different crayon colors for unique effects.
- Add Texture: Before the crayons completely melt, use a toothpick to swirl the colors for a marbled look.
- Outside Creative Space: For a fun twist, let the sun melt the crayons on a hot day!
Frequently Asked Questions
Q: Can I use regular baking molds instead of silicone?
A: While you can use regular molds, silicone ones are easier for removing the final product and require little to no greasing.
Q: What if I don’t have enough broken crayons?
A: You can use full crayons; just cut them into smaller pieces or even buy bulk crayons specifically for crafting.
Q: What’s the best way to clean up if the crayons spill?
A: Use an old towel or paper towel to wipe spills while the crayon is still warm. If it hardens, it can be removed with a bit of effort.
Q: Are there safety precautions I should be aware of?
A: Always supervise children during the melting process and ensure they don’t touch the hot molds or oven.
Suggestions
- Create a themed sun catcher collection for each season.
- Use these sun catchers as unique gifts for friends or family.
- Host a crafting party for kids or adults and let everyone make their own version!
Final Thoughts
Crafting Crayon Star Sun Catchers can be a fun and educational experience for all ages. The possibilities are endless, encouraging creativity and joy in every creation. We invite you to share your versions of this craft in the comments or on social media—let’s spread the colorful sunshine together!
Print
Crayon Star Sun Catchers
- Total Time: 30 minutes
- Yield: Multiple sun catchers
- Diet: N/A
Description
Create stunning Crayon Star Sun Catchers by melting old crayons in vibrant colors. This fun project is perfect for all ages and helps recycle broken crayons into beautiful art pieces.
Ingredients
- Broken or old crayons
- Silicone star molds (or any preferred shape)
- Baking sheet (optional)
- Oven or heat source
- Parchment paper (optional)
- Toothpick or skewer (for mixing colors)
Instructions
- Gather your crayons and remove any labels.
- Break the crayons into pieces, about 1-inch pieces.
- Preheat the oven to 250°F (120°C).
- Fill the molds with crayon pieces, mixing colors as desired.
- Place the molds on a baking sheet and bake for 10-15 minutes until melted.
- Watch closely to avoid burning.
- Carefully remove from the oven and let cool completely.
- Once cooled, gently pop the sun catchers out of the molds.
- Use string or fishing line to hang your creations in a sunny window.
Notes
Experiment with different shapes and color combinations. Supervise children during the melting process.
- Prep Time: 15 minutes
- Cook Time: 15 minutes
- Category: Craft
- Method: Melting
- Cuisine: N/A
Nutrition
- Serving Size: 1 sun catcher
- Calories: 0
- Sugar: 0g
- Sodium: 0mg
- Fat: 0g
- Saturated Fat: 0g
- Unsaturated Fat: 0g
- Trans Fat: 0g
- Carbohydrates: 0g
- Fiber: 0g
- Protein: 0g
- Cholesterol: 0mg

