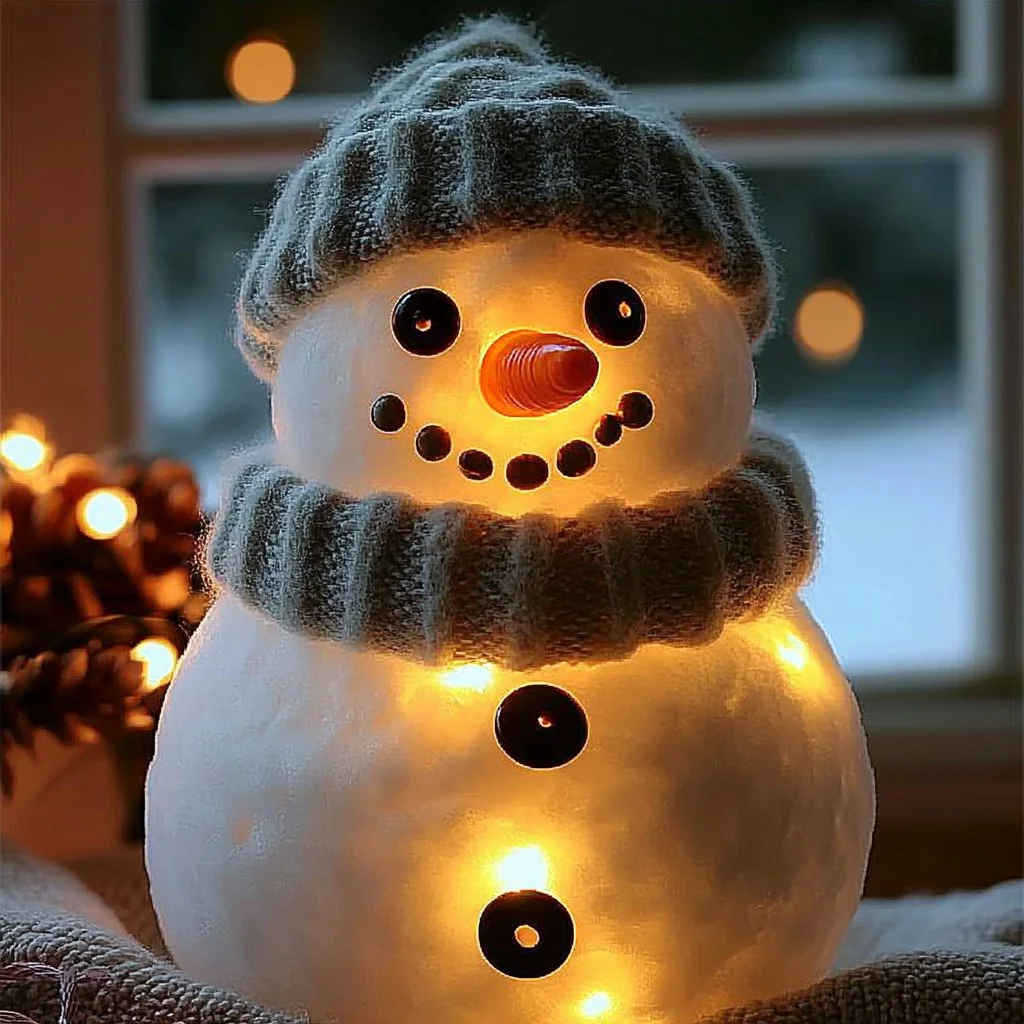
Creating your own snowman luminaries is a delightful winter craft that adds a touch of charm and warmth to your home décor. Whether you’re getting ready for the holiday season or simply want to bring some light to your winter nights, this project is perfect for all ages. With a few simple materials and steps, you’ll be able to craft adorable glowing snowmen that will shine brightly on your windowsill, porch, or tabletop. Not only does this craft enhance your space, but it also engages creativity and brings joy to those who see it.
Why You’ll Love This Snowman Luminaries:
- Easy to Make: Simple steps ensure a fun project for all skill levels.
- Customizable: Use your creativity to personalize each snowman with different expressions and accessories.
- Great for Kids: A fun and engaging craft activity for children to explore.
- Festive Atmosphere: Instantly brightens your space with a joyful winter theme.
- Perfect Gift: Handmade luminaries make thoughtful gifts for friends and family.
Materials:
- Empty glass jars (mason jars or similar)
- White paint or white tissue paper
- Black and orange marker or paint
- Glue (craft or Mod Podge)
- Paintbrush
- LED tealight candles
- Ribbon, buttons, or fabric for accessories (optional)
- Glitter (optional for a whimsical touch)
Full Step-by-Step:
1. Prepare Your Jars
- Start with clean, dry jars. Remove any labels and residue completely for the best results.
2. Create the Snowman Base
- Painting: Apply a layer of white paint to the outside of each jar using a paintbrush. Allow it to dry completely. For a textured look, you can apply a second coat.
- Tissue Paper: Alternatively, cut white tissue paper into strips and glue them to the jar for a textured appearance.
3. Add Facial Features
- Use a black marker or paint to dot eyes and draw a mouth.
- For the carrot nose, use an orange marker or paint to create a triangle shape.
4. Accessorize Your Snowman
- Add a scarf using fabric or ribbon around the neck.
- Use buttons or other decorative items to give more personality to your snowman.
5. Insert the Light Source
- Place an LED tealight candle inside the jar. Ensure it fits securely and can be turned on easily.
6. Enjoy Your Creation
- Display the luminaries along your windowsill or on a festive table. Turn on the tealight to illuminate your snowman’s cheerful face!
Tips & Variations:
- Personalization: Instead of traditional facial features, try using googly eyes or create a unique hat from black felt.
- Color Options: Experiment with colored paints for a non-traditional look; consider blue or purple hues for a fun twist.
- Joint Construction: For a family craft, set up a station where kids can collaborate and create their designs together.
Frequently Asked Questions:
Q1: Can I use real candles instead of LED lights?
- We recommend using LED tealights for safety reasons, especially with children around. They provide a warm glow without the fire hazard.
Q2: What should I do if my paint isn’t sticking well?
- Ensure the jars are completely clean and dry before painting. Additionally, try using a primer before the paint for better adhesion.
Q3: Can I make these in advance for a party?
- Absolutely! These luminaries last for a long time. Just keep them in a cool, dry place until your event.
Q4: What other decorations can I use?
- Feel free to use craft supplies like pipe cleaners for arms or felt for hats. The possibilities are endless!
Suggestions:
- Host a craft night with friends or family, encouraging everyone to make their unique snowman luminary.
- Use the finished luminaries as part of your holiday table centerpiece.
- Pair with other winter-themed crafts, like paper snowflakes, for a complete festive display.
Final Thoughts
Snowman luminaries are not just a craft; they’re a way to spread happiness and light during the winter months. We hope you enjoy creating your version! Please share your creations or leave a comment below about your experience with this festive project. Happy crafting!
Print
Snowman Luminaries
- Total Time: 15 minutes
- Yield: 1 luminary
- Diet: N/A
Description
Create delightful snowman luminaries that brighten your winter nights and add a charming touch to your décor.
Ingredients
- Empty glass jars (mason jars or similar)
- White paint or white tissue paper
- Black and orange marker or paint
- Glue (craft or Mod Podge)
- Paintbrush
- LED tealight candles
- Ribbon, buttons, or fabric for accessories (optional)
- Glitter (optional for a whimsical touch)
Instructions
- Prepare Your Jars: Clean and dry the jars and remove any labels.
- Create the Snowman Base: Apply white paint or glue white tissue paper to the jar.
- Add Facial Features: Use a black marker or paint for eyes and mouth, and an orange marker for the nose.
- Accessorize Your Snowman: Add a scarf and decorative items for personality.
- Insert the Light Source: Place an LED tealight inside the jar.
- Enjoy Your Creation: Display luminaries and enjoy the cheerful glow!
Notes
Personalize each luminary with unique accessories and colors.
- Prep Time: 15 minutes
- Cook Time: 0 minutes
- Category: Craft
- Method: Crafting
- Cuisine: N/A
Nutrition
- Serving Size: 1 luminary
- Calories: 0
- Sugar: 0g
- Sodium: 0mg
- Fat: 0g
- Saturated Fat: 0g
- Unsaturated Fat: 0g
- Trans Fat: 0g
- Carbohydrates: 0g
- Fiber: 0g
- Protein: 0g
- Cholesterol: 0mg

