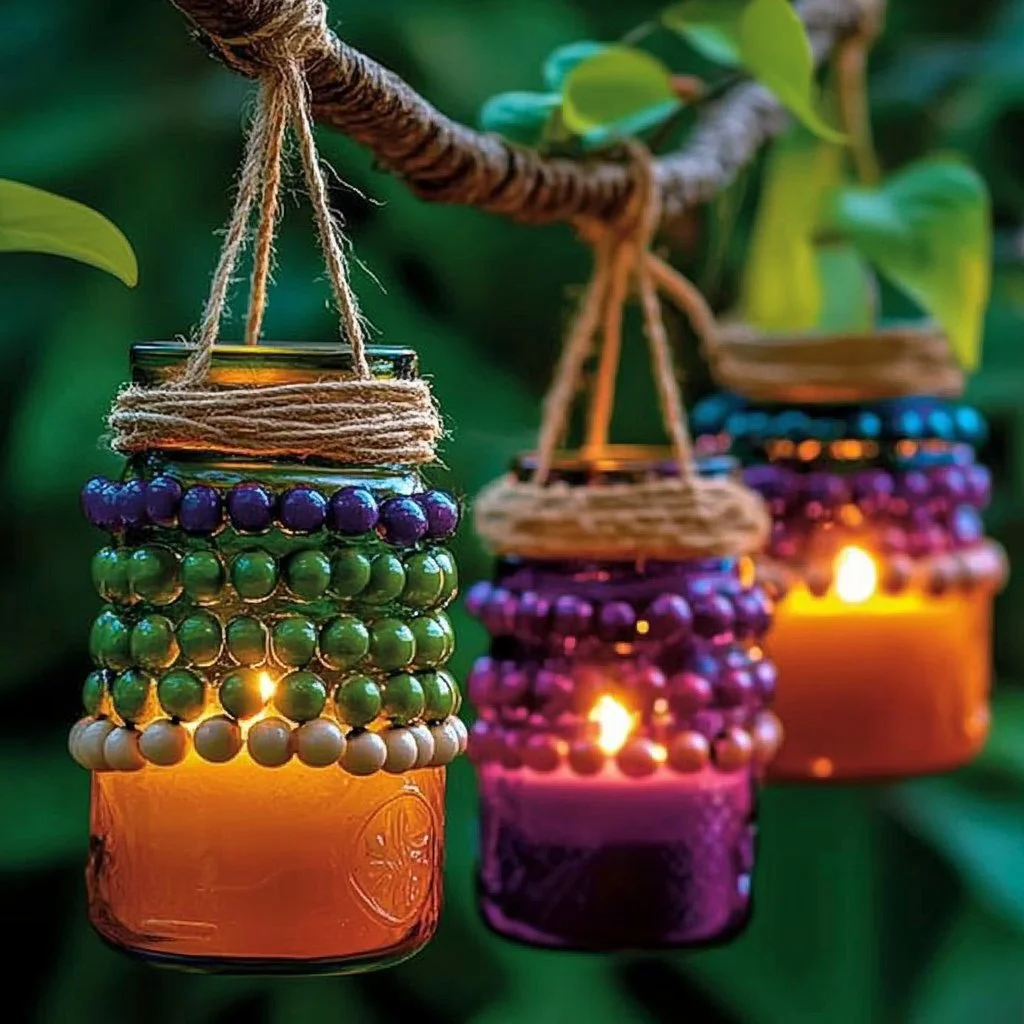
Crafting your own beaded plant hanger not only beautifies your indoor space but also adds a personalized touch to your home decor. This fascinating DIY project combines creativity with functionality, allowing you to showcase your favorite plants in a stylish manner. Whether you’re a seasoned crafter or a beginner looking to explore a new hobby, this project is easily approachable and requires minimal investment in materials. Utilize vibrant beads in colors that resonate with your style to create a stunning centerpiece that brightens up any room. Plus, it serves as a fantastic gift for plant lovers!
Why You’ll Love This DIY Beaded Plant Hanger:
- Personalized Style: Customize with colors and patterns that reflect your personality.
- Easy to Follow: Simple step-by-step instructions make it suitable for all skill levels.
- Fun and Engaging: A satisfying way to spend your time and unleash your creativity.
- Budget-Friendly: Minimal cost but high impact on your decor.
- Great for Gifting: Perfect handmade gift for friends and family.
Materials:
- Cotton cord or macrame rope (about 3 yards)
- Assorted beads (wooden, acrylic, or glass)
- Scissors
- Tape or a clipboard (to secure the knot while you work)
- Plant pot with a drainage hole
- Optional: a ring (for hanging the hanger)
Full Step-by-Step:
Step 1: Prepare Your Cord
- Cut three lengths of cotton cord, each about 3 feet long.
- Gather them together and tie a knot at one end, leaving a few inches for hanging.
Step 2: Attach the Beads
- Secure the knotted end to a surface using tape or a clipboard.
- Decide the bead pattern; alternately string beads onto cords, leaving about 12-15 inches at the bottom free of beads for the pot.
Step 3: Form the Hanger
- Once the desired bead pattern is complete, gather the cords together below the beads and tie another knot to secure them.
- Make sure the beads rest comfortably along the lines of the cords.
Step 4: Final Touches
- Create a wide knot just below the last of the beads allowing room for the pot to rest.
- Trim excess cord, leaving enough to hang the plant holder.
Step 5: Place Your Plant
- Set the pot into the middle of the hanger and enjoy your new decorative piece!
Tips & Variations:
- Color Choices: Opt for colors that match your home decor or seasonal themes.
- Different Beads: Experiment with various bead shapes and sizes for diverse aesthetics.
- Plant Choices: Use it for favorite indoor plants like pothos, ferns, or succulents.
- Add Charms: Incorporate charms or pendants for a unique twist.
Frequently Asked Questions:
Q1: Can I use any type of cord?
- Yes, while cotton cord works well, you can experiment with jute, nylon, or hemp for different aesthetics.
Q2: What if I don’t have enough beads?
- You can create a more sparse design with fewer beads or use other embellishments like ribbons or twine.
Q3: How do I hang my plant hanger?
- You can hang it from a ceiling hook, wall-mounted hook, or even a sturdy branch outdoors.
Q4: What size pot works best?
- Any pot with a diameter of 6-8 inches typically fits nicely, but adjust your measurements accordingly.
Suggestions:
- Pair your beaded plant hanger with a decorative pot to enhance your display.
- Try hosting a craft night with friends to create matching hangers.
- Consider using a cluster of varying lengths for a layered plant display.
Final Thoughts
Creating your own beaded plant hanger is a rewarding craft that enhances any plant lover’s collection. We hope this guide inspires you to try your hand at this delightful project! Feel free to share your versions, suggestions, or questions in the comments below. Happy crafting!
Print
DIY Beaded Plant Hanger
- Total Time: 15 minutes
- Yield: 1 plant hanger
- Diet: N/A
Description
Create a personalized beaded plant hanger that beautifies your indoor space and showcases your favorite plants.
Ingredients
- Cotton cord or macrame rope (about 3 yards)
- Assorted beads (wooden, acrylic, or glass)
- Scissors
- Tape or a clipboard (to secure the knot while you work)
- Plant pot with a drainage hole
- Optional: a ring (for hanging the hanger)
Instructions
- Cut three lengths of cotton cord, each about 3 feet long. Gather them together and tie a knot at one end, leaving a few inches for hanging.
- Secure the knotted end to a surface using tape or a clipboard. Decide the bead pattern; alternately string beads onto cords, leaving about 12-15 inches at the bottom free of beads for the pot.
- Once the desired bead pattern is complete, gather the cords together below the beads and tie another knot to secure them. Make sure the beads rest comfortably along the lines of the cords.
- Create a wide knot just below the last of the beads allowing room for the pot to rest. Trim excess cord, leaving enough to hang the plant holder.
- Set the pot into the middle of the hanger and enjoy your new decorative piece!
Notes
You can experiment with different cord types, beads, and colors to match your decor.
- Prep Time: 15 minutes
- Cook Time: 0 minutes
- Category: Craft
- Method: Handmade
- Cuisine: N/A
Nutrition
- Serving Size: 1 hanger
- Calories: 0
- Sugar: 0g
- Sodium: 0mg
- Fat: 0g
- Saturated Fat: 0g
- Unsaturated Fat: 0g
- Trans Fat: 0g
- Carbohydrates: 0g
- Fiber: 0g
- Protein: 0g
- Cholesterol: 0mg

