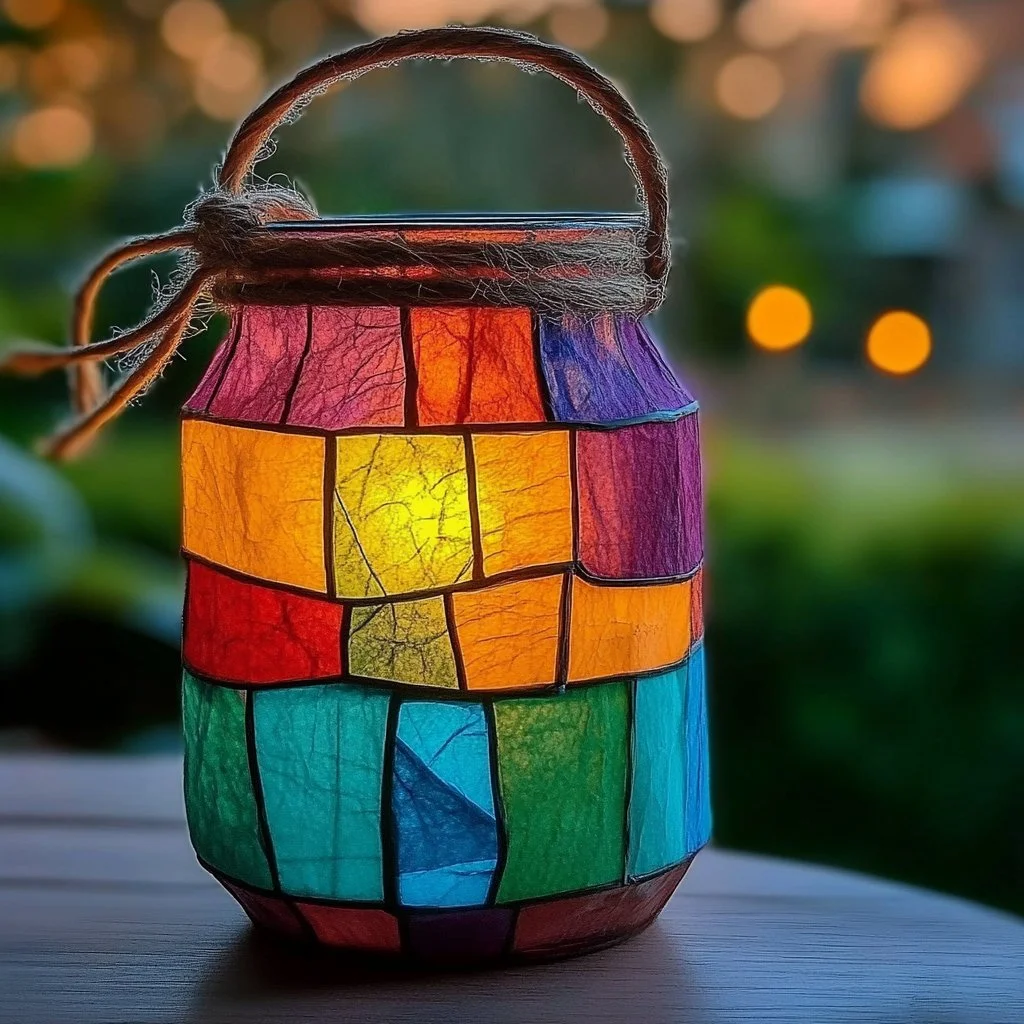
Creating DIY kids lanterns is a delightful activity that combines creativity and hands-on crafting. This simple project not only fosters imagination but also allows children to engage with light and colors in a fun way. Ideal for various occasions, such as birthdays, holidays, or simply enhancing a room’s ambiance, these lanterns are easy to make with common materials found around the home. Plus, they serve as a beautiful decoration that your child will cherish.
This craft encourages children to express their artistic skills while practicing fine motor skills, making it an excellent choice for educational settings or family bonding time. Gather your materials and let’s illuminate your space with some charming DIY lanterns!
Why You’ll Love This DIY Kids Lantern Craft:
- Engaging and Fun: Keeps kids entertained while they create.
- Easy to Customize: Different colors and decorations can be used to personalize each lantern.
- Promotes Fine Motor Skills: Cutting, gluing, and assembling improve hand-eye coordination.
- Great for Various Occasions: Perfect for parties, sleepovers, or as holiday decorations.
- Creative Expression: Children can bring their unique ideas to life.
Materials:
- Clear plastic bottles (1-liter or larger)
- LED tea lights or fairy lights
- Acrylic paints or markers
- Paintbrushes
- Decorative materials (glitter, stickers, colored paper)
- Scissors
- Craft glue
- Hole punch (for added decorations)
Full Step-by-Step:
1. Prepare the Bottle
- Clean & Dry: Ensure the plastic bottle is clean and dry before starting.
2. Cut the Bottle
- Cut Opening: Using scissors, carefully cut around the upper part of the bottle to create an opening. This is where the lights will go.
3. Decorate
- Paint/Draw: Let your child decorate the outside with acrylic paints or markers. Encourage them to use vibrant colors and patterns.
- Add Embellishments: After the paint dries, glue on glitter, stickers, or any other decorative elements.
4. Insert Lights
- Place Lights: Carefully place an LED tea light or fairy lights inside the bottle through the opening. If using fairy lights, leave some of the wire hanging outside for a magical effect.
5. Secure the Top (Optional)
- Cap It: You can cut a smaller piece of the bottle’s top and secure it around the light with glue to give it a finished look.
6. Turn On the Lights
- Create Ambiance: Switch on the lights and watch as your lantern illuminates beautifully!
Tips & Variations:
- Swap Materials: Consider using mason jars or even tin cans for a different lantern design.
- Themed Lanterns: Try creating different themes, like animals, seasons, or holidays for added fun.
- Glow-in-the-Dark Paint: For an extra twist, use glow-in-the-dark paint for nighttime magic.
Frequently Asked Questions:
Q: Can I use regular candles instead of LED lights?
A: It’s safer to use LED lights, especially with kids around, to avoid fire hazards.
Q: What if I don’t have paint?
A: You can use colored paper or fabric to wrap around the bottle for added decoration.
Q: How can I make this craft more educational?
A: Discuss colors, light, and shadows while crafting to incorporate STEM learning.
Q: Can we use different sizes of bottles?
A: Yes! Mixing sizes can create an interesting display arrangement.
Suggestions:
- Host a lantern-making party where kids can create together.
- Use the lanterns for a nighttime garden or indoor light show.
- Encourage kids to make themed lanterns to celebrate different holidays.
Final Thoughts
Creating DIY lanterns is a wonderful way to blend craft time with learning and creativity. We hope you and your child enjoy this illuminating experience and find joy in the process of making something beautiful together. We’d love to see your unique creations—please share your versions or leave a comment below! Happy crafting!
Print
DIY Kids Lanterns
- Total Time: 15 minutes
- Yield: 1 lantern
- Diet: N/A
Description
A fun and engaging DIY project for kids to create charming lanterns using common materials, fostering creativity and fine motor skills.
Ingredients
- Clear plastic bottles (1-liter or larger)
- LED tea lights or fairy lights
- Acrylic paints or markers
- Paintbrushes
- Decorative materials (glitter, stickers, colored paper)
- Scissors
- Craft glue
- Hole punch (for added decorations)
Instructions
- Prepare the Bottle: Clean & dry the plastic bottle before starting.
- Cut the Bottle: Carefully cut around the upper part of the bottle to create an opening for the lights.
- Decorate: Let your child decorate the outside with acrylic paints or markers, using vibrant colors and patterns. After the paint dries, glue on glitter, stickers, or other decorative elements.
- Insert Lights: Place an LED tea light or fairy lights inside the bottle through the opening.
- Secure the Top (Optional): Cut a smaller piece of the bottle’s top and secure it around the light with glue to give it a finished look.
- Turn On the Lights: Switch on the lights and enjoy the beautiful illumination!
Notes
Consider using mason jars for a different look, and experiment with glow-in-the-dark paint for nighttime effects.
- Prep Time: 15 minutes
- Cook Time: 0 minutes
- Category: Craft
- Method: Crafting
- Cuisine: Creative
Nutrition
- Serving Size: 1 lantern
- Calories: 0
- Sugar: 0g
- Sodium: 0mg
- Fat: 0g
- Saturated Fat: 0g
- Unsaturated Fat: 0g
- Trans Fat: 0g
- Carbohydrates: 0g
- Fiber: 0g
- Protein: 0g
- Cholesterol: 0mg

